

The Hella Big Candy Bag Tutorial
Let’s make the Hella Big Tote into a candy bag for your trick-or-treaters for this Halloween!

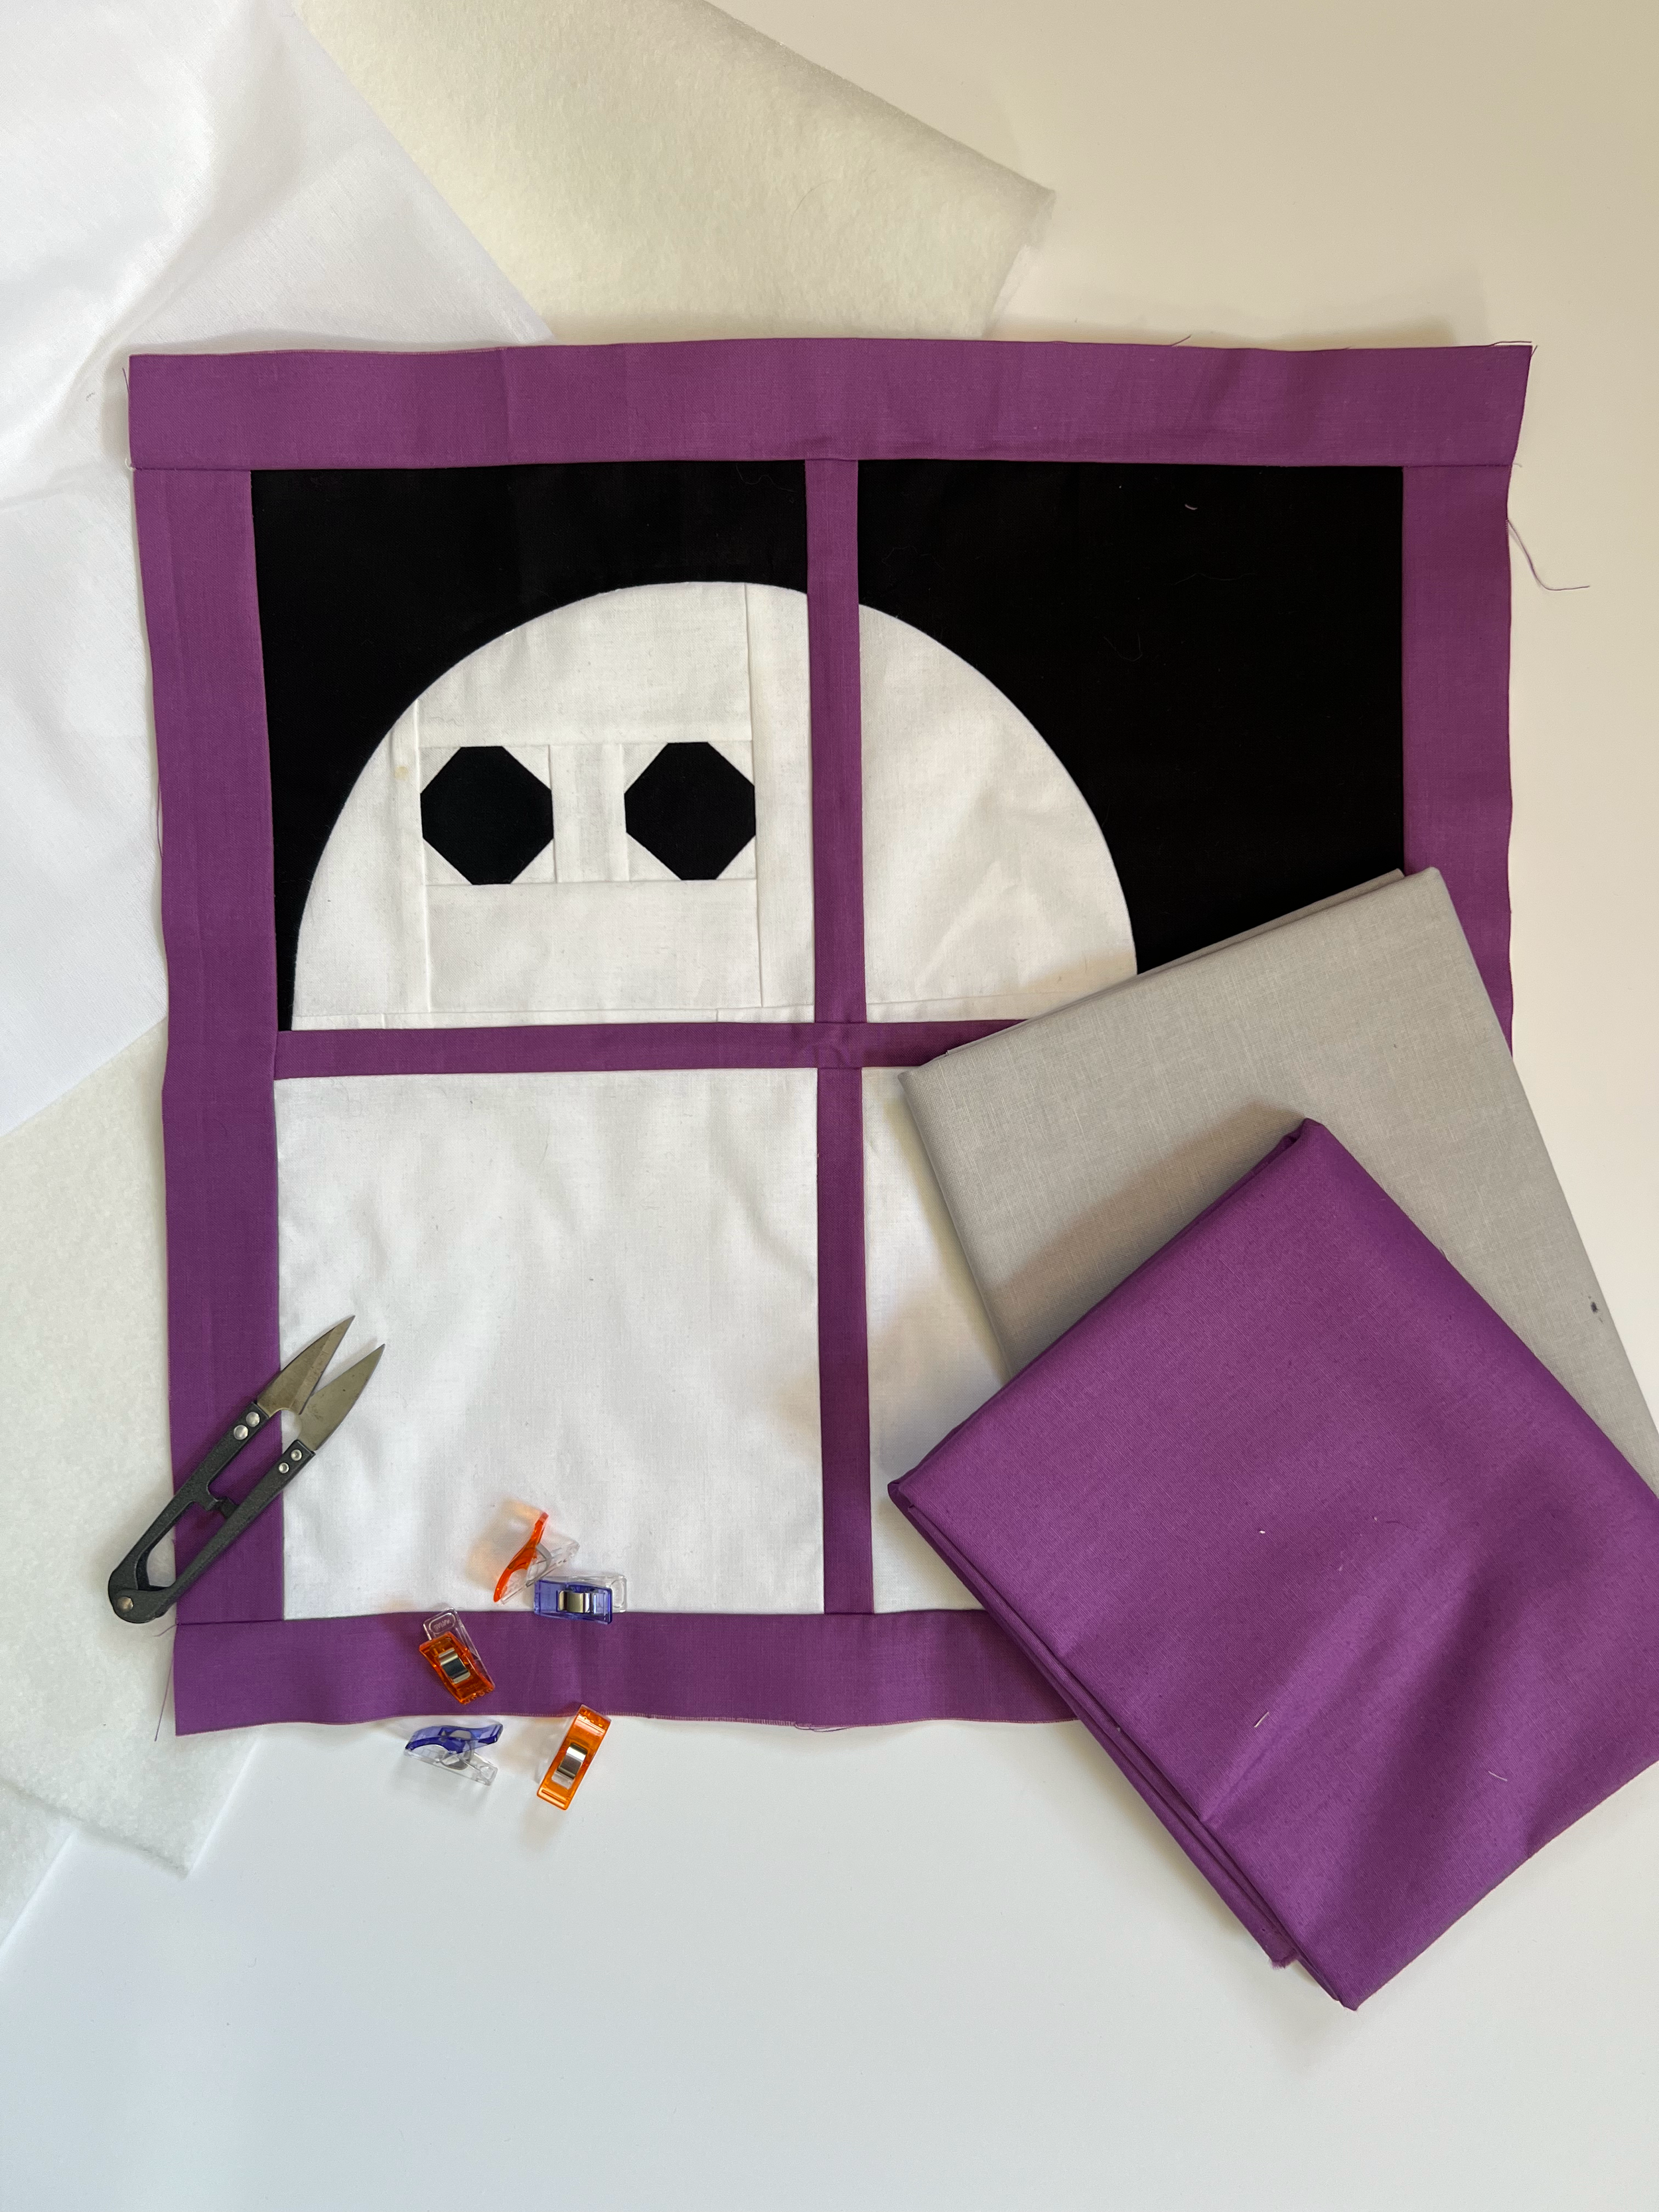
Here’s what you need to get started:
FABRICS
5/8 Yard of matching background fabric for the Exterior of the tote and Straps.
1/2 Yard of Lining fabric.
FUSIBLE INTERFACING
1 Yard woven fusible Interfacing. I recommend Pellon SF101 (WOF is 20”).
FUSIBLE FLEECE
5/8 Yard Fusible Fleece. I recommend Pellon 987F (WOF is 45”). Standard Quilt batting can also be used with traditional basting methods, but will result in a floppier bag.
TOOLS
Rotary Cutter and Cutting Mat
Sewing Machine with both Presser Foot and Walking Foot attachment
Scissors and/or Snips
Ruler
Straight Pins or Clips
Iron and Pressing Mat
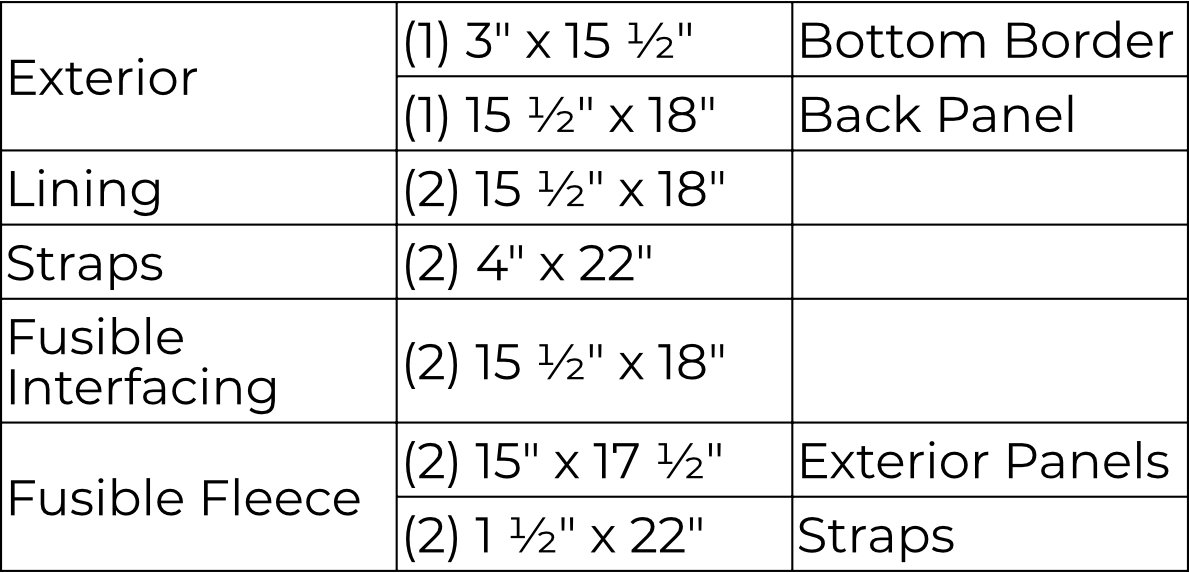
Fabric Cuts
Bag Assembly Steps
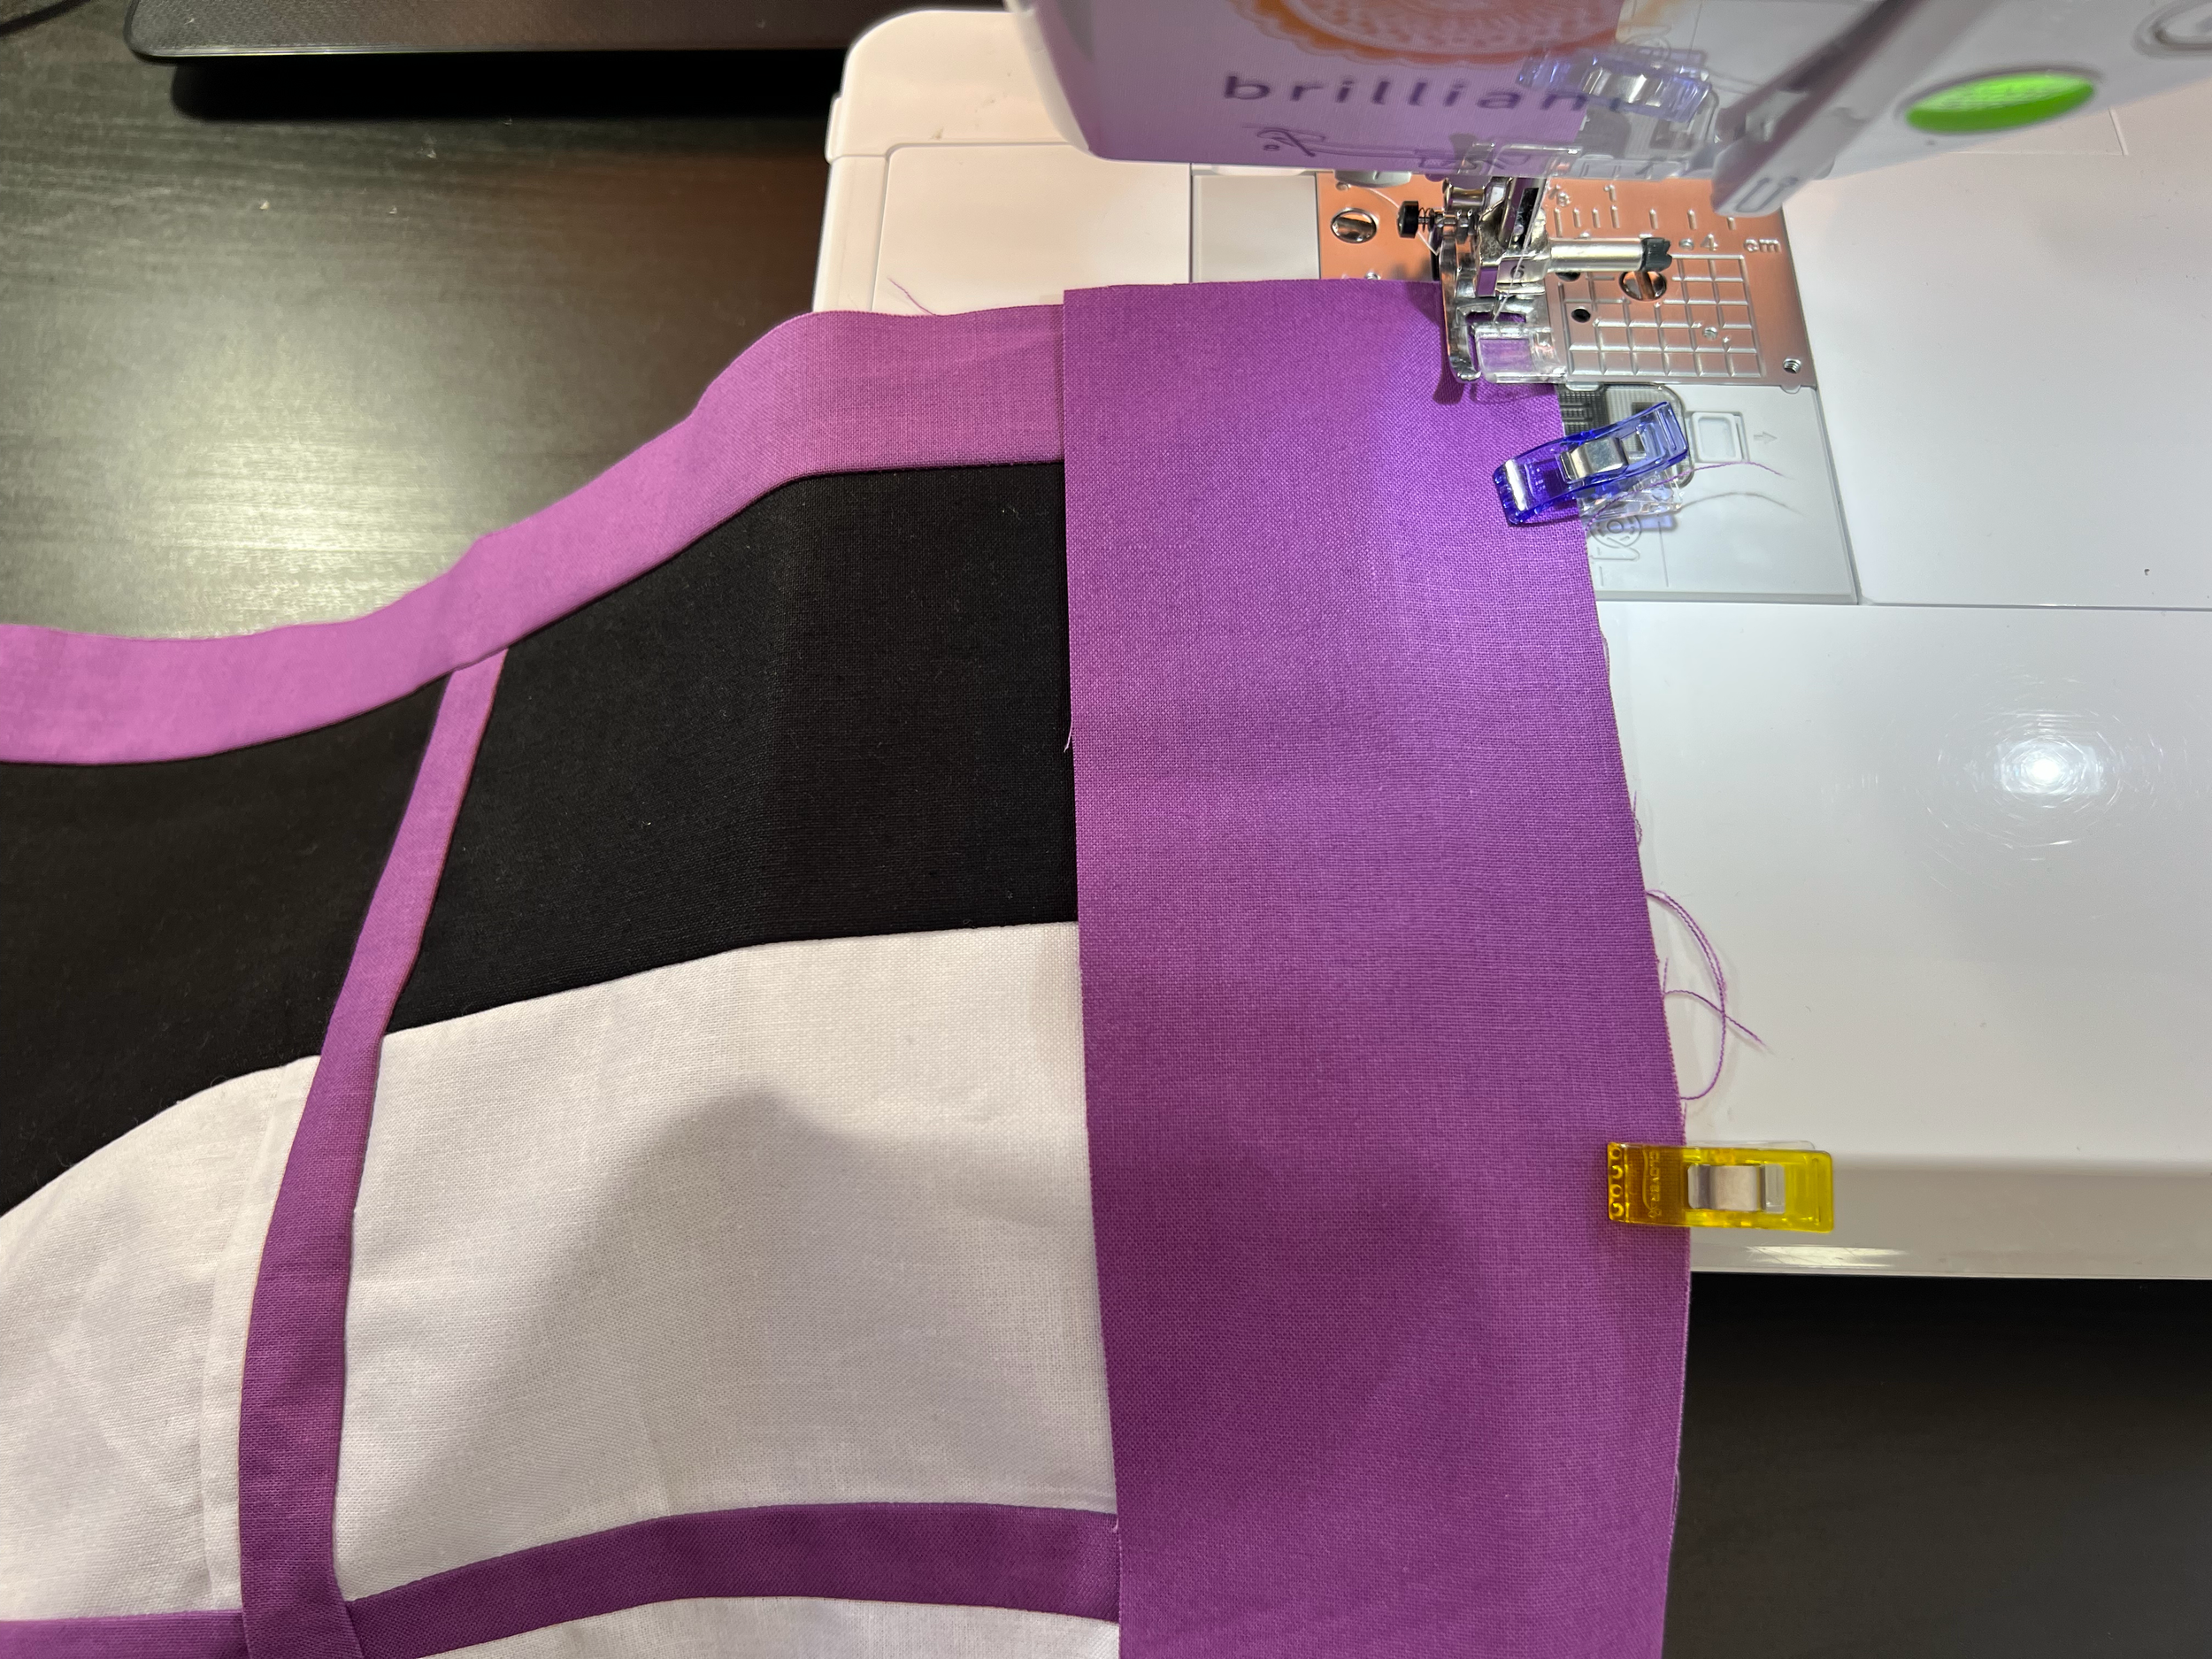
Sew Bottom Border (3” x 15 1/2”) to the bottom of the of Block. Use a 1/4 inch seam allowance. Press seams to the border side. Block should measure 15 1/2” x 18”.
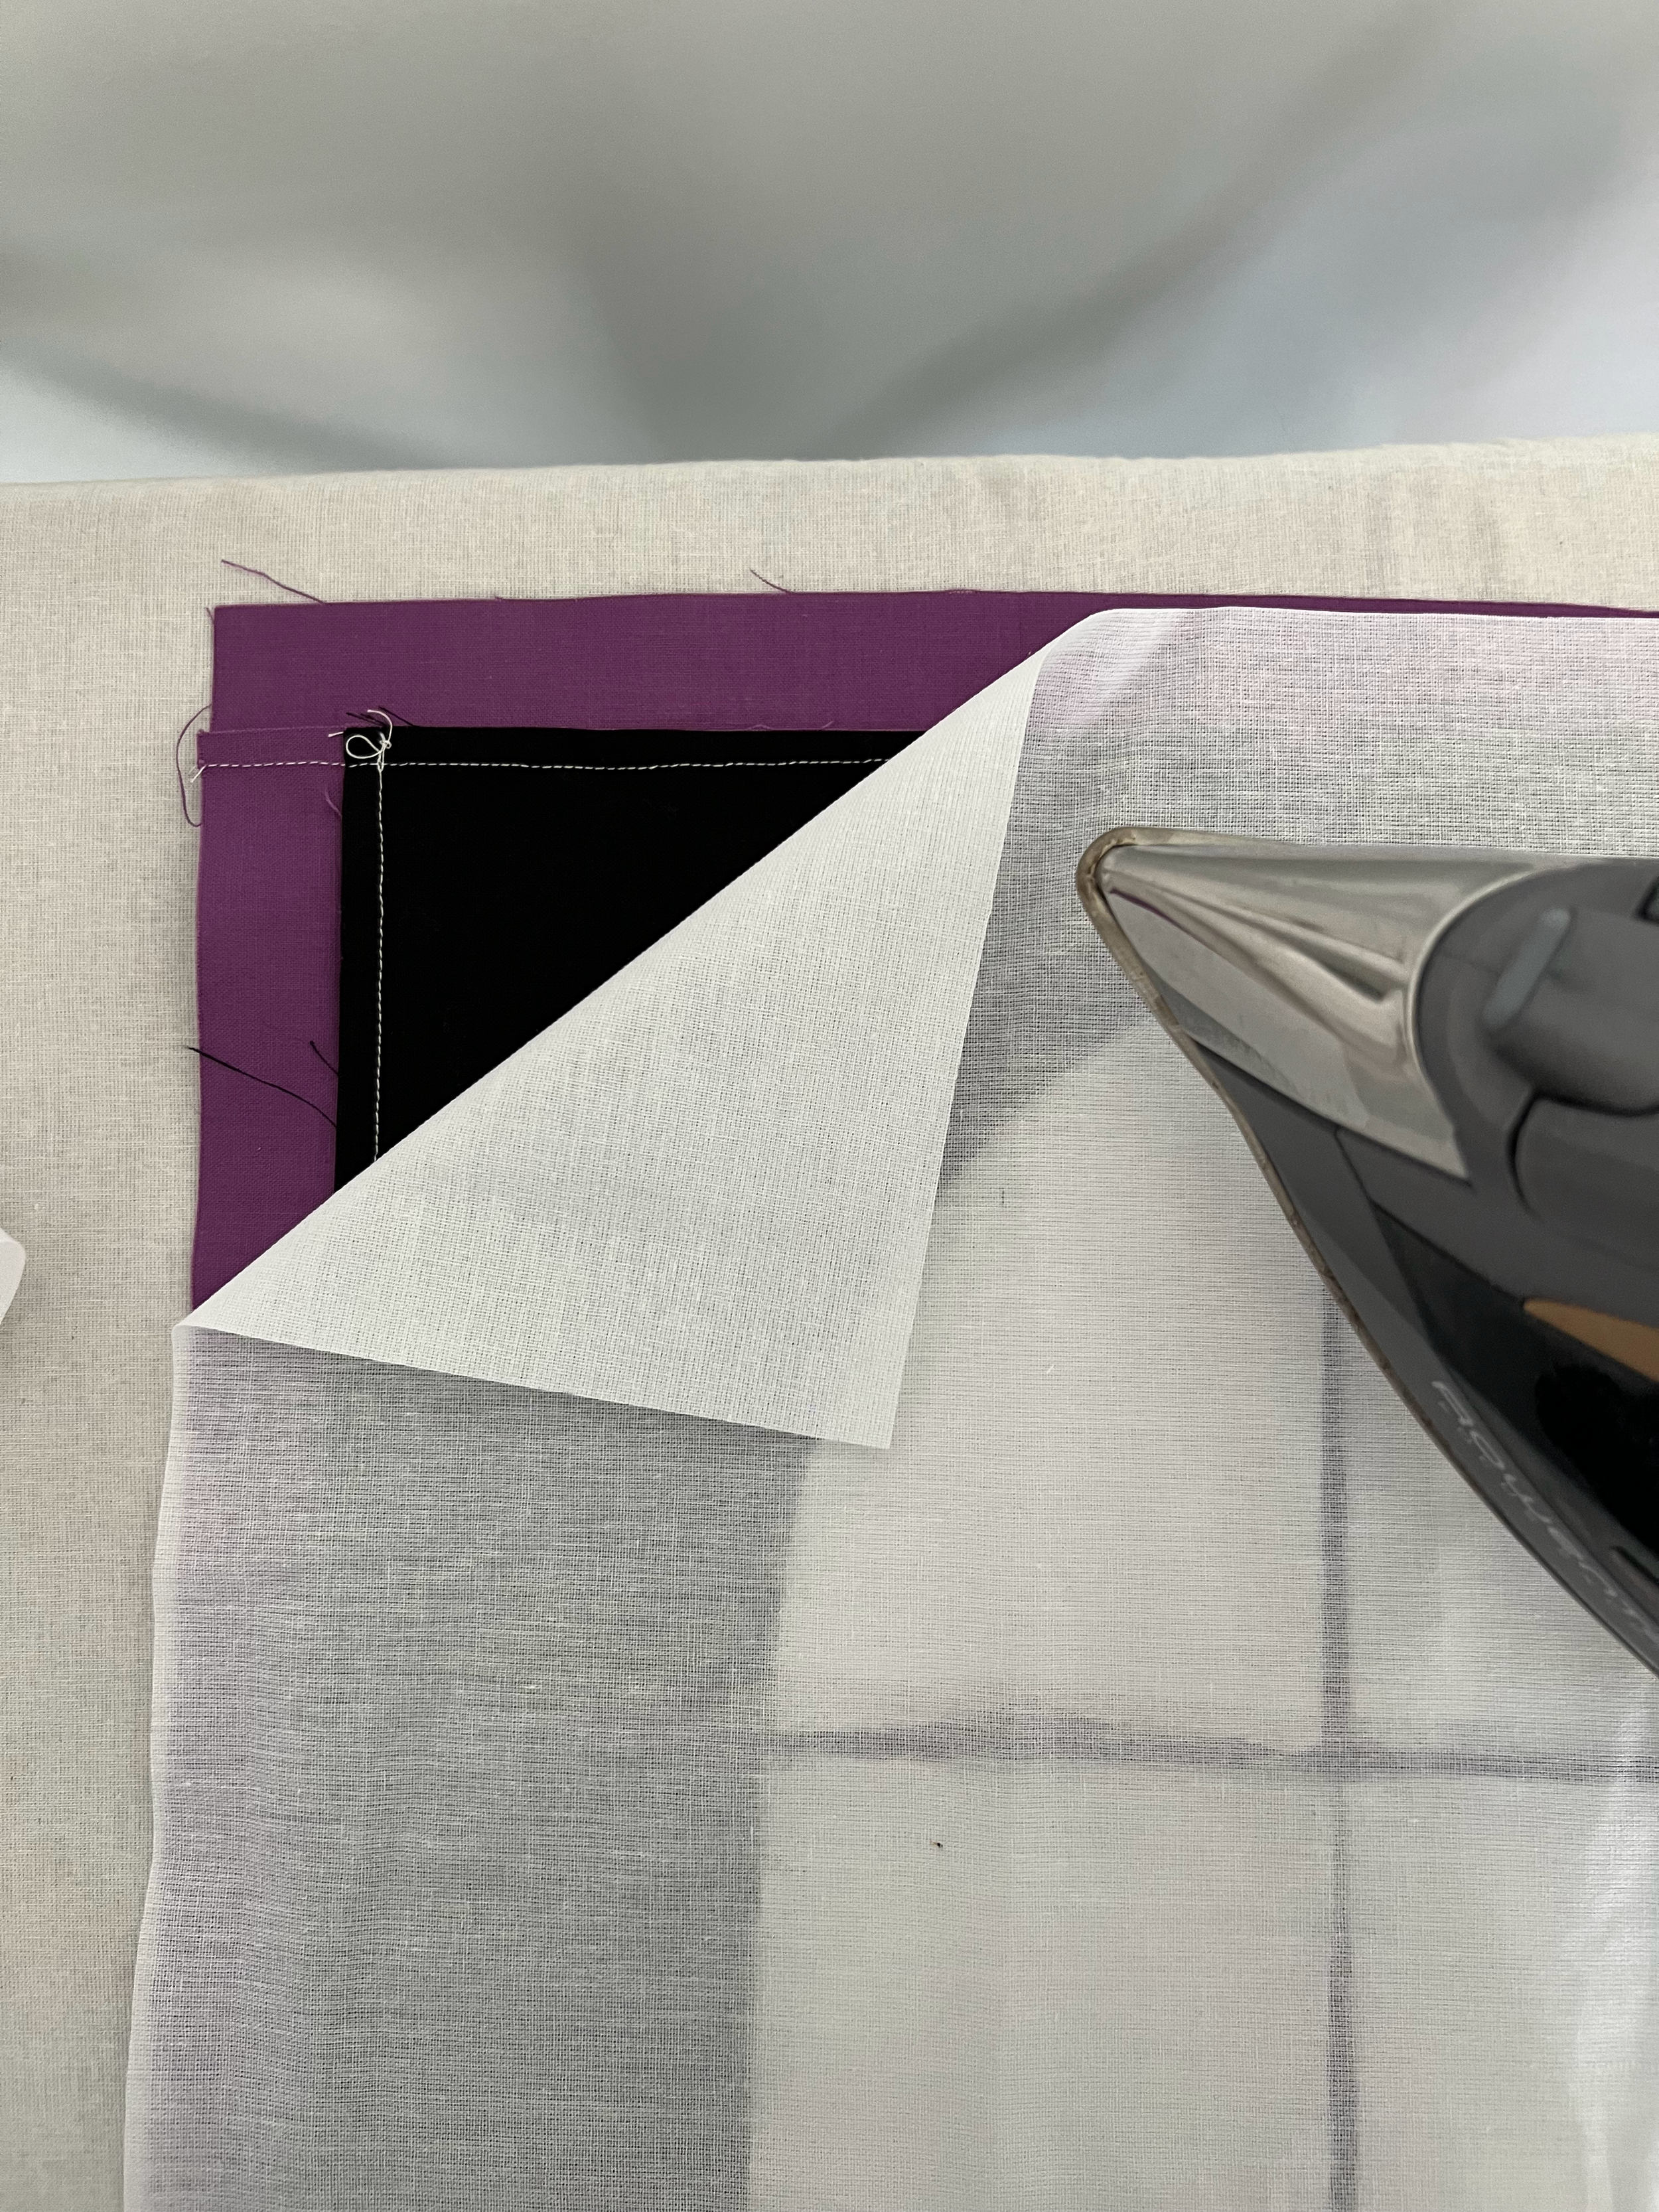
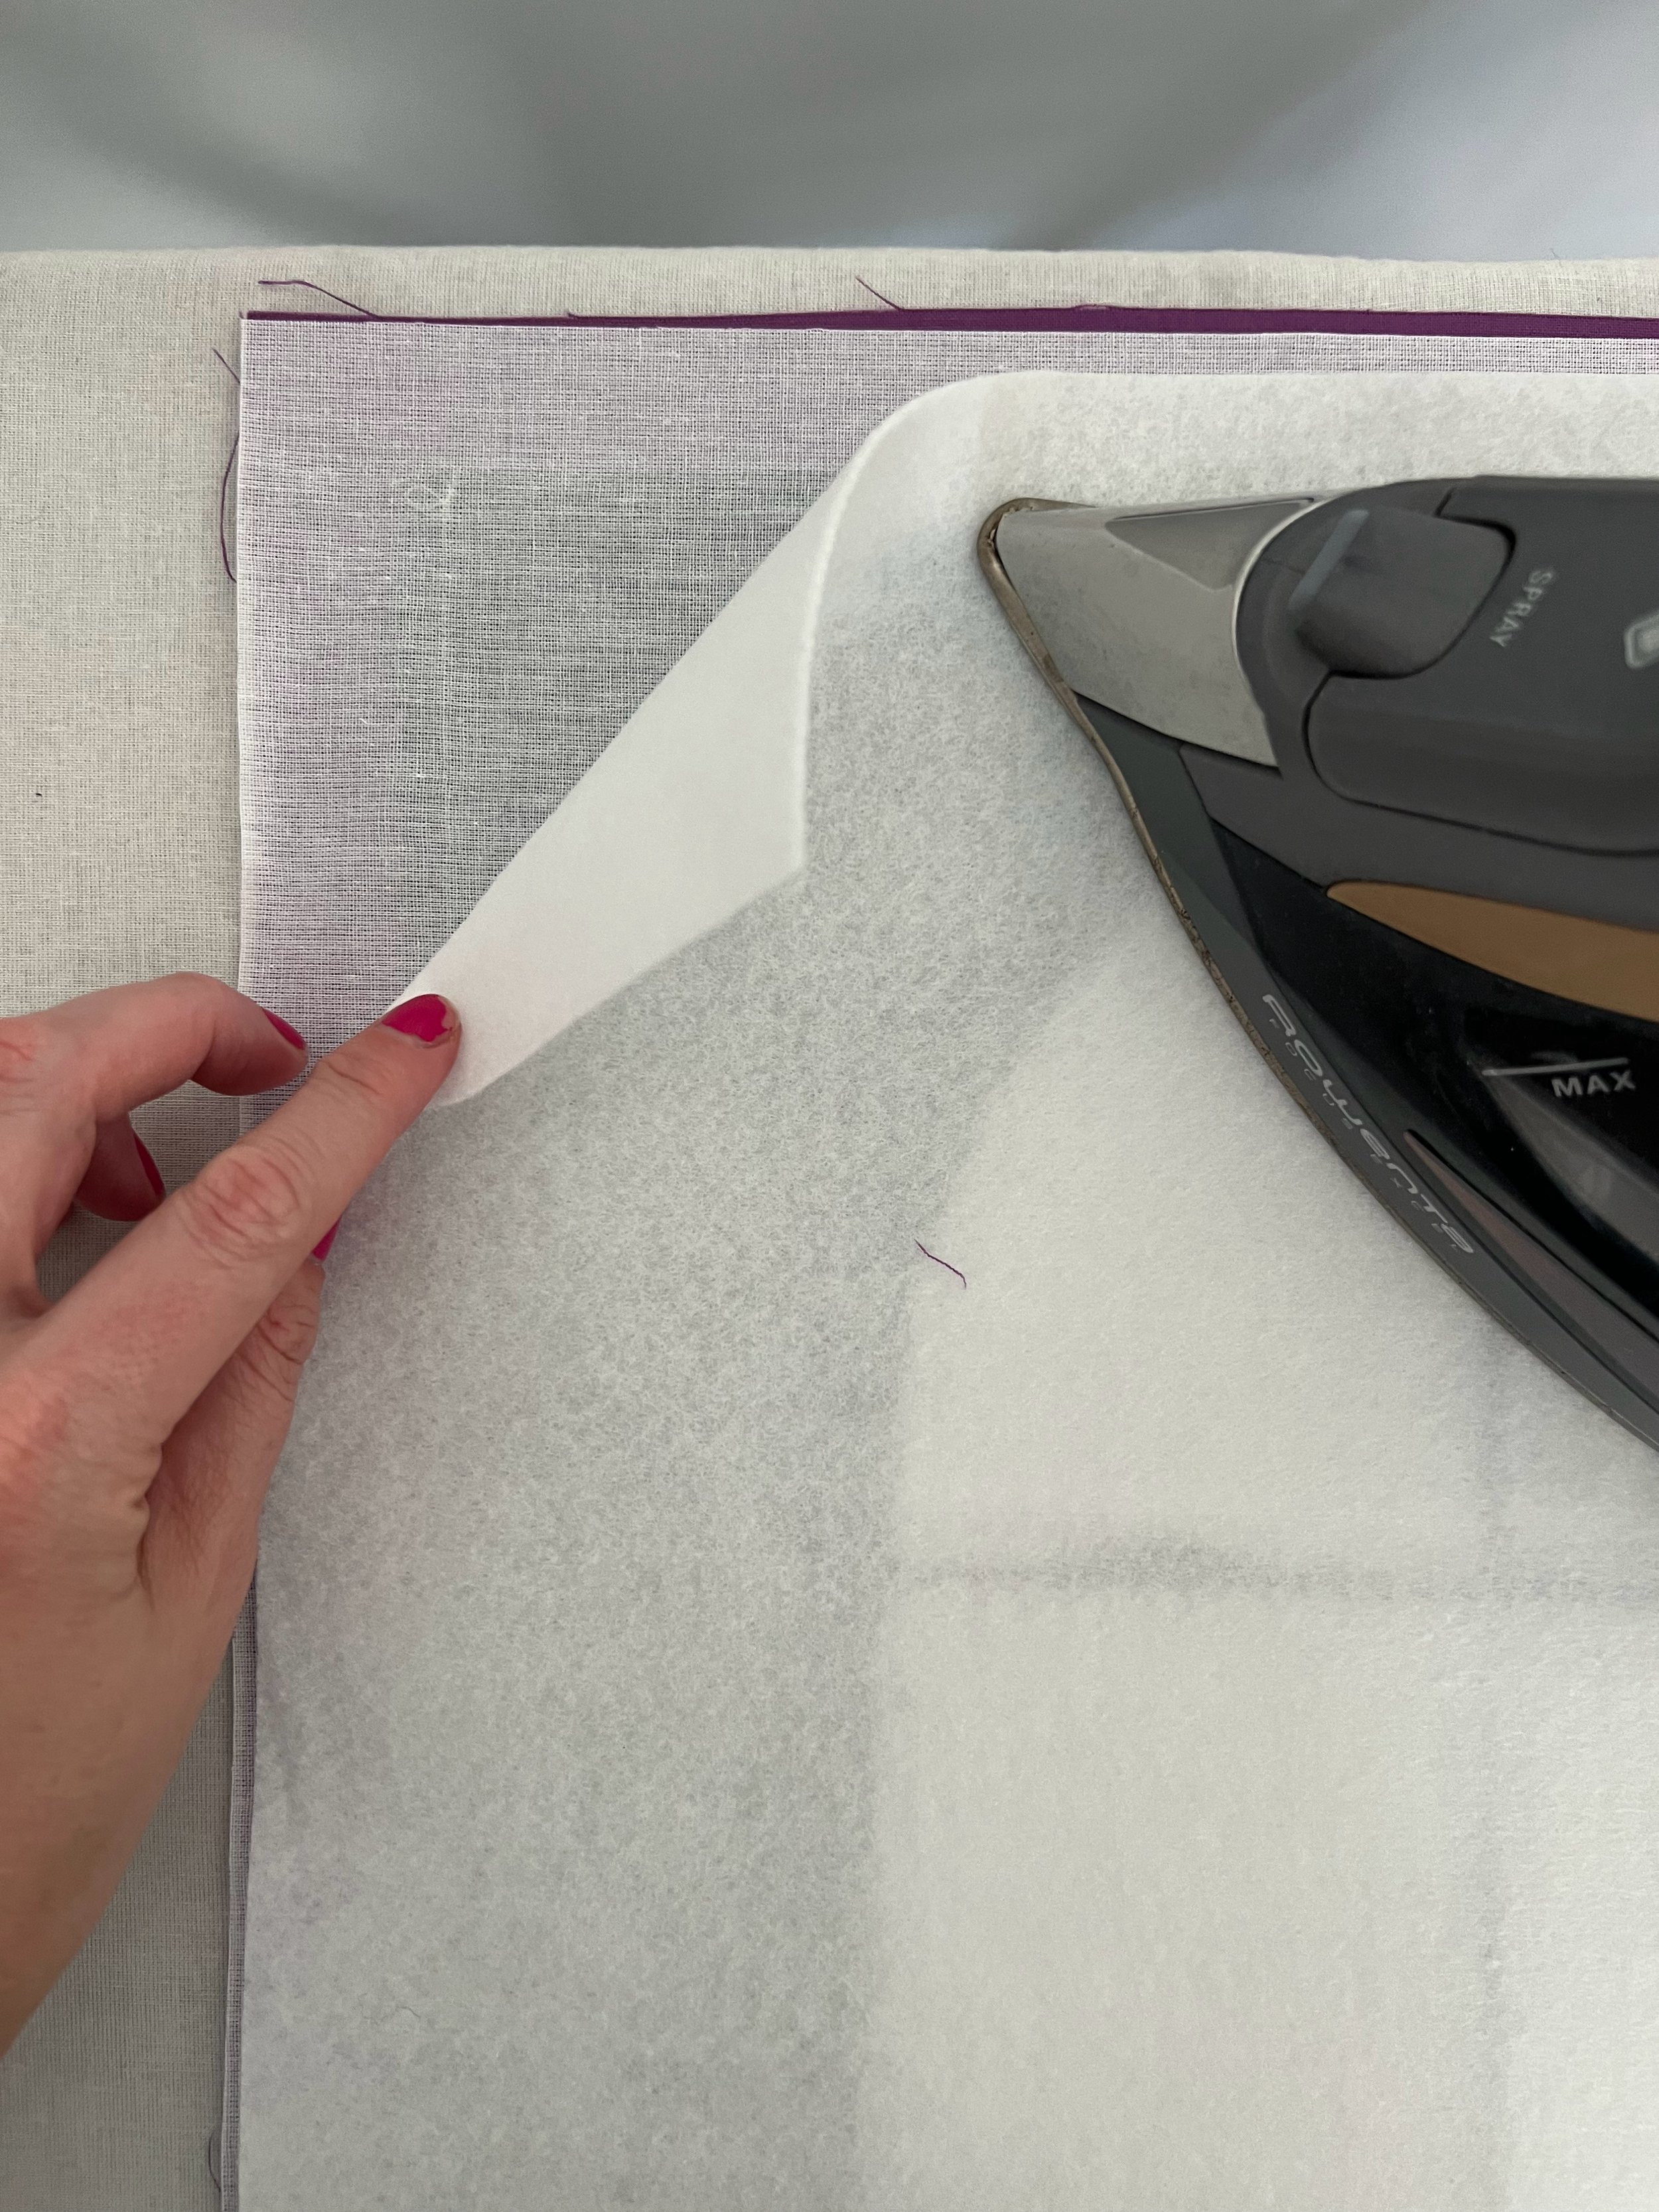
Place Interfacing with fusible side down (recognized by the small glue bumps) on the wrong side of the Exterior pieces (Quilt Block and backing panel). Iron on. Center Fusible Fleece on top of the Interfacing (glue bumps down) for each panel and iron on.

Quilt as desired! I opted for horizontal lines with 1 1/2 inch spacing. It makes it look like my ghost is looking through window blinds!

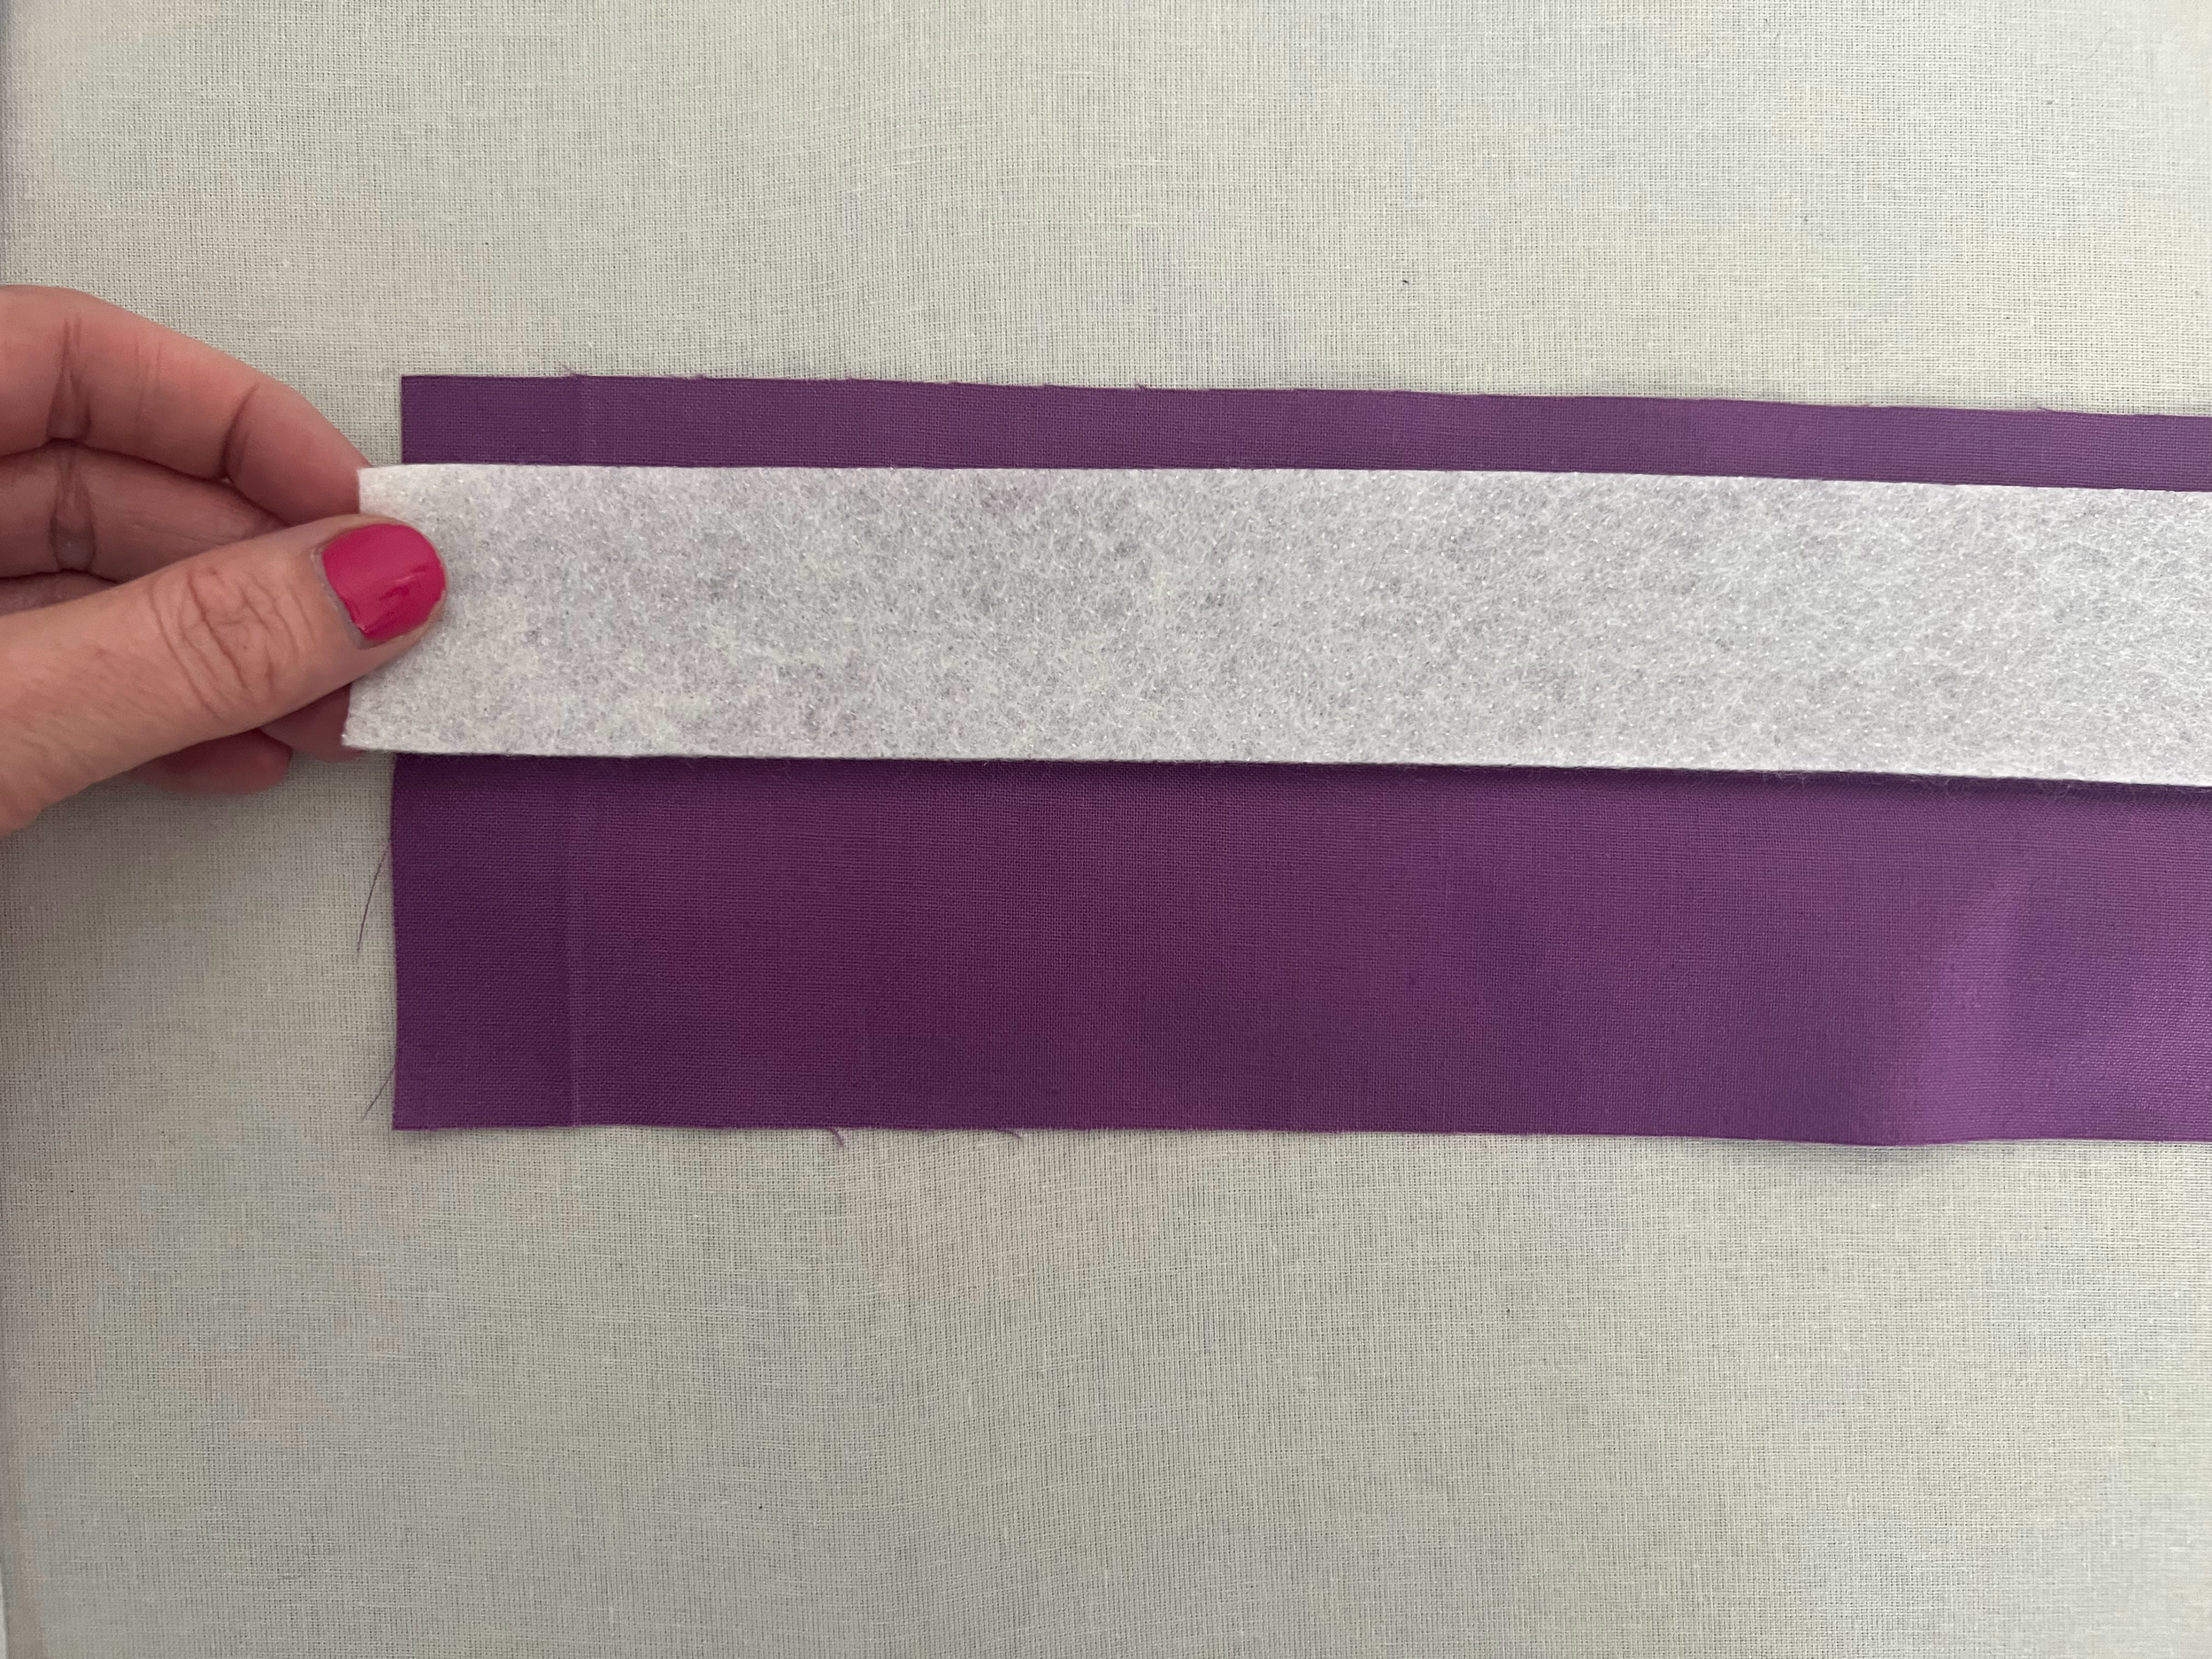
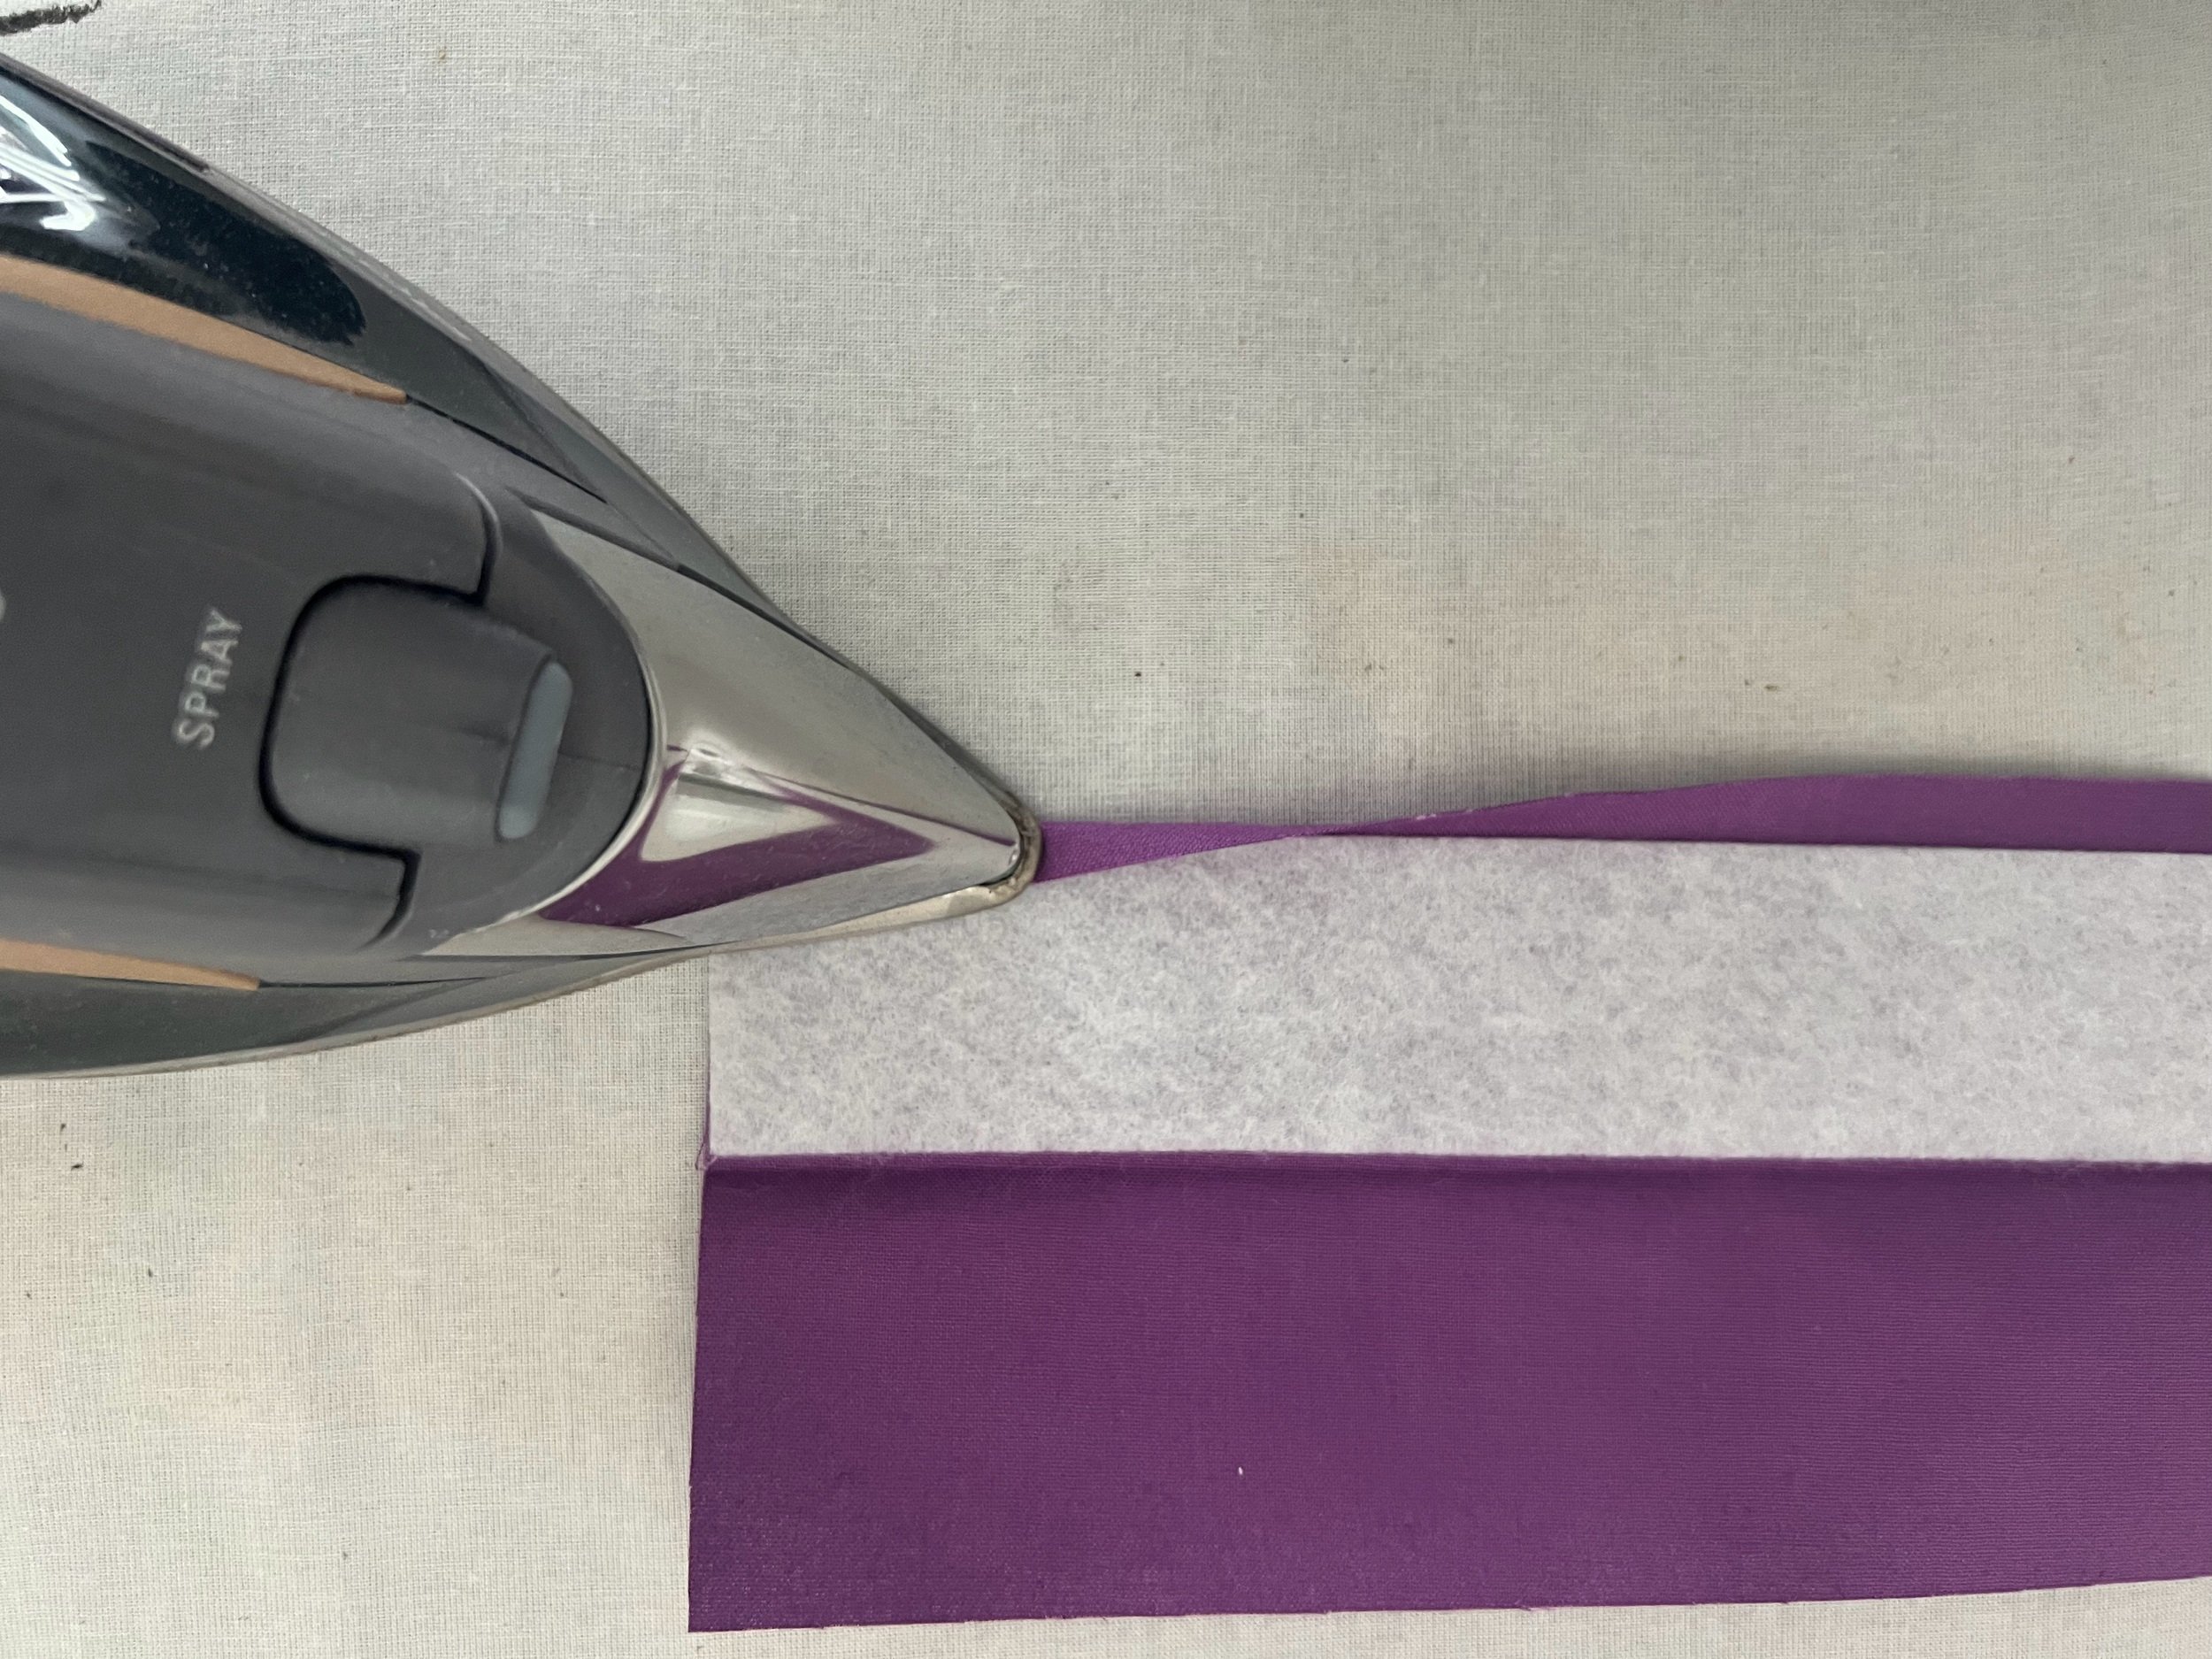
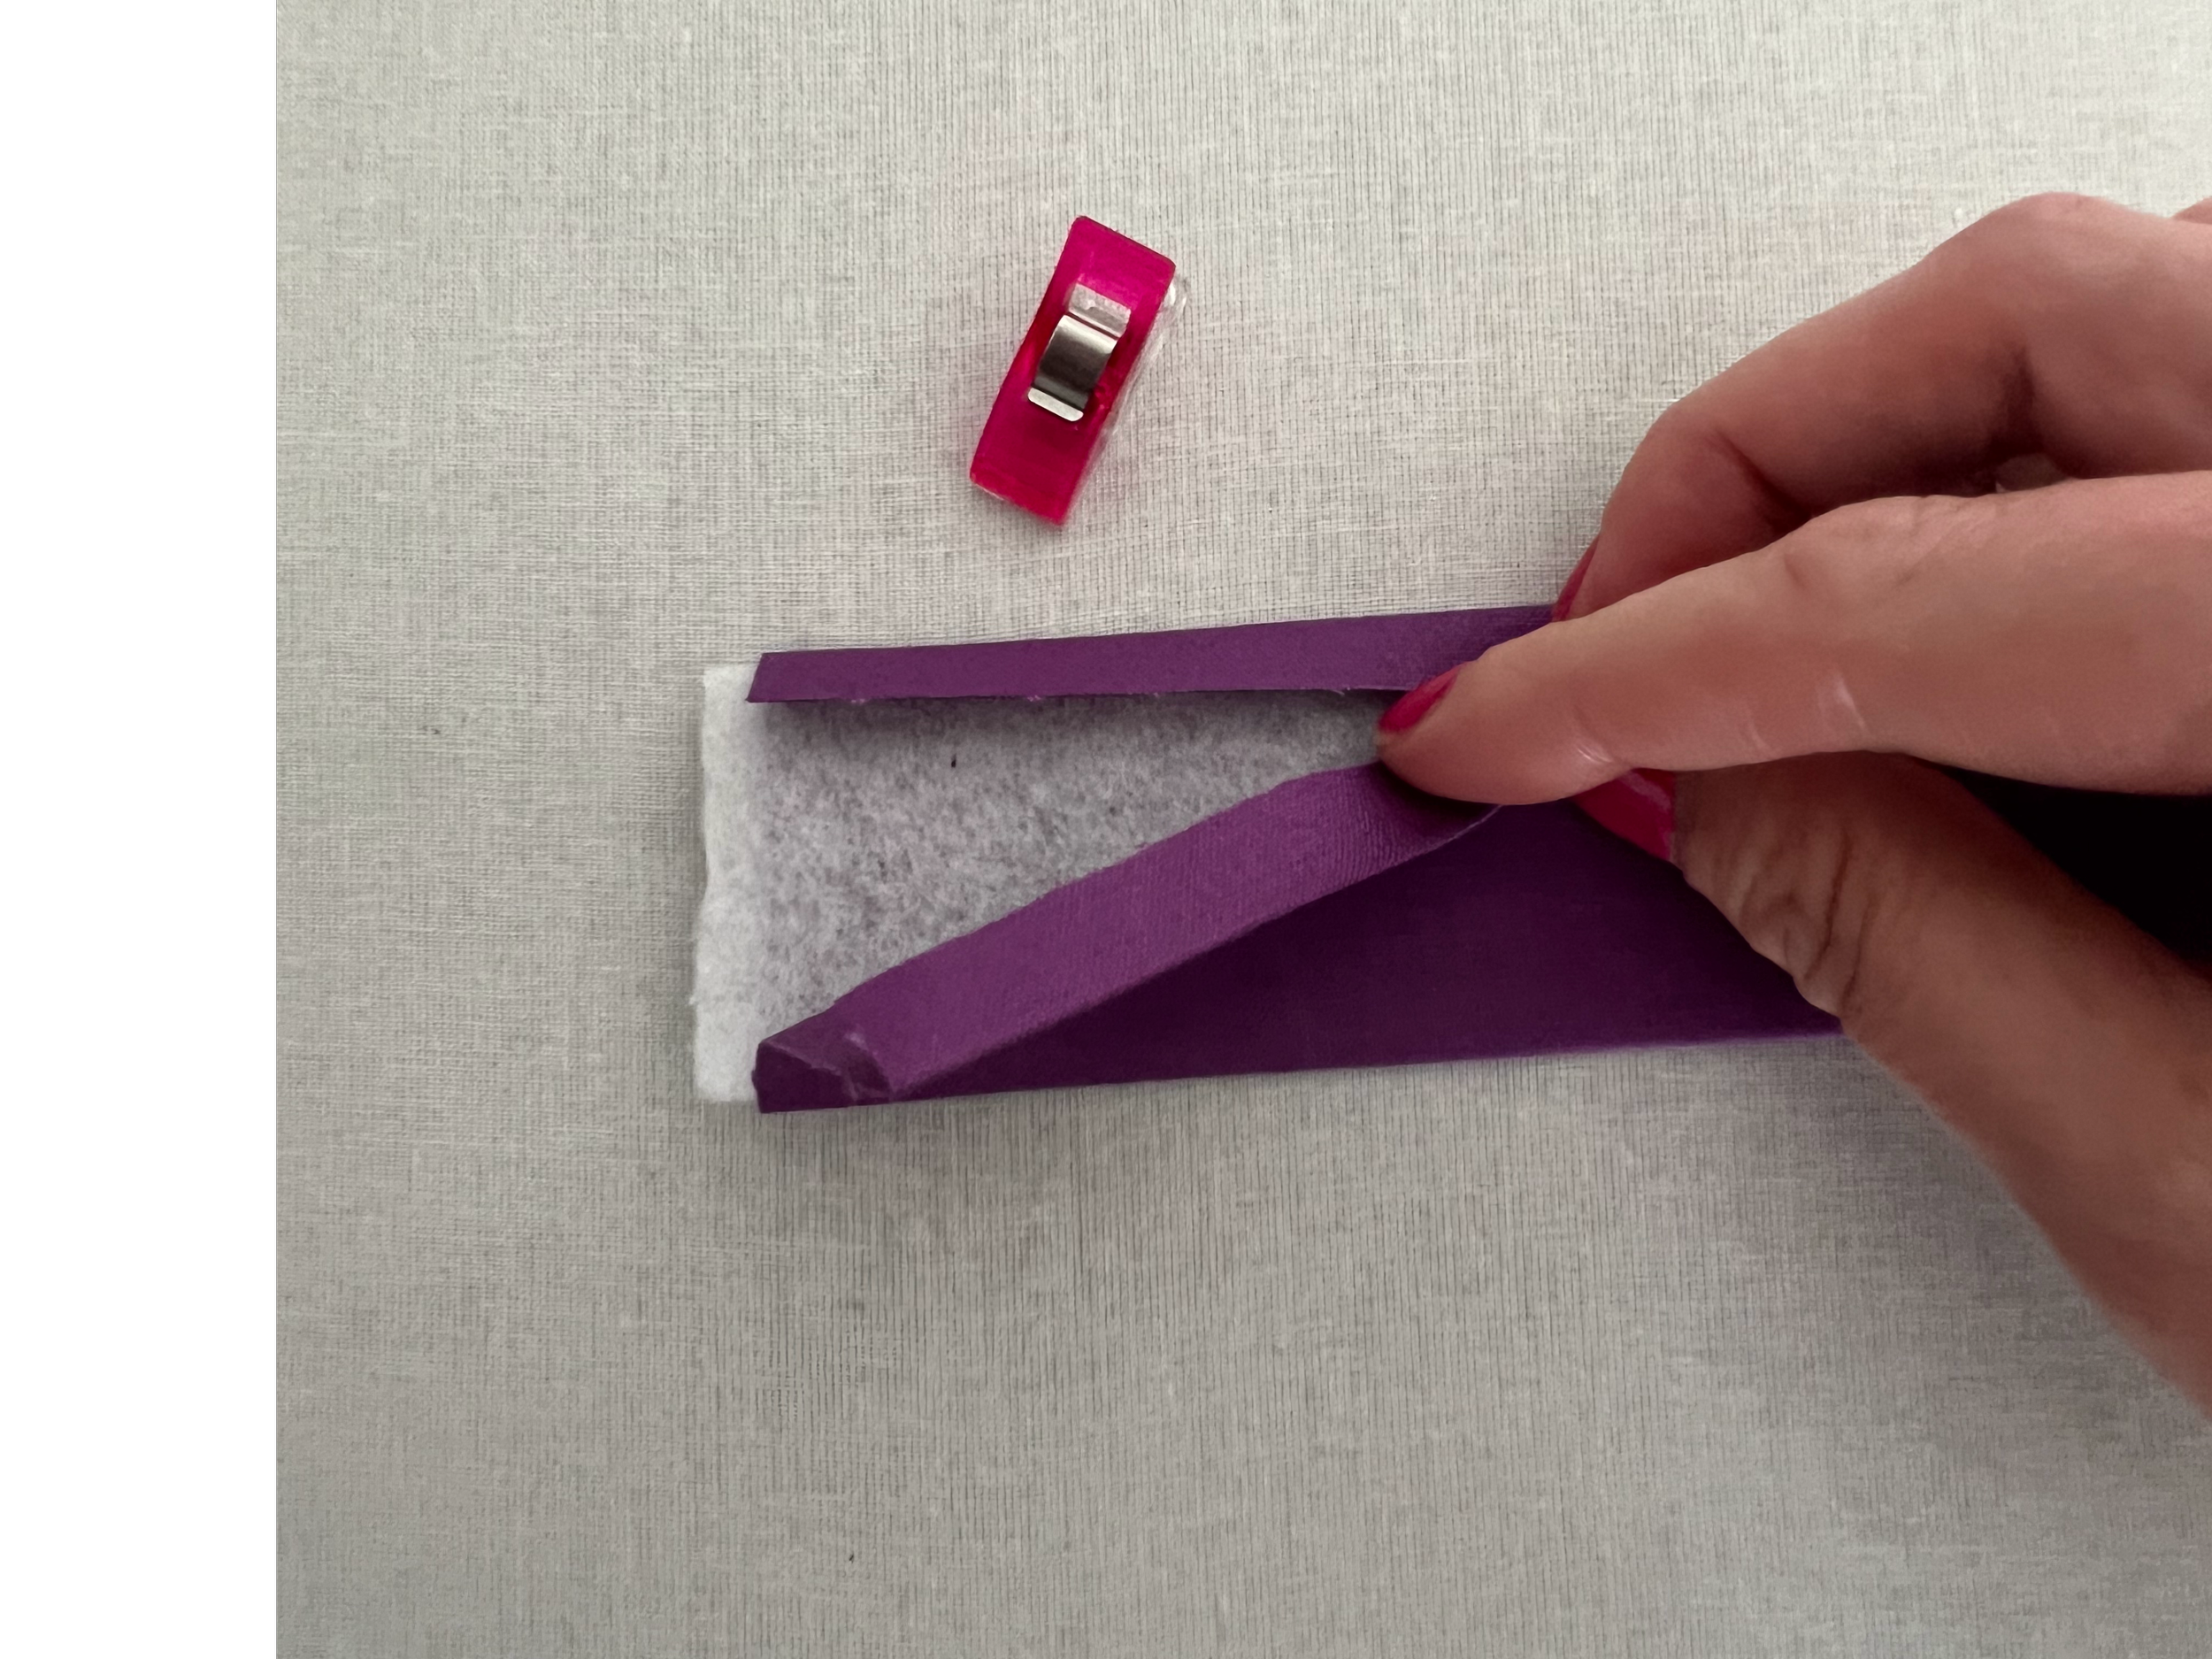
Create Straps by folding each Strap in half wrong sides together and pressing to create a crease. Open the strap back up and insert the Fusible Fleece strip with the edge aligning to the crease. Close over the Fleece and press with a hot iron to fuse together. Open the strap and fold the overages into the inside evenly and press. This will create a clean edge for your strap.

Top stitch the Strap 1/8” away from the edge. Do this on both sides of the Strap for both Straps. You may elect to add an additional stitch line as I did to provide long term stability. The ends do not need to be finished, as they will be inside the bag.
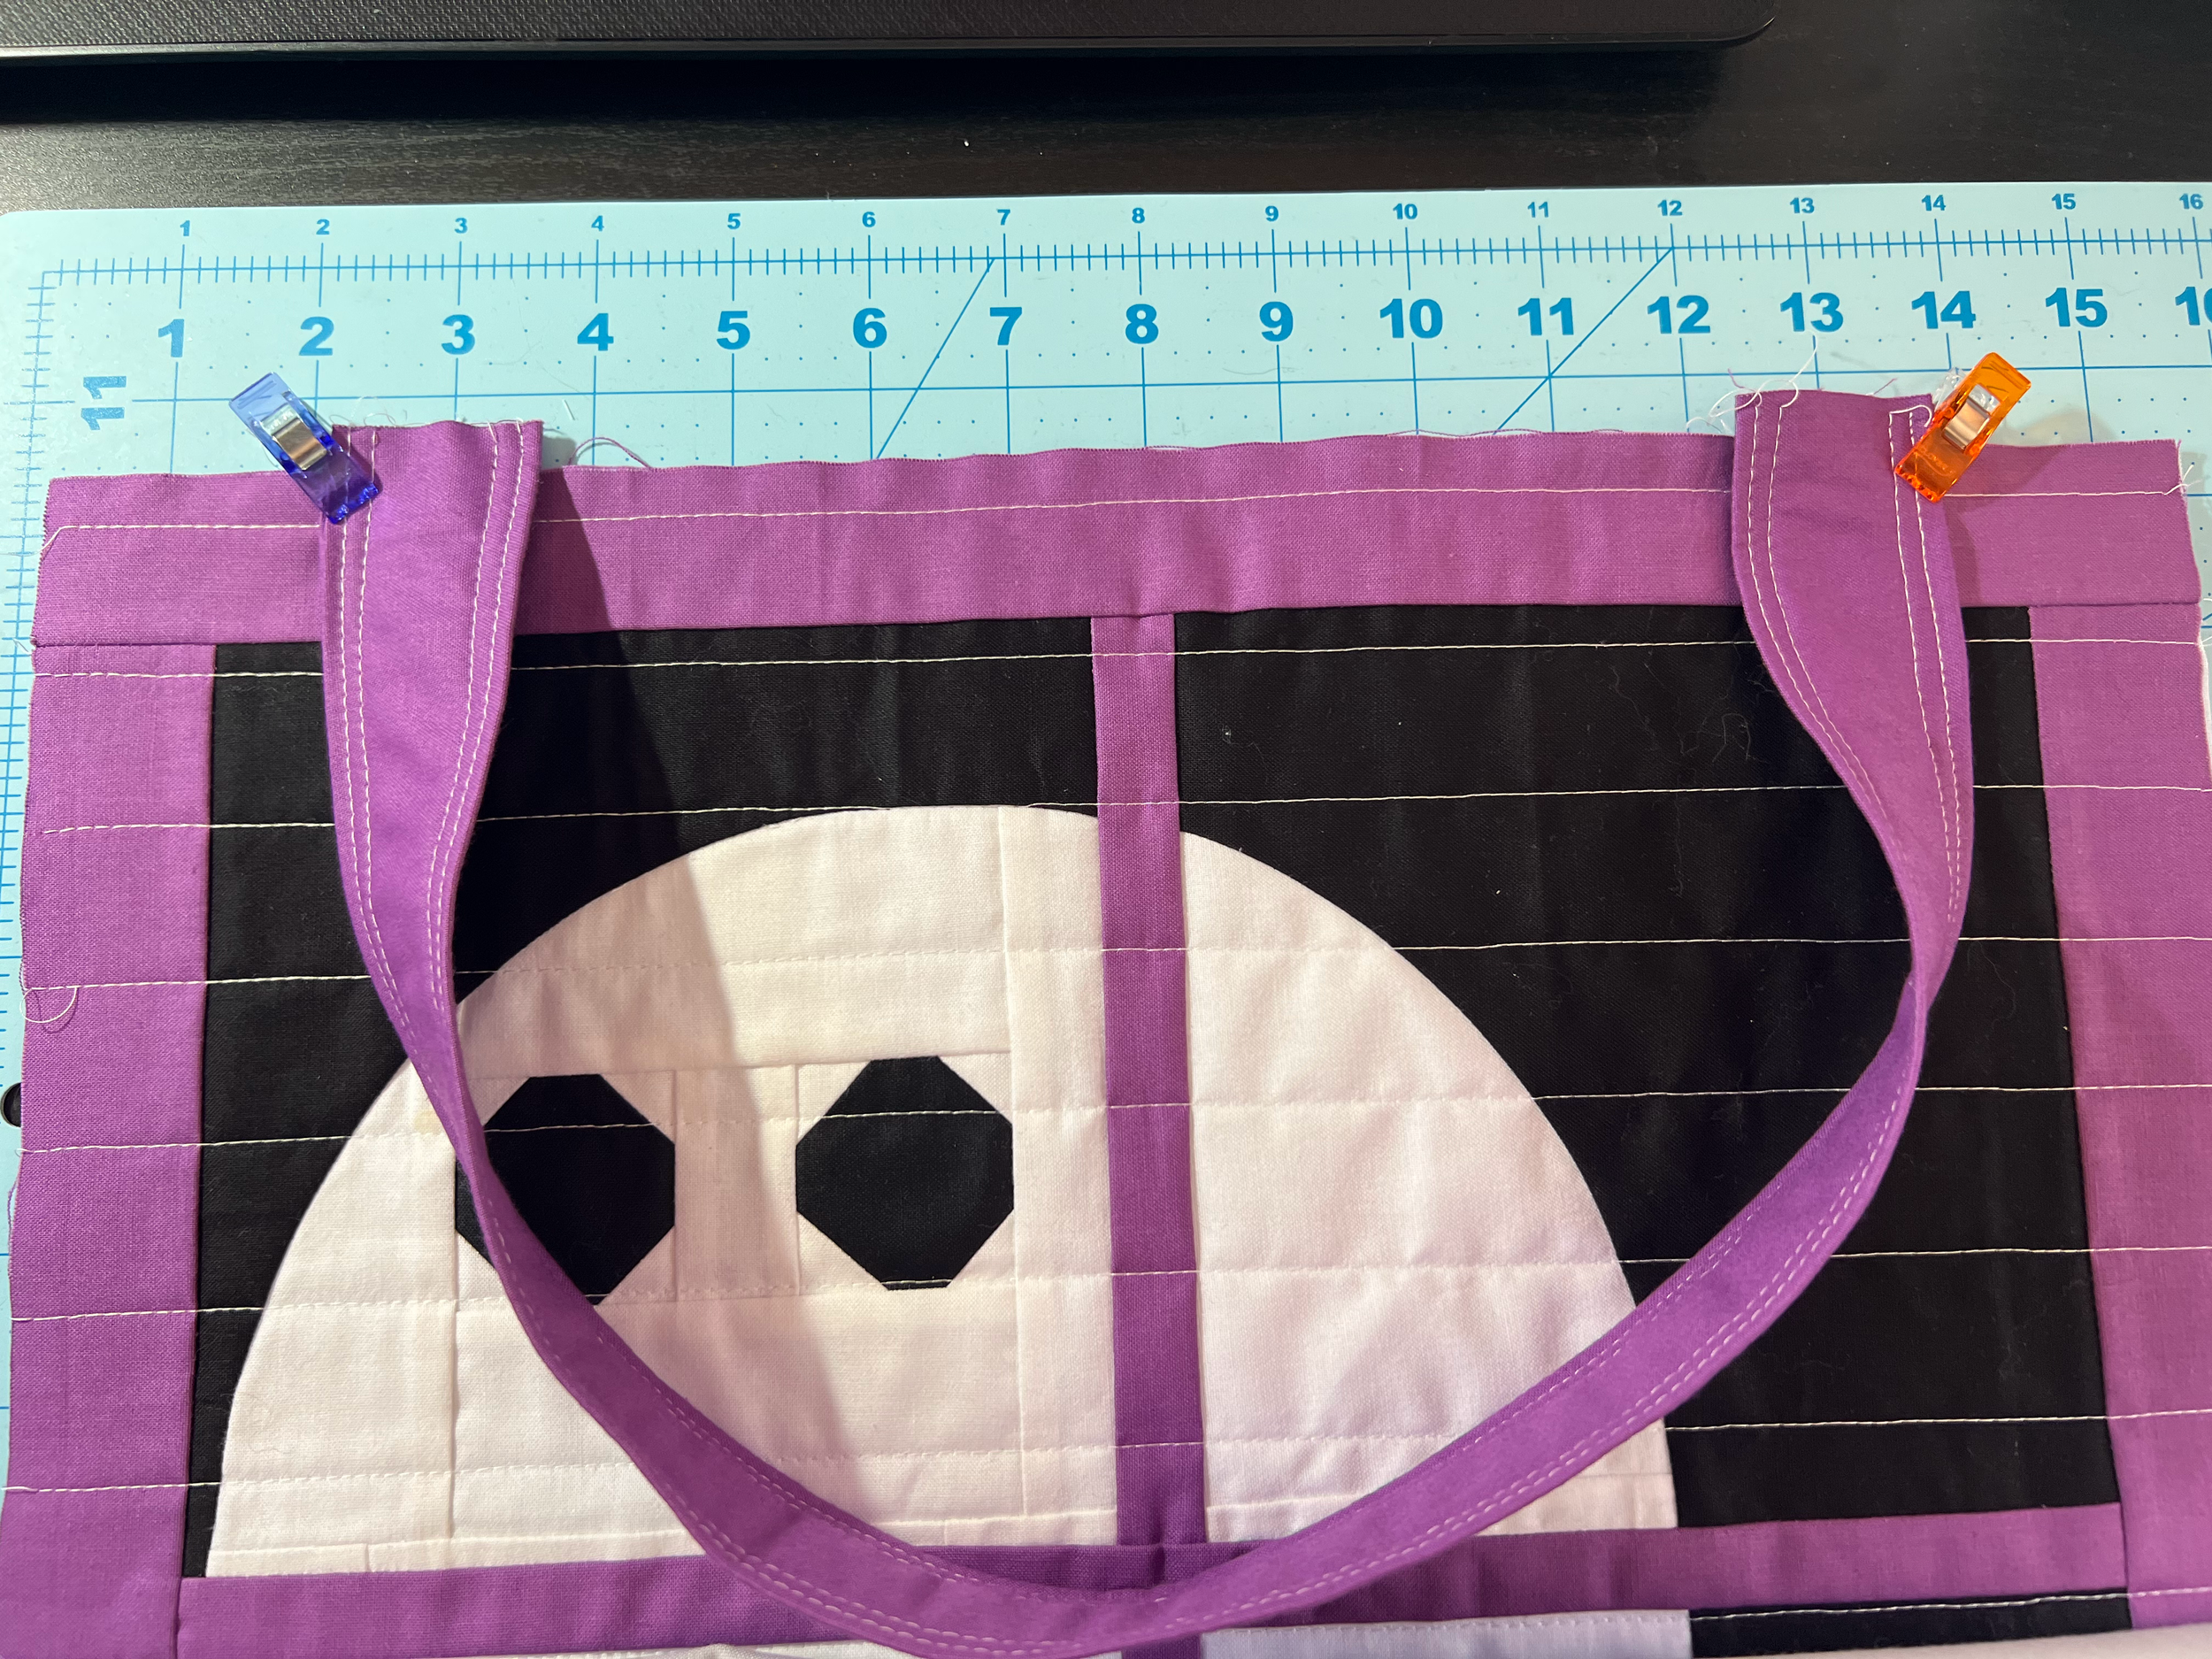
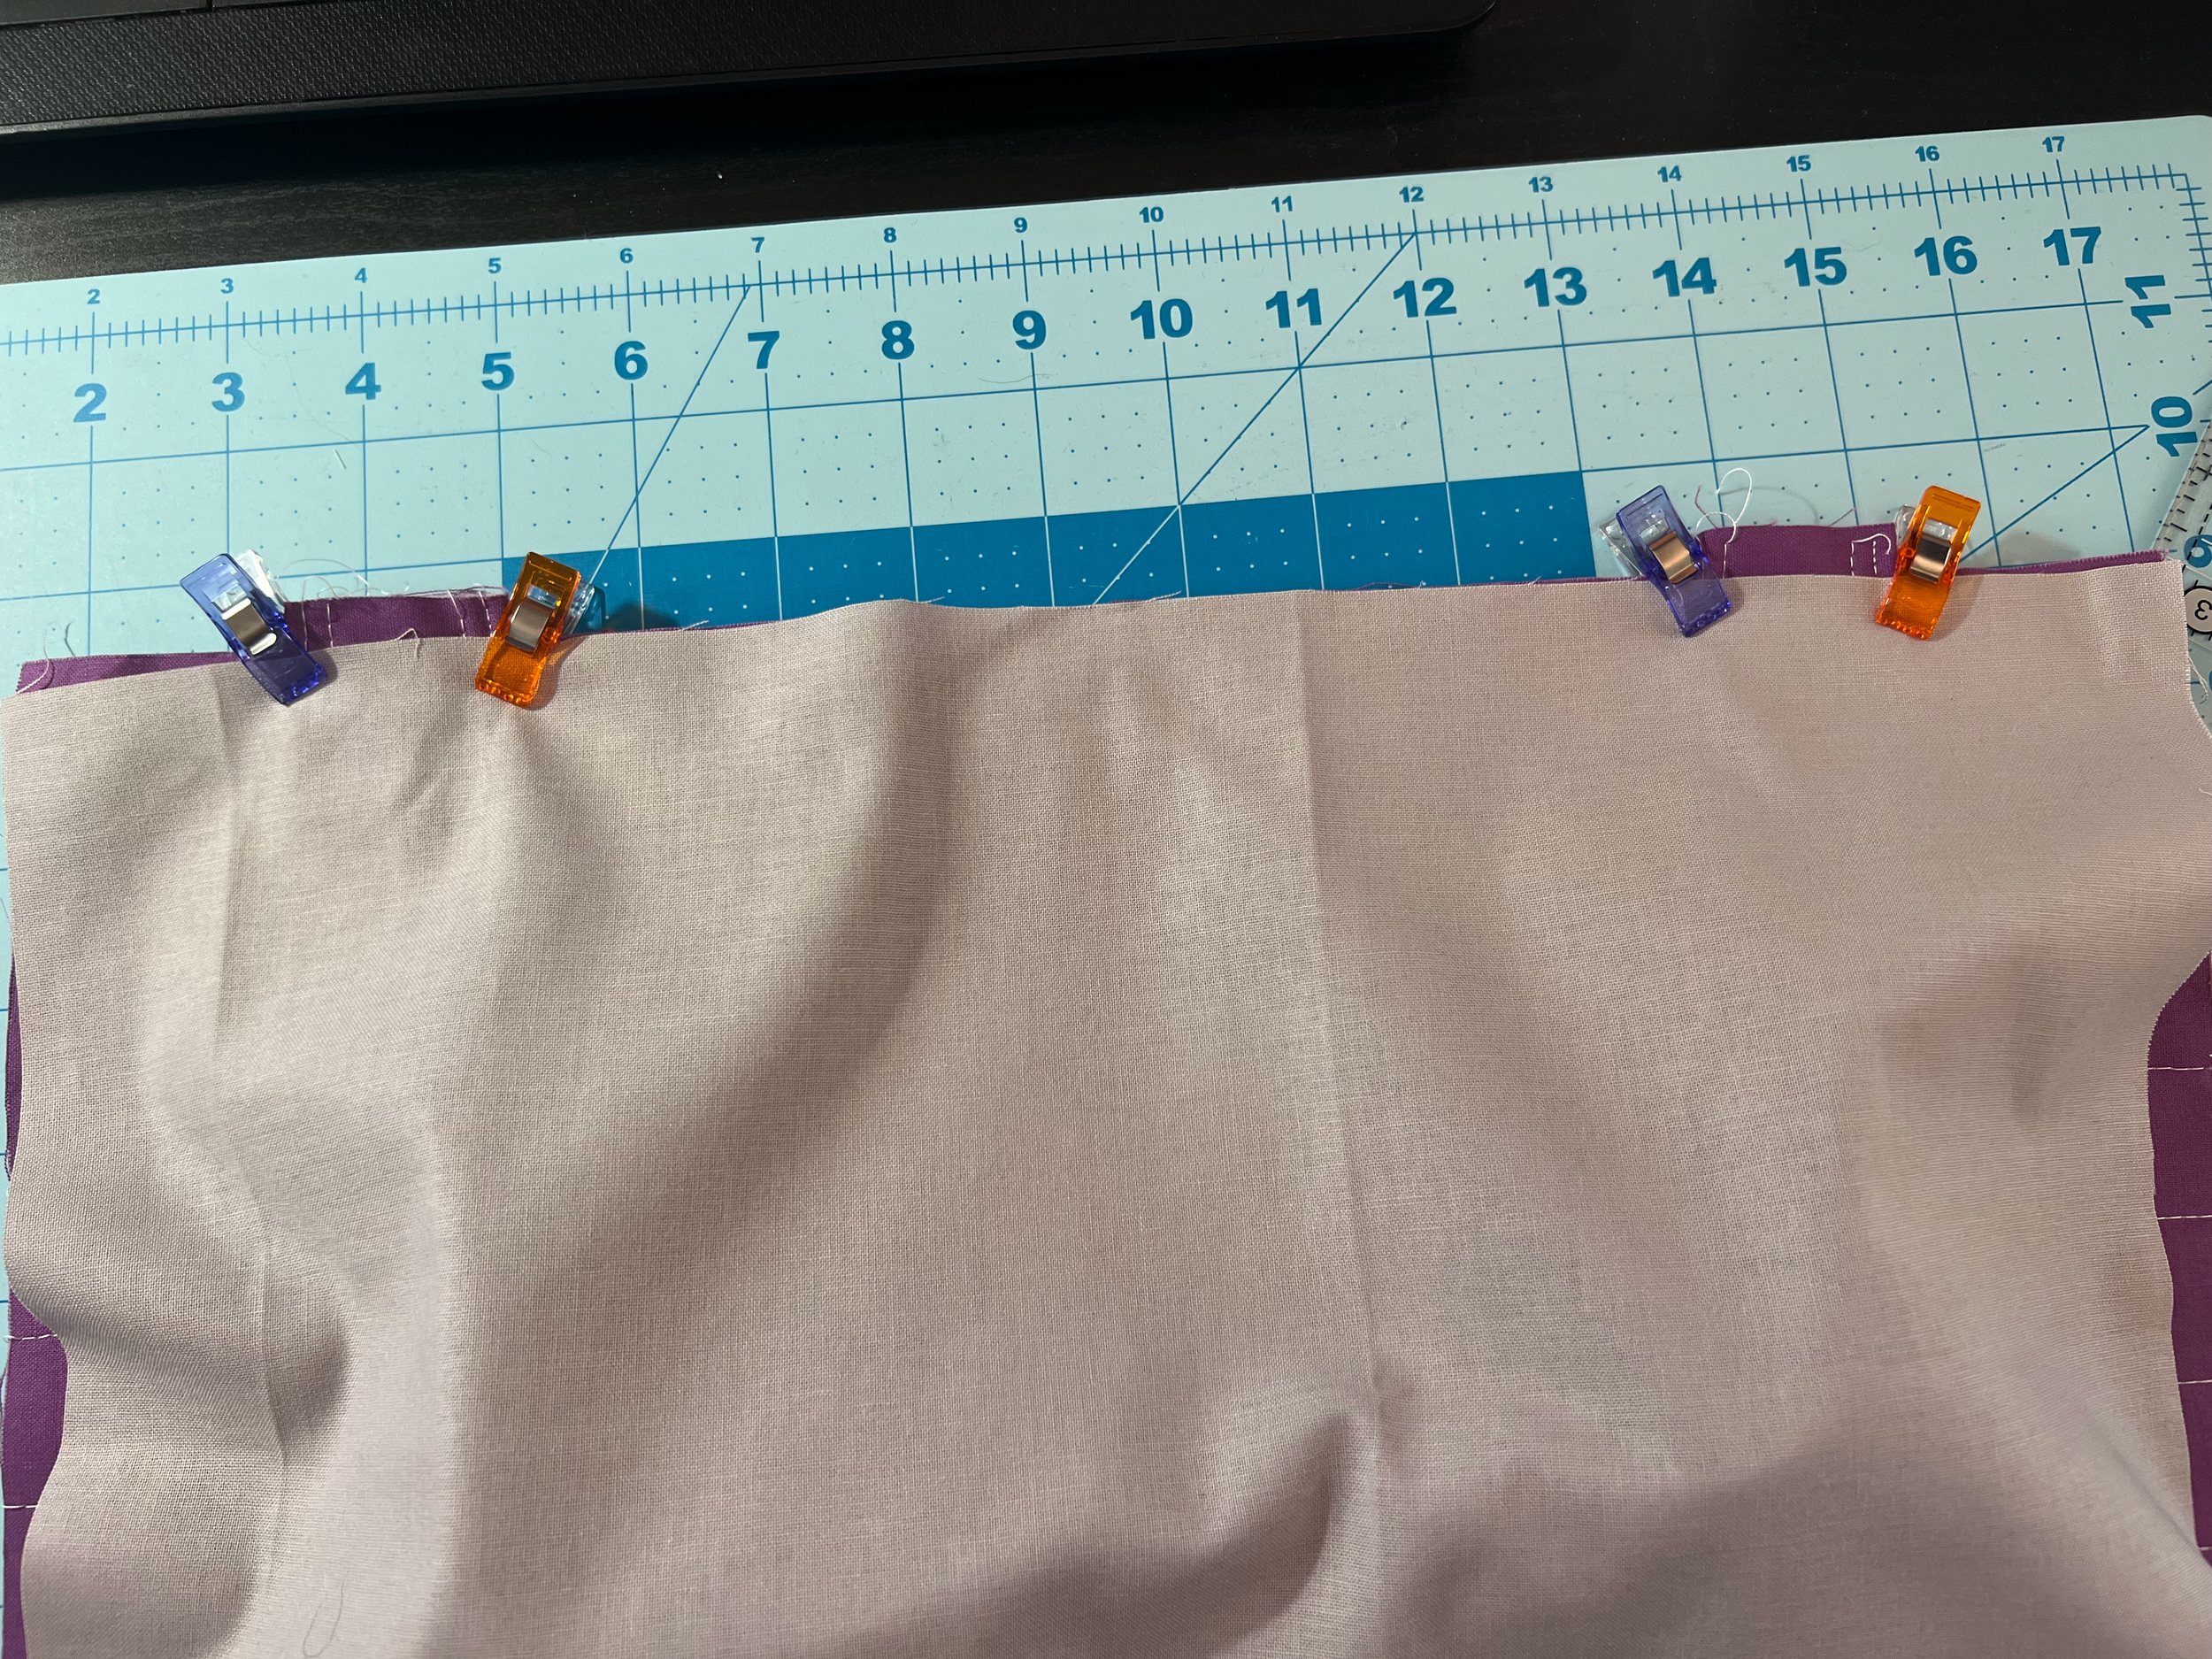
Lay an Exterior piece right sides up and pin/clip the raw edges of the Strap approximately 2” from the edges. Leave 1/2” to 1” of the ends over the top edge of the Exterior piece. Layer on top one of the Lining pieces, right side down. Pin or clip the top edge together.

Sew the Exterior piece to the lining across the top horizontal edge. Be sure to backstitch over the Straps to secure them.
Do the same for the other Exterior piece.

Open up the front panel and move the strap out of the way of the edges.
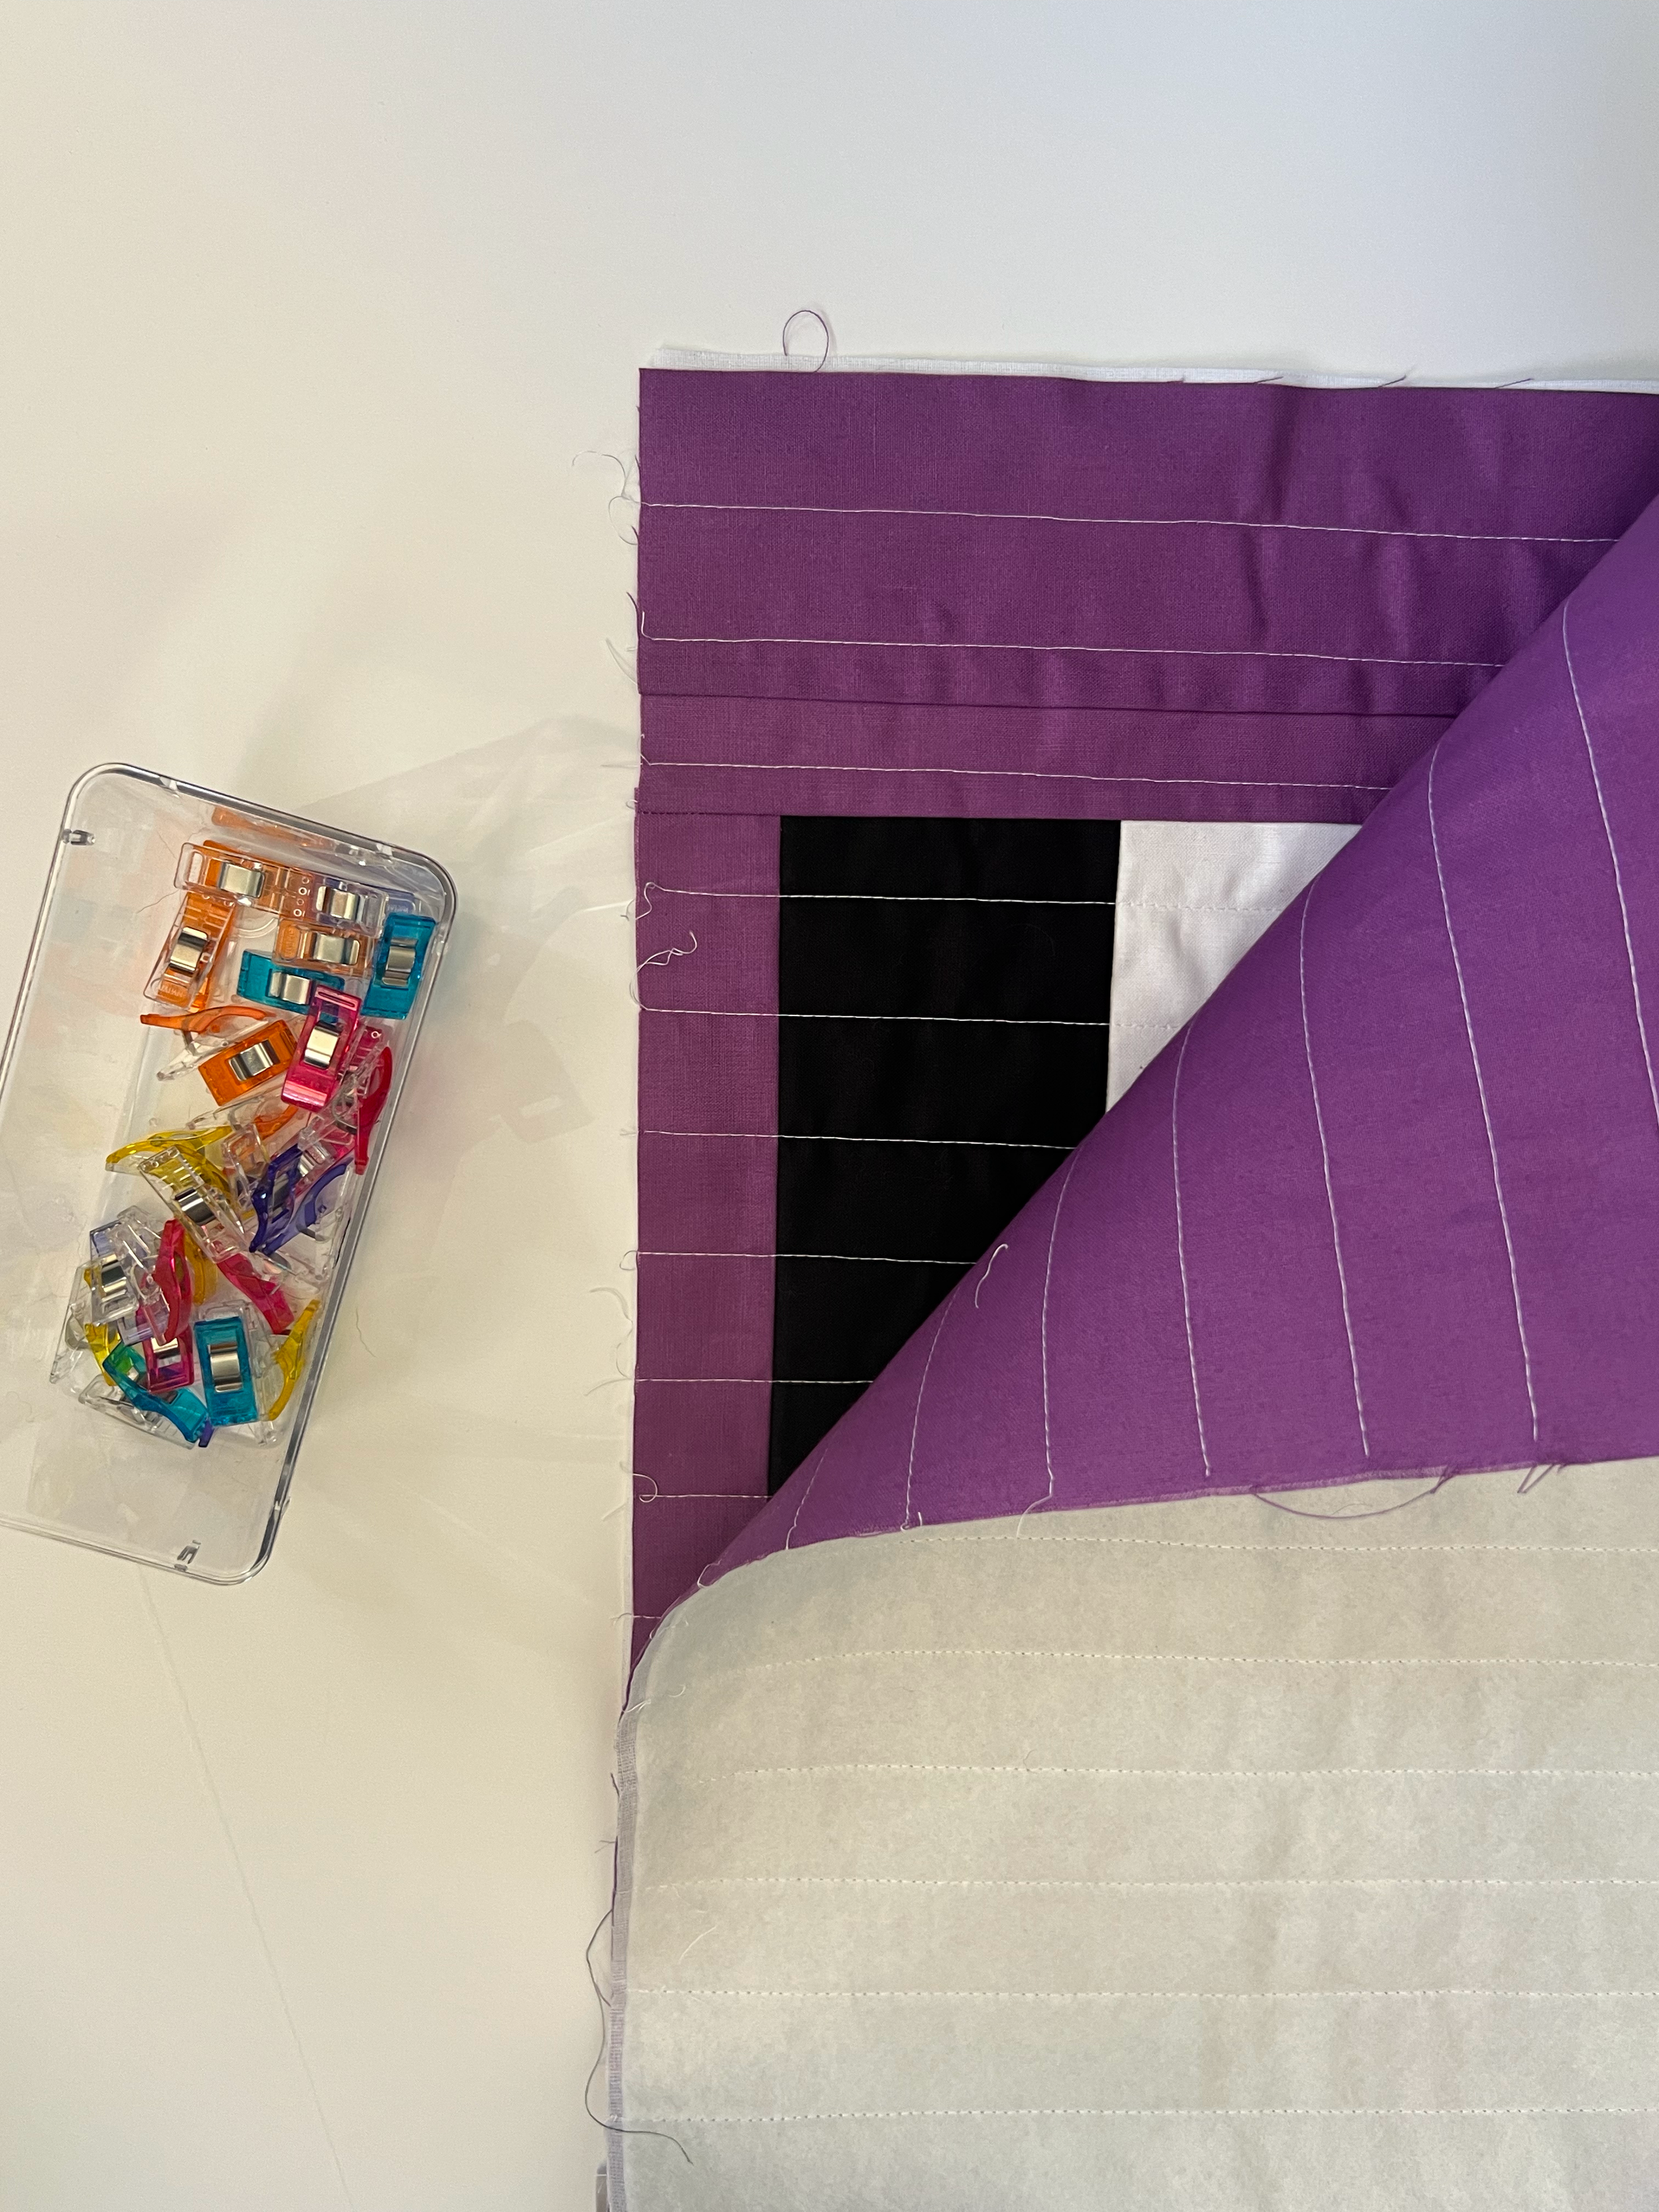

Layer the back panel atop the front panel right sides together - Exterior pieces matching and Lining pieces matching. Clip or pin all the way around, being sure to align the seams as pictured. Double check that no Strap pieces are sticking out of the edges - you want them bundled up in the middle.
Mark a gap on the bottom of the Lining side, approximately 4-6”. This is where you will start and stop sewing and will provide a space to invert the bag.

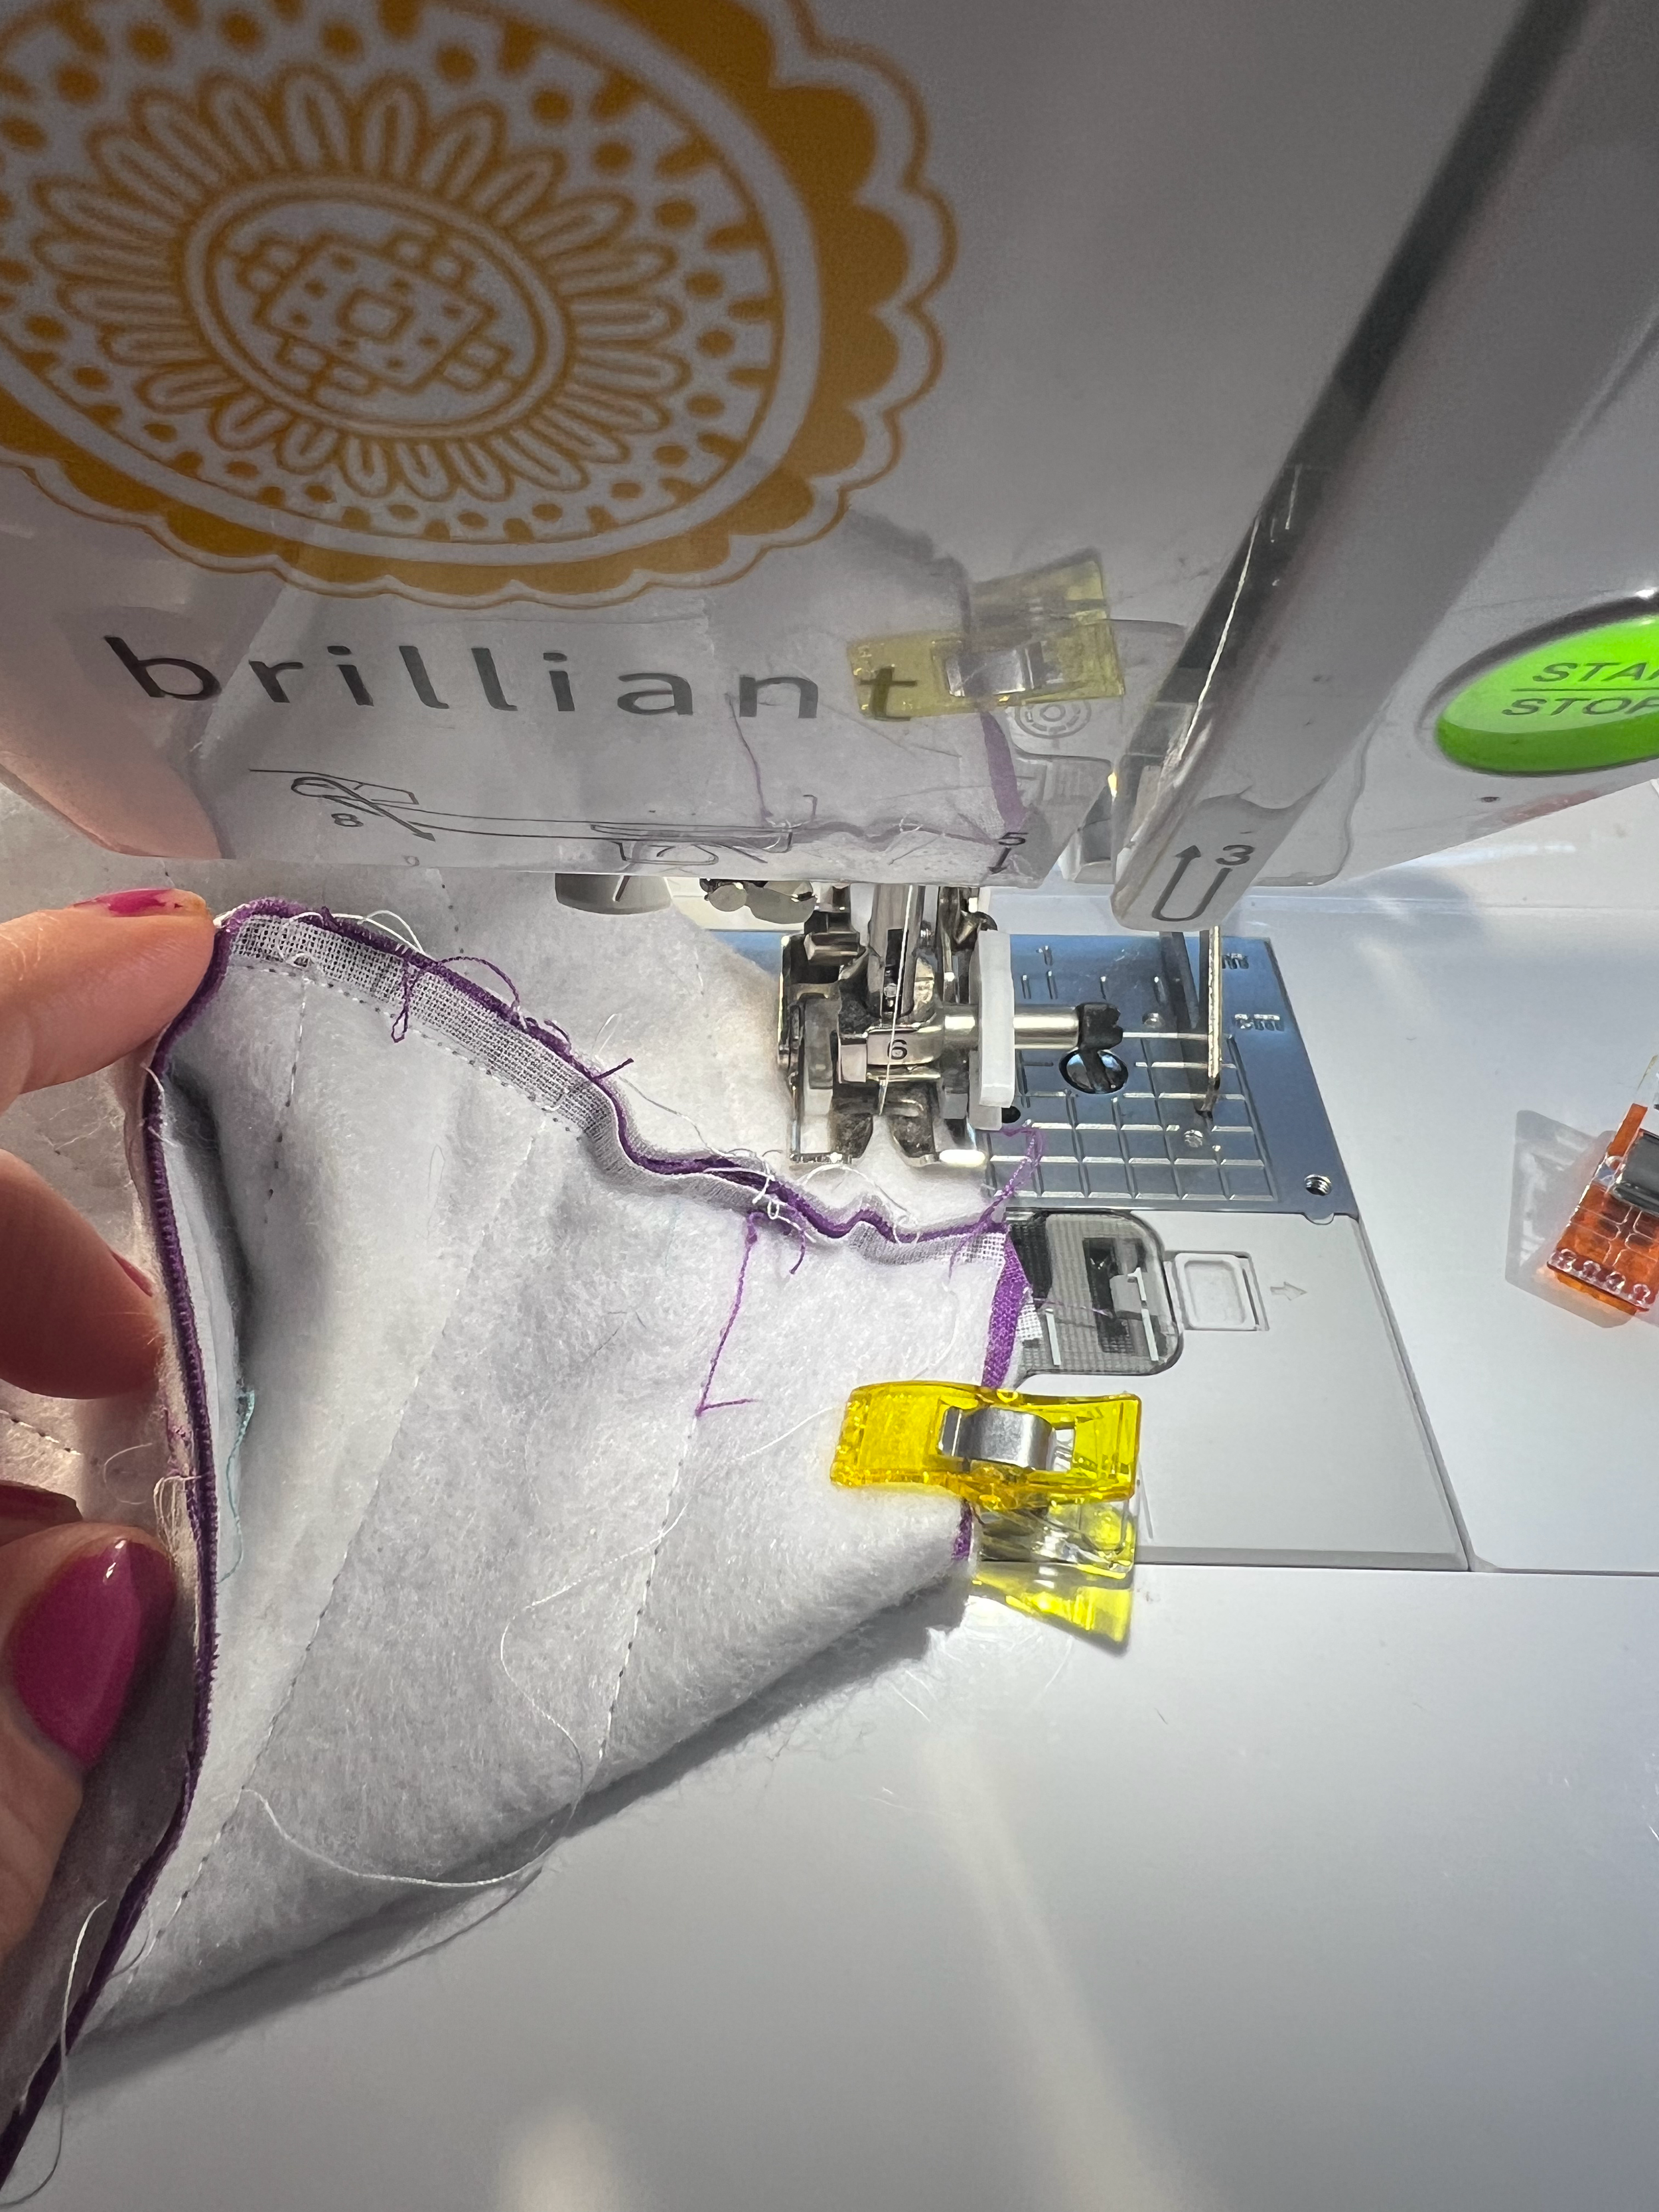
Using a generous 1/4” seam allowance, stitch around the perimeter of the piece, backstitching over the start and stop. Don’t forget to leave the large 4-6” gap on the Lining side so you can invert the bag.
Be sure the Straps are in the middle and do not get stitched over.

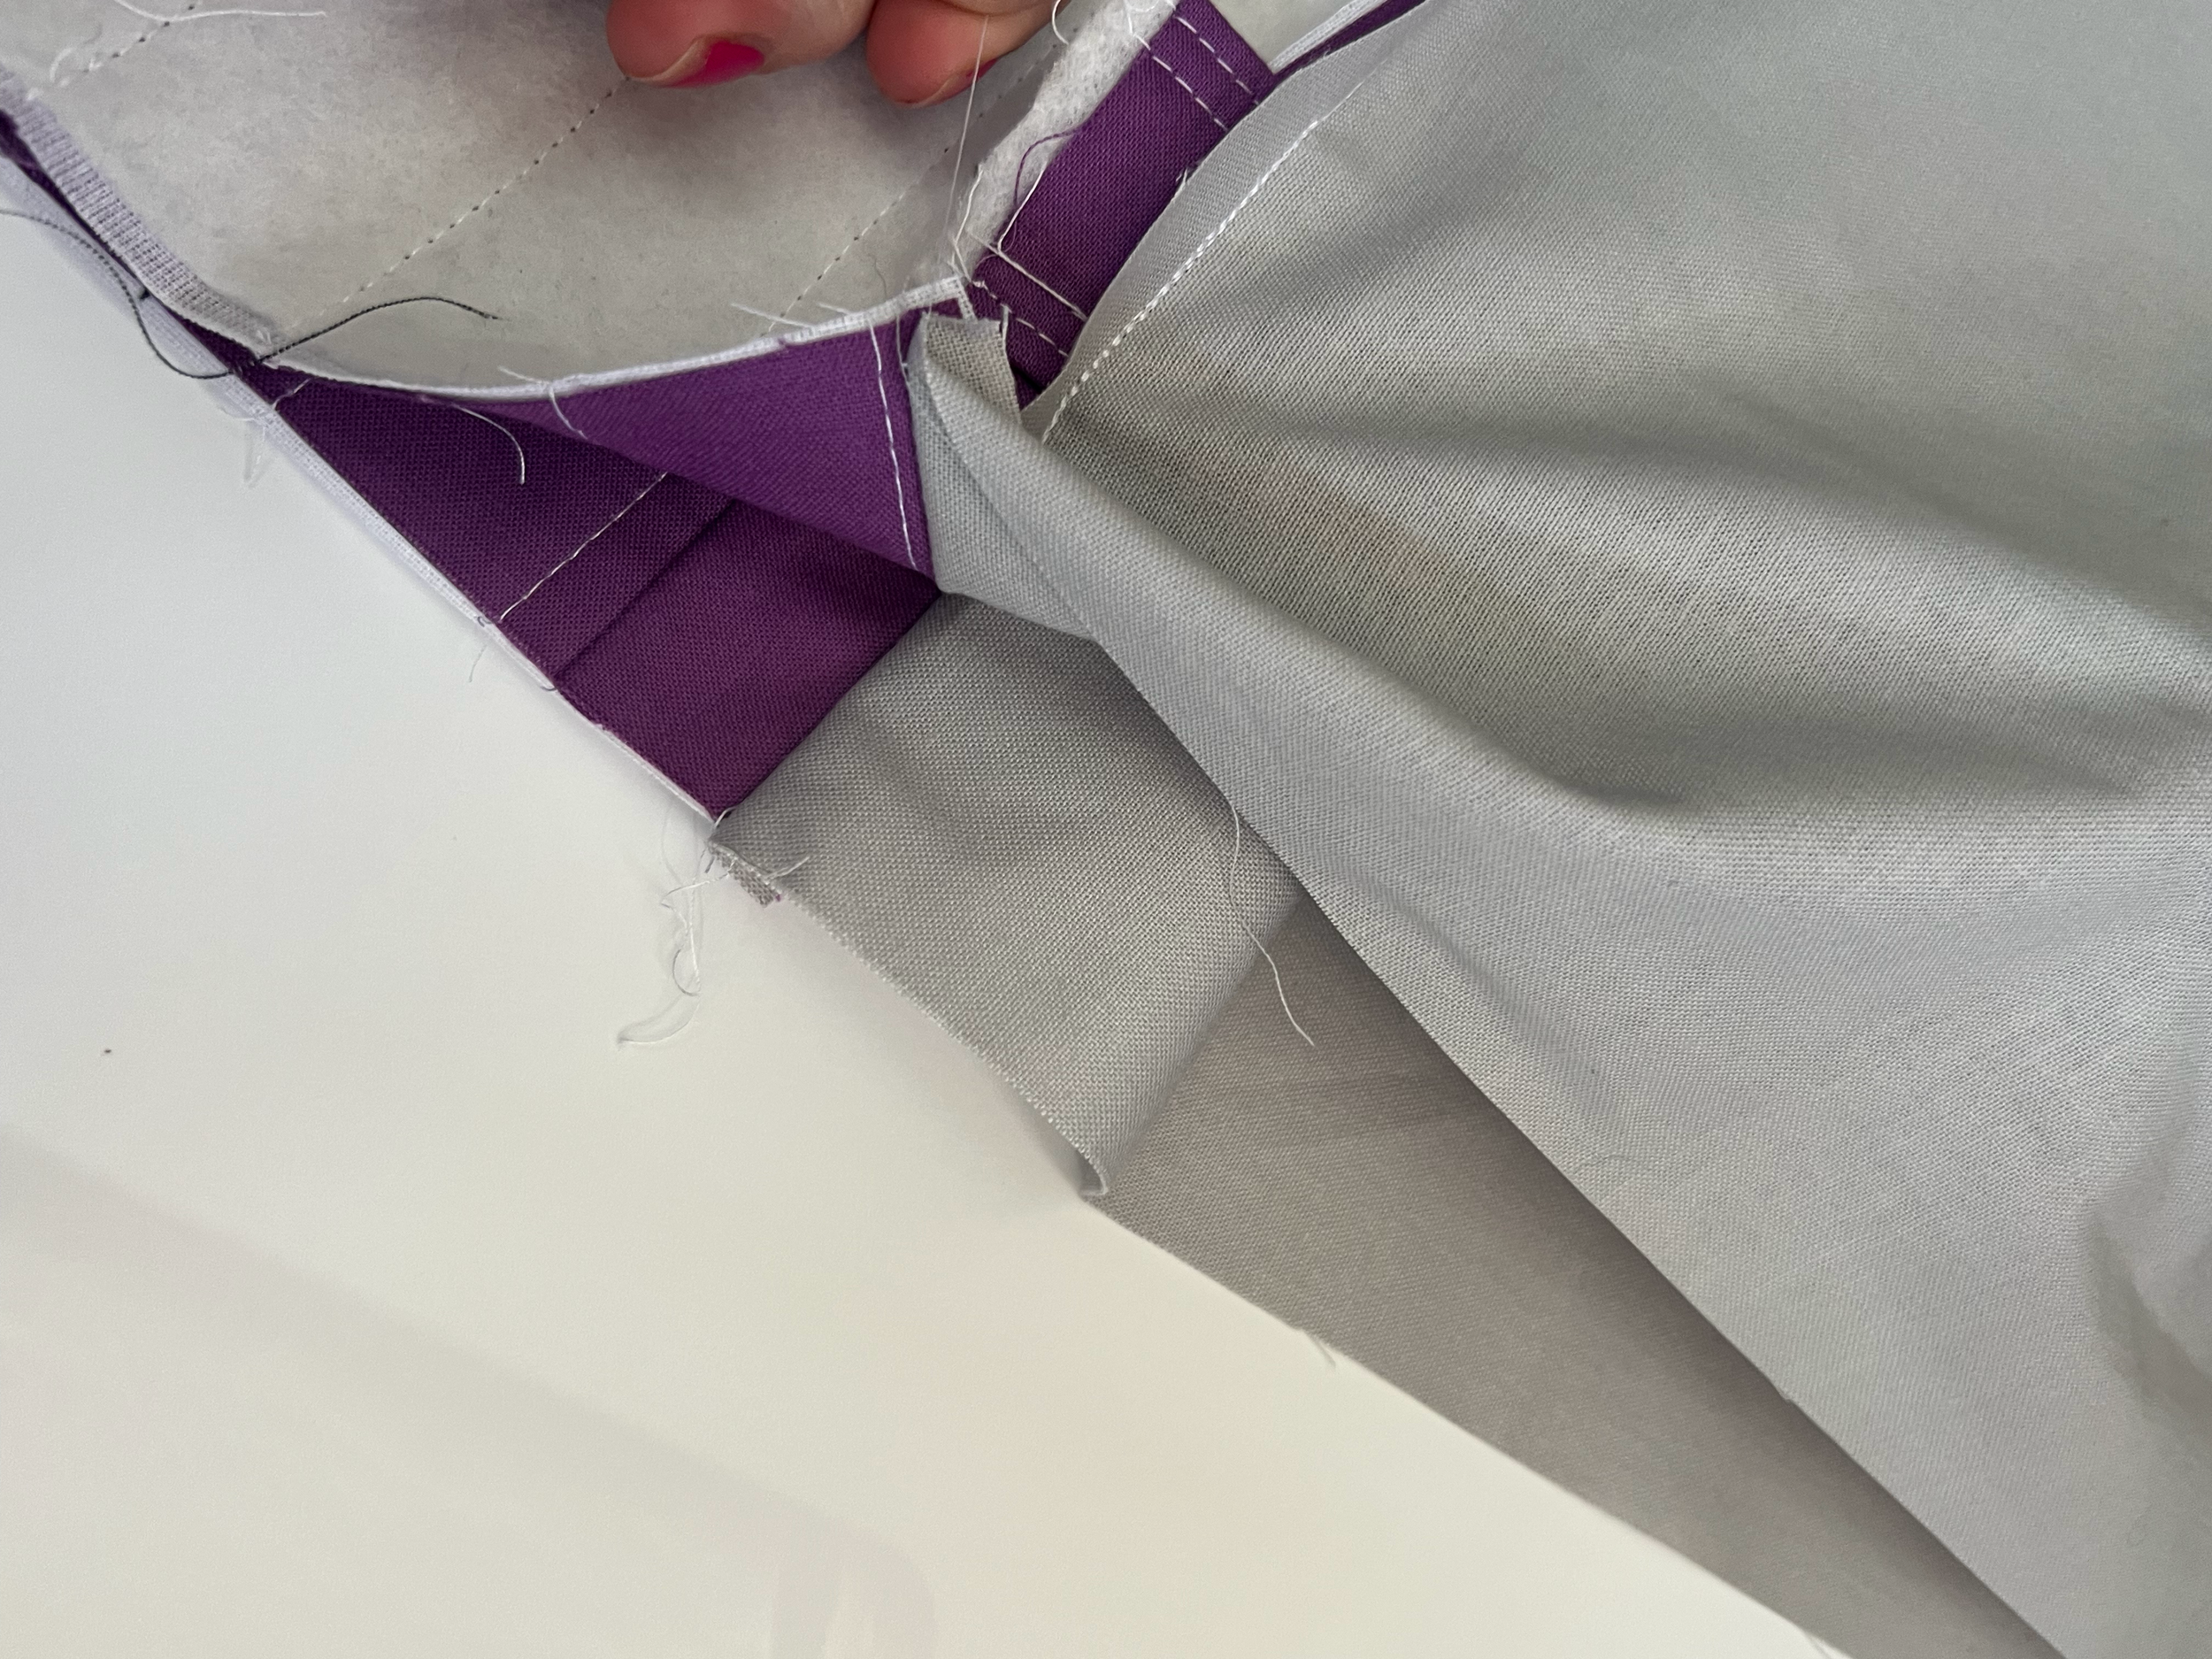
Before you invert the bag, you will box the corners.
To box the corners of the bag, cut a 1 1/2” square on each of the Exterior corners and Lining corners.
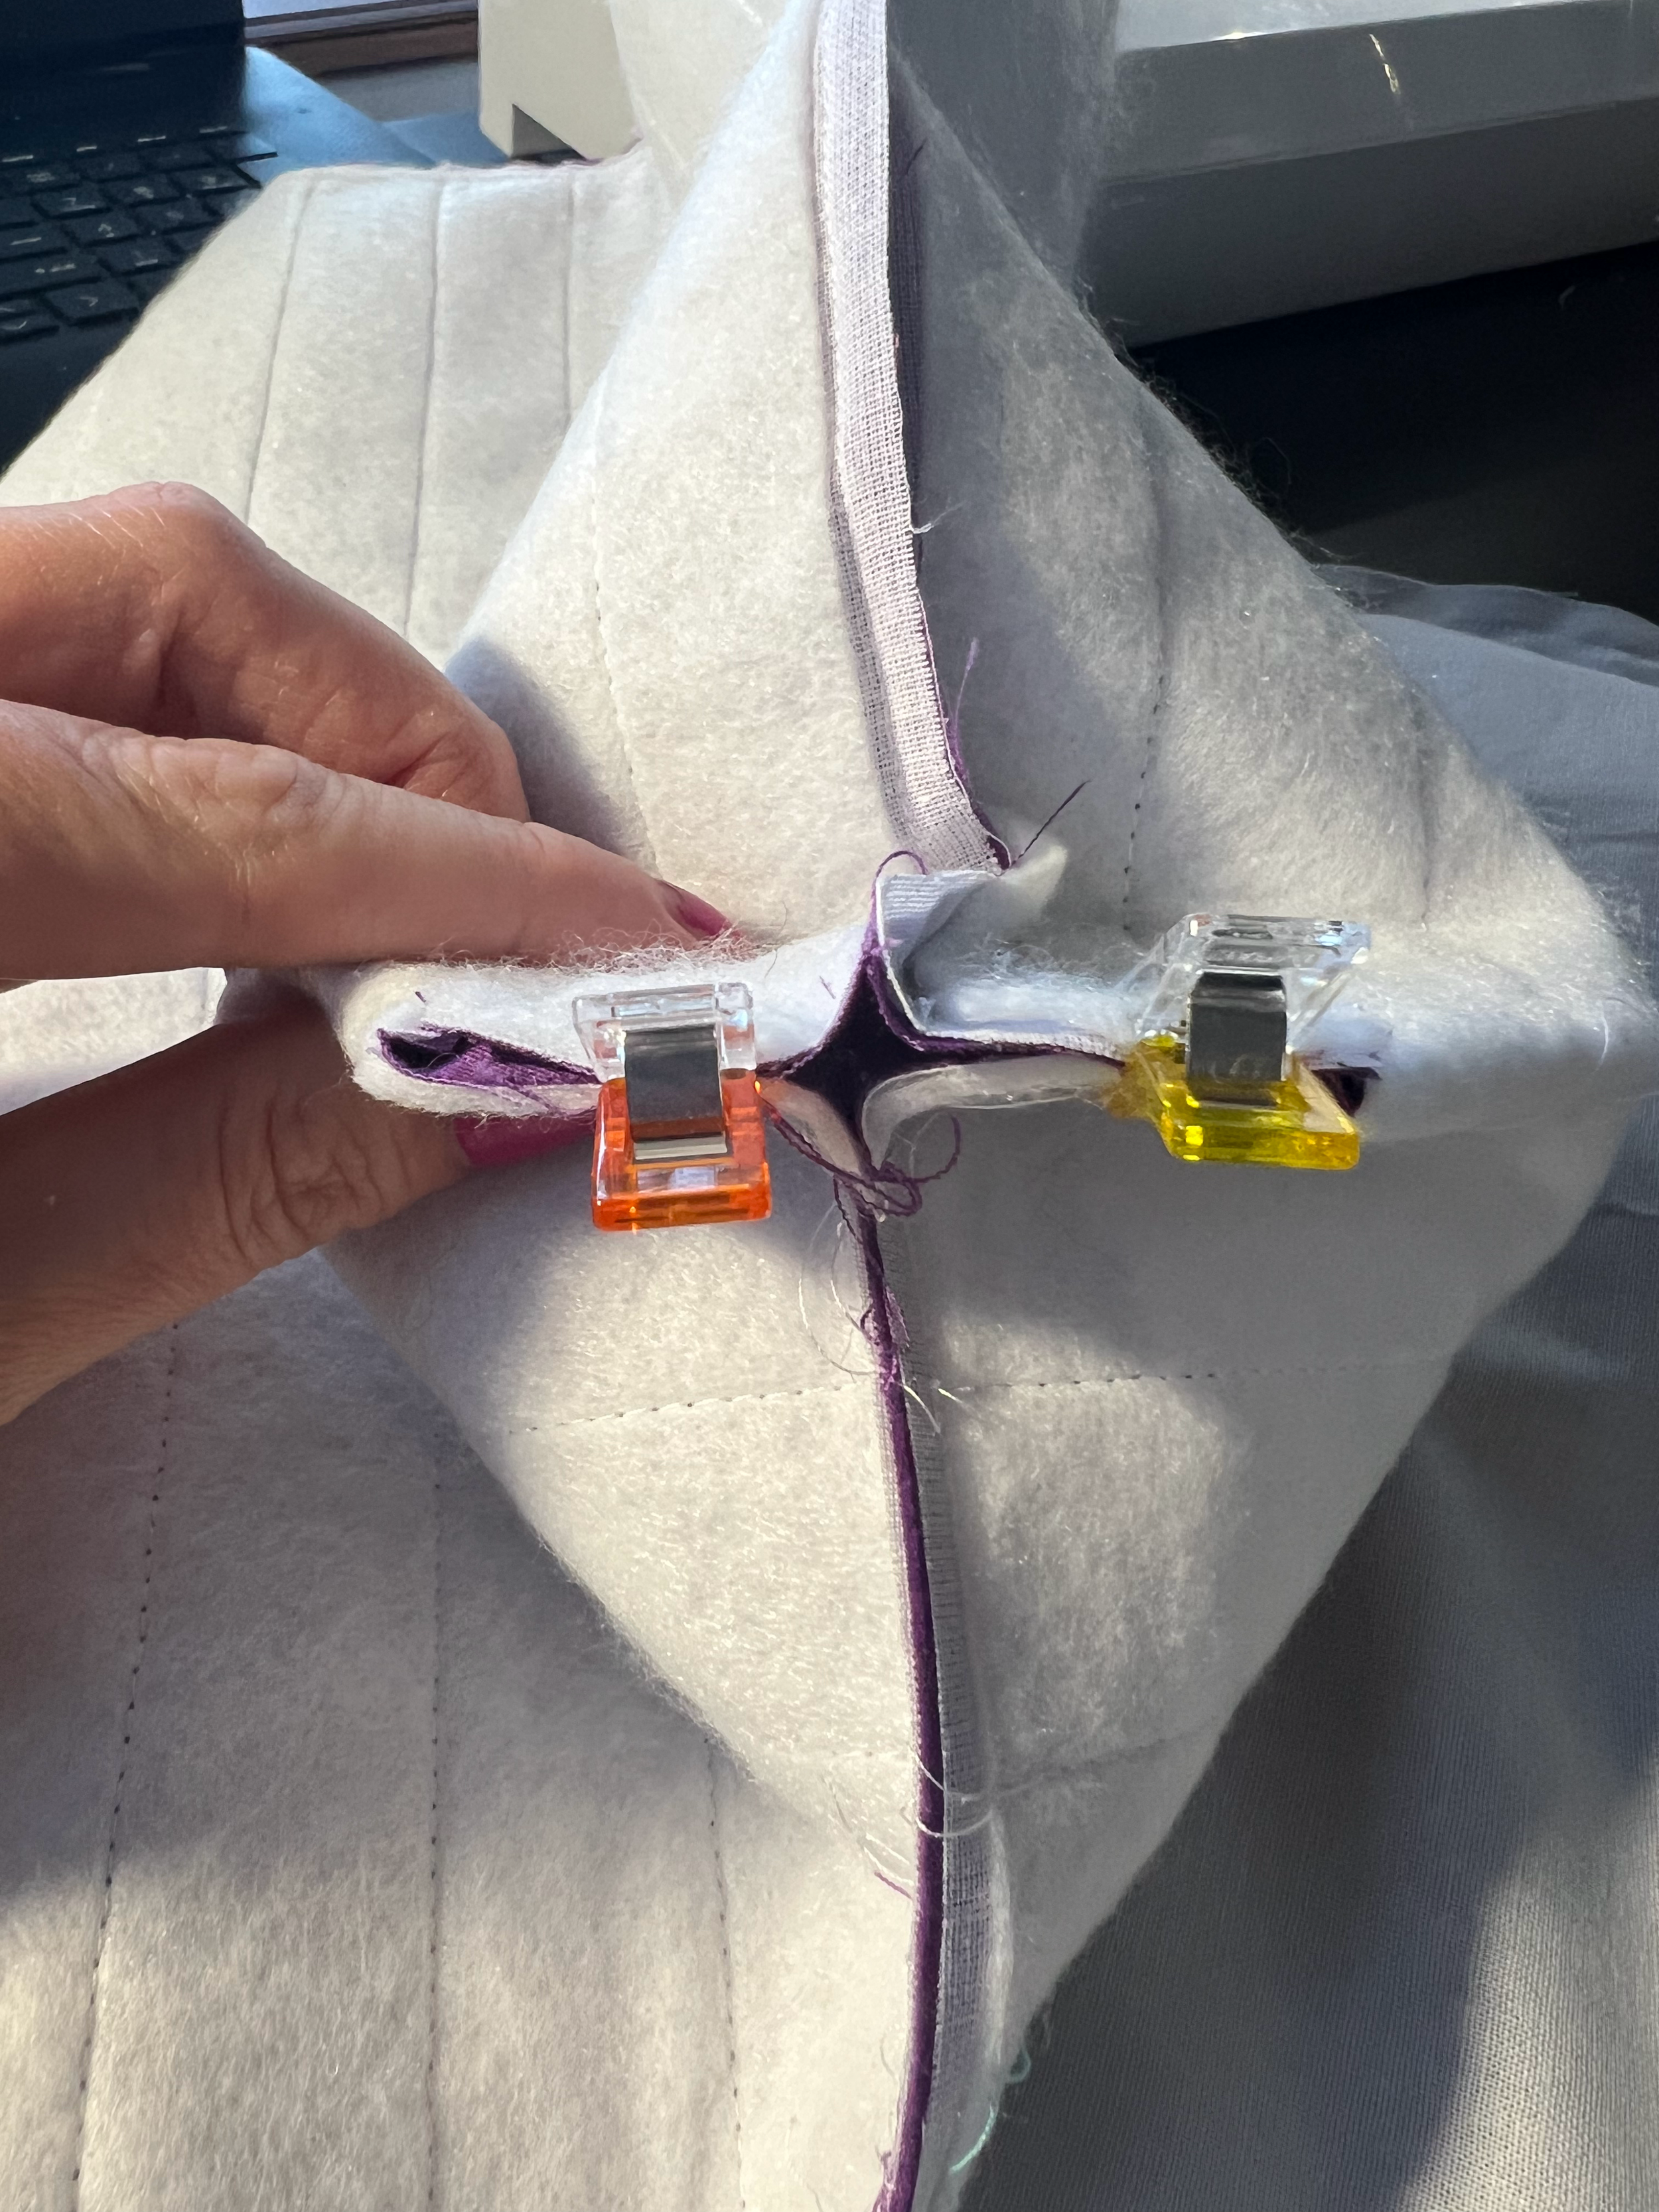
Once the corners are cut, squish them together so that the seams touch. Clip or pin together. Sew the corner with a 1/4” seam, being sure to backstitch at the start and stop. Repeat for all corners.
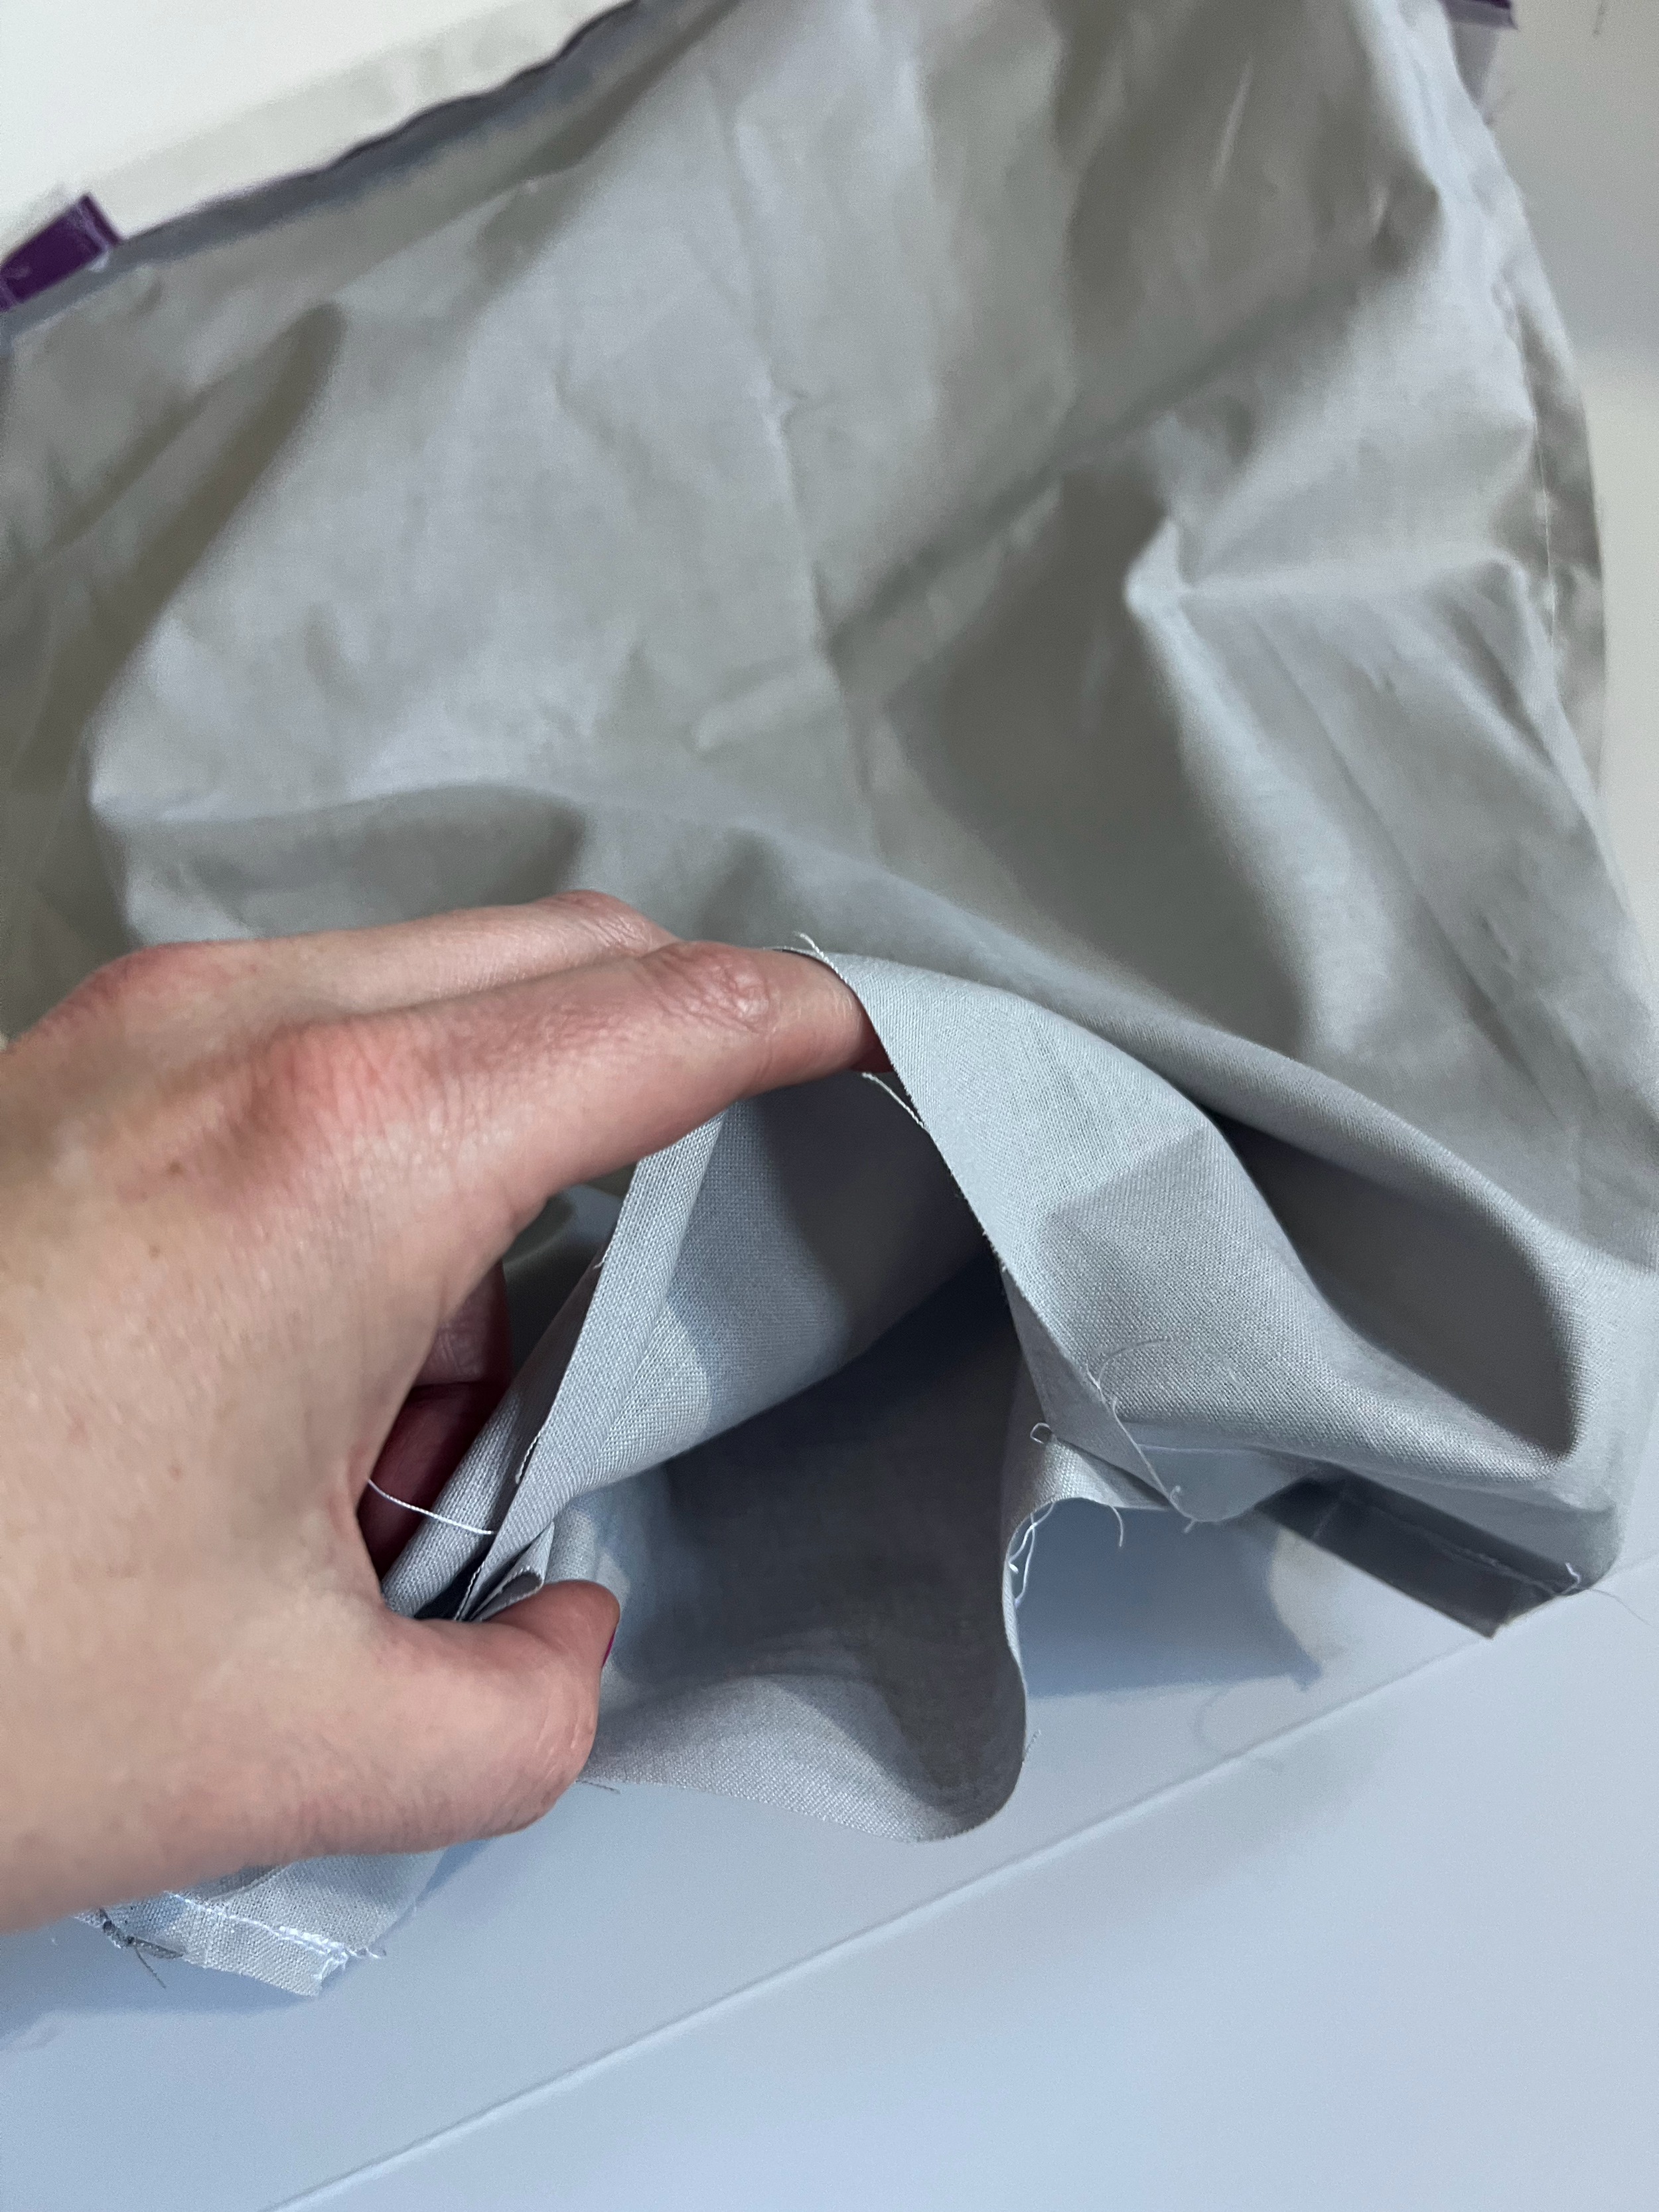

Turn bag right side out, but do not push the Lining inside the Exterior yet.
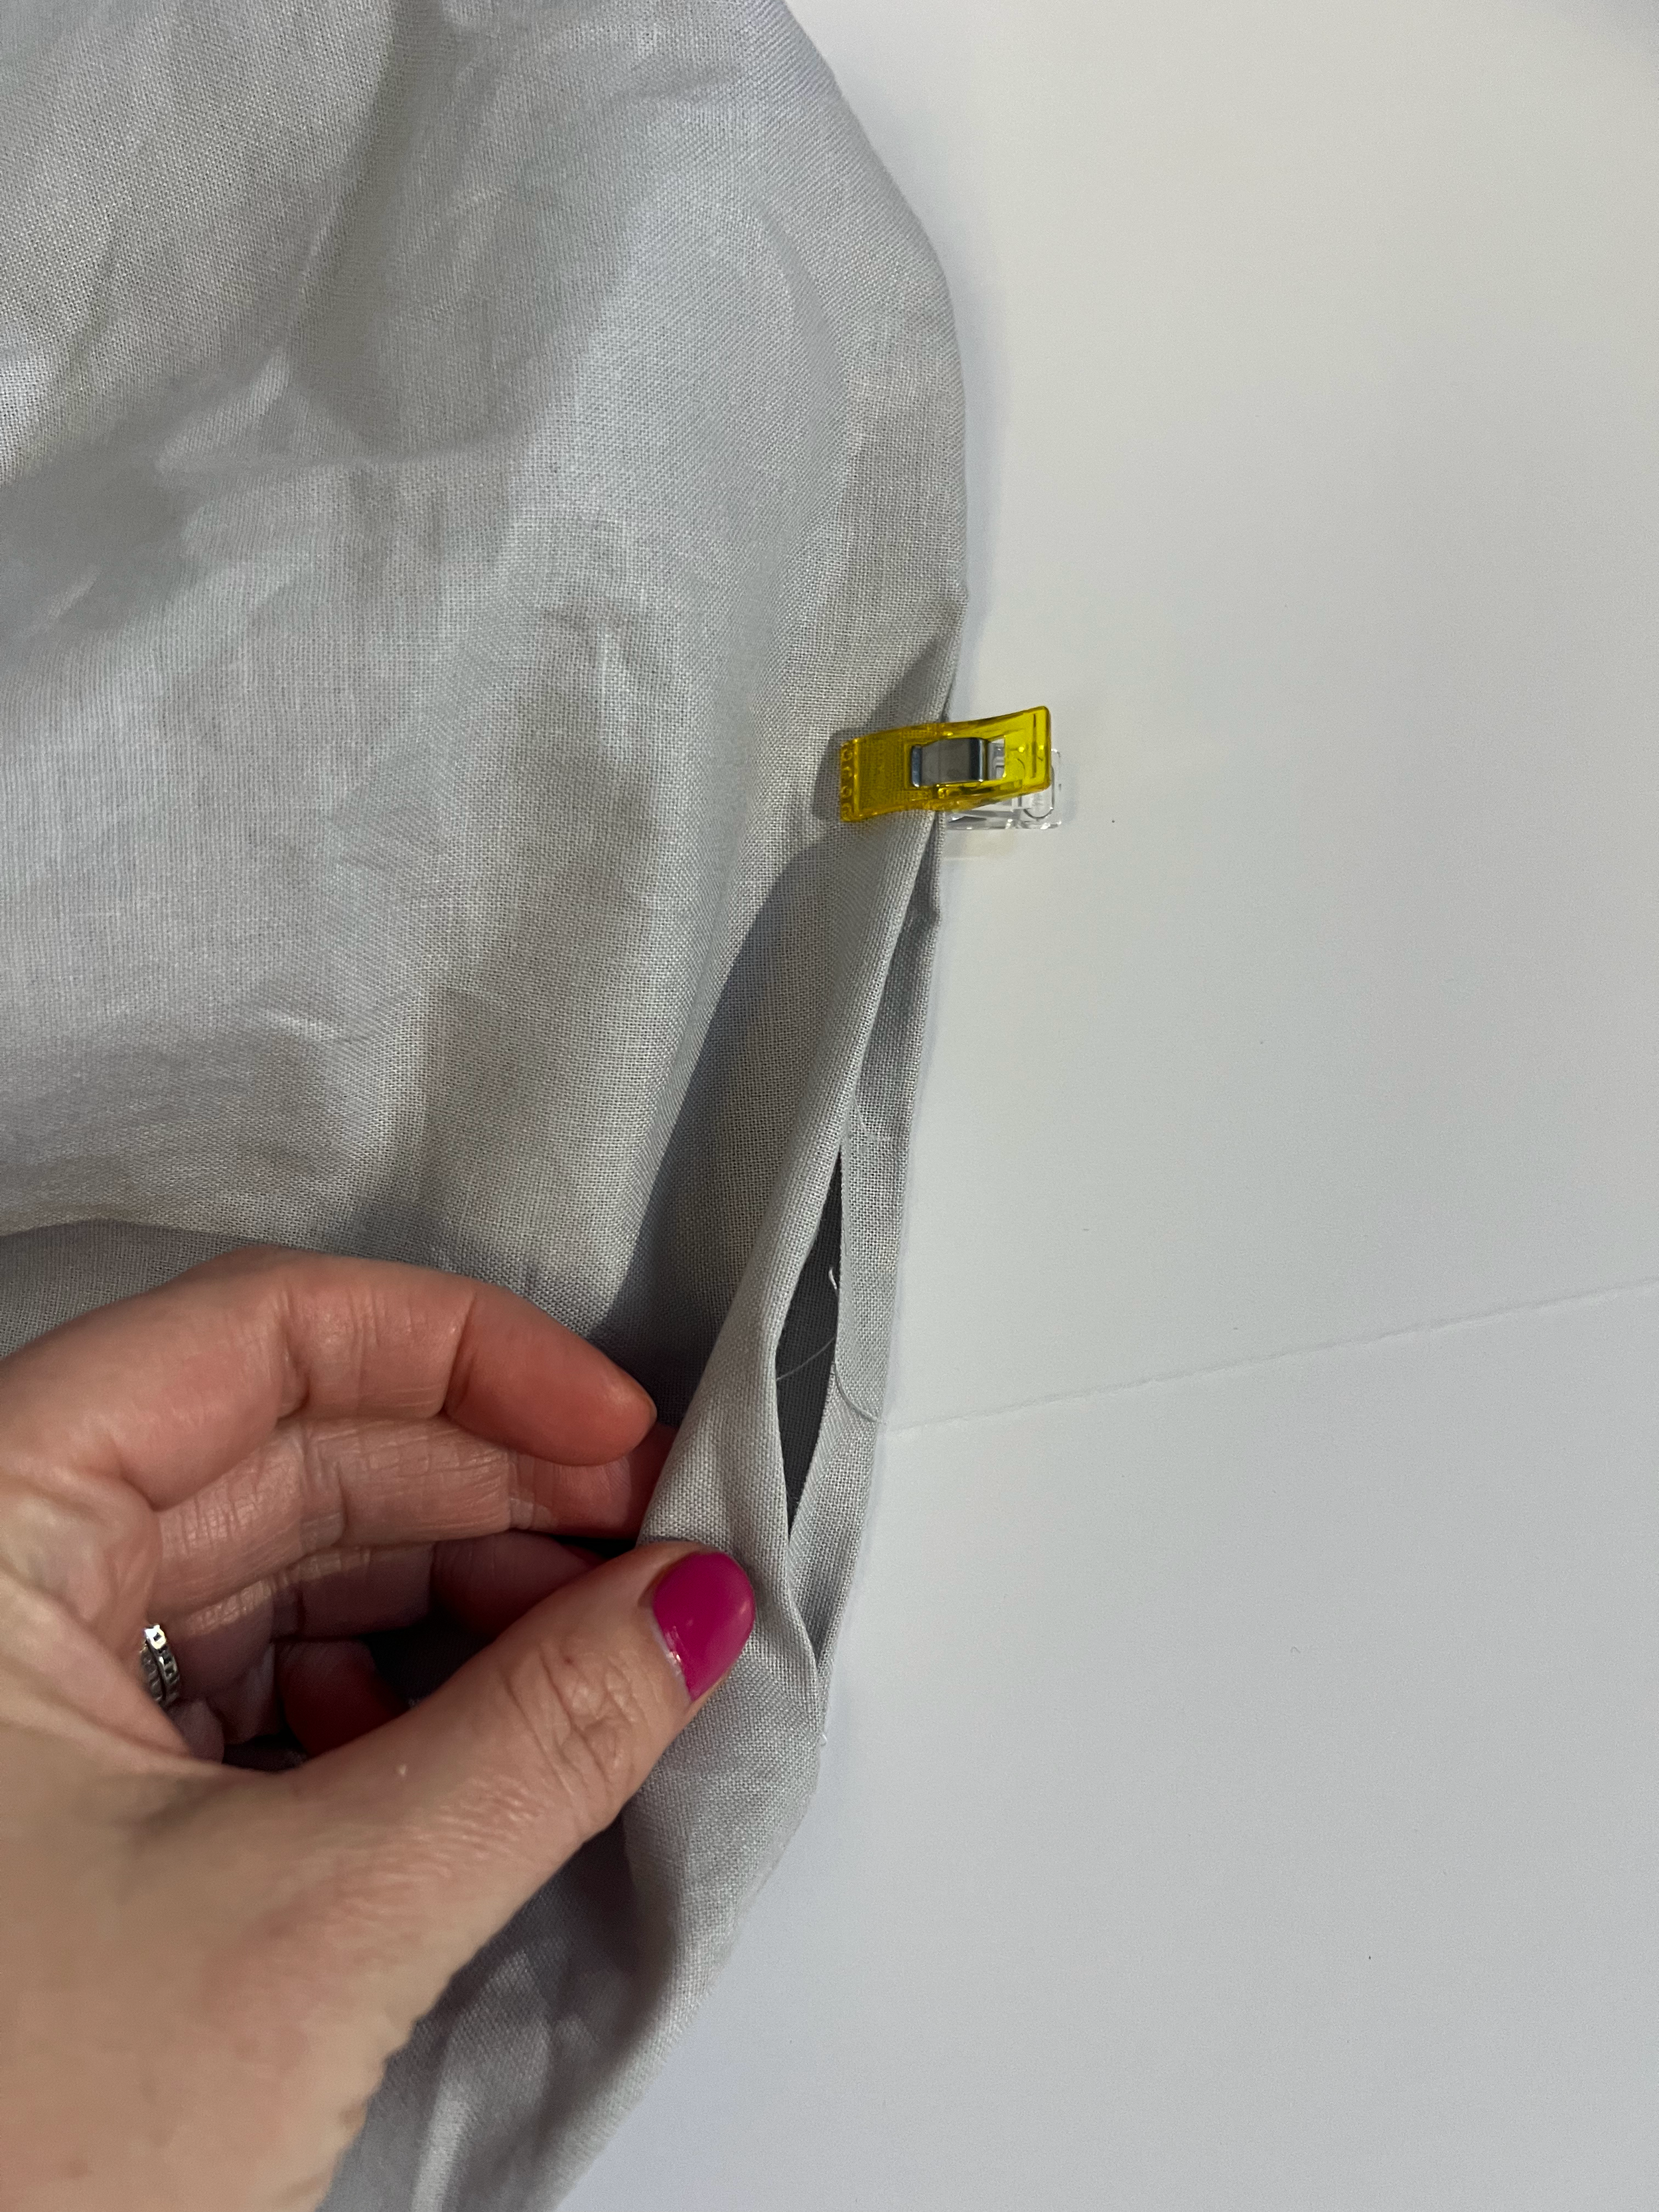
Fold the opening in the Lining in to itself, mimicking the seam - approximately 1/4”. Pin or clip it closed and sew the opening closed using 1/8” topstitch, backstitching at the start and end to secure the threads. It is recommended to shorten your stitch length (1.6-1.8mm).

Push the Lining into the interior of the bag. Push through all the corners, smoothing out the boxing. Pinch with your fingers around the top of the bag seam to help crease the seam. You can also press it flat to keep it crisp.

Topstitch around the entire top of the bag using a scant 1/4” matching the quilting stitch length (I used 3.0mm). This will give your tote a polished finish and will also secure the Straps in place.

Congratulations on completing your Hella Big Candy Bag!
Trick-or-treating never looked so spooky!
Share your progress and makes on social media using the #HellaBigTote and #SarahJeanMakes hashtags. Please tag me at @SarahJeanMakes so I can cheer you on!