

Lands End Quilted Pillowcase Tutorial

Are you interested in turning the Lands End Quilt into a pillow? This is a method that does not include binding techniques, but is a simple inside-out envelope style. The finished piece will hold a 16” x 16” pillow quite nicely.
Here’s what you’ll need to make that transition from patchwork to pillowcase!
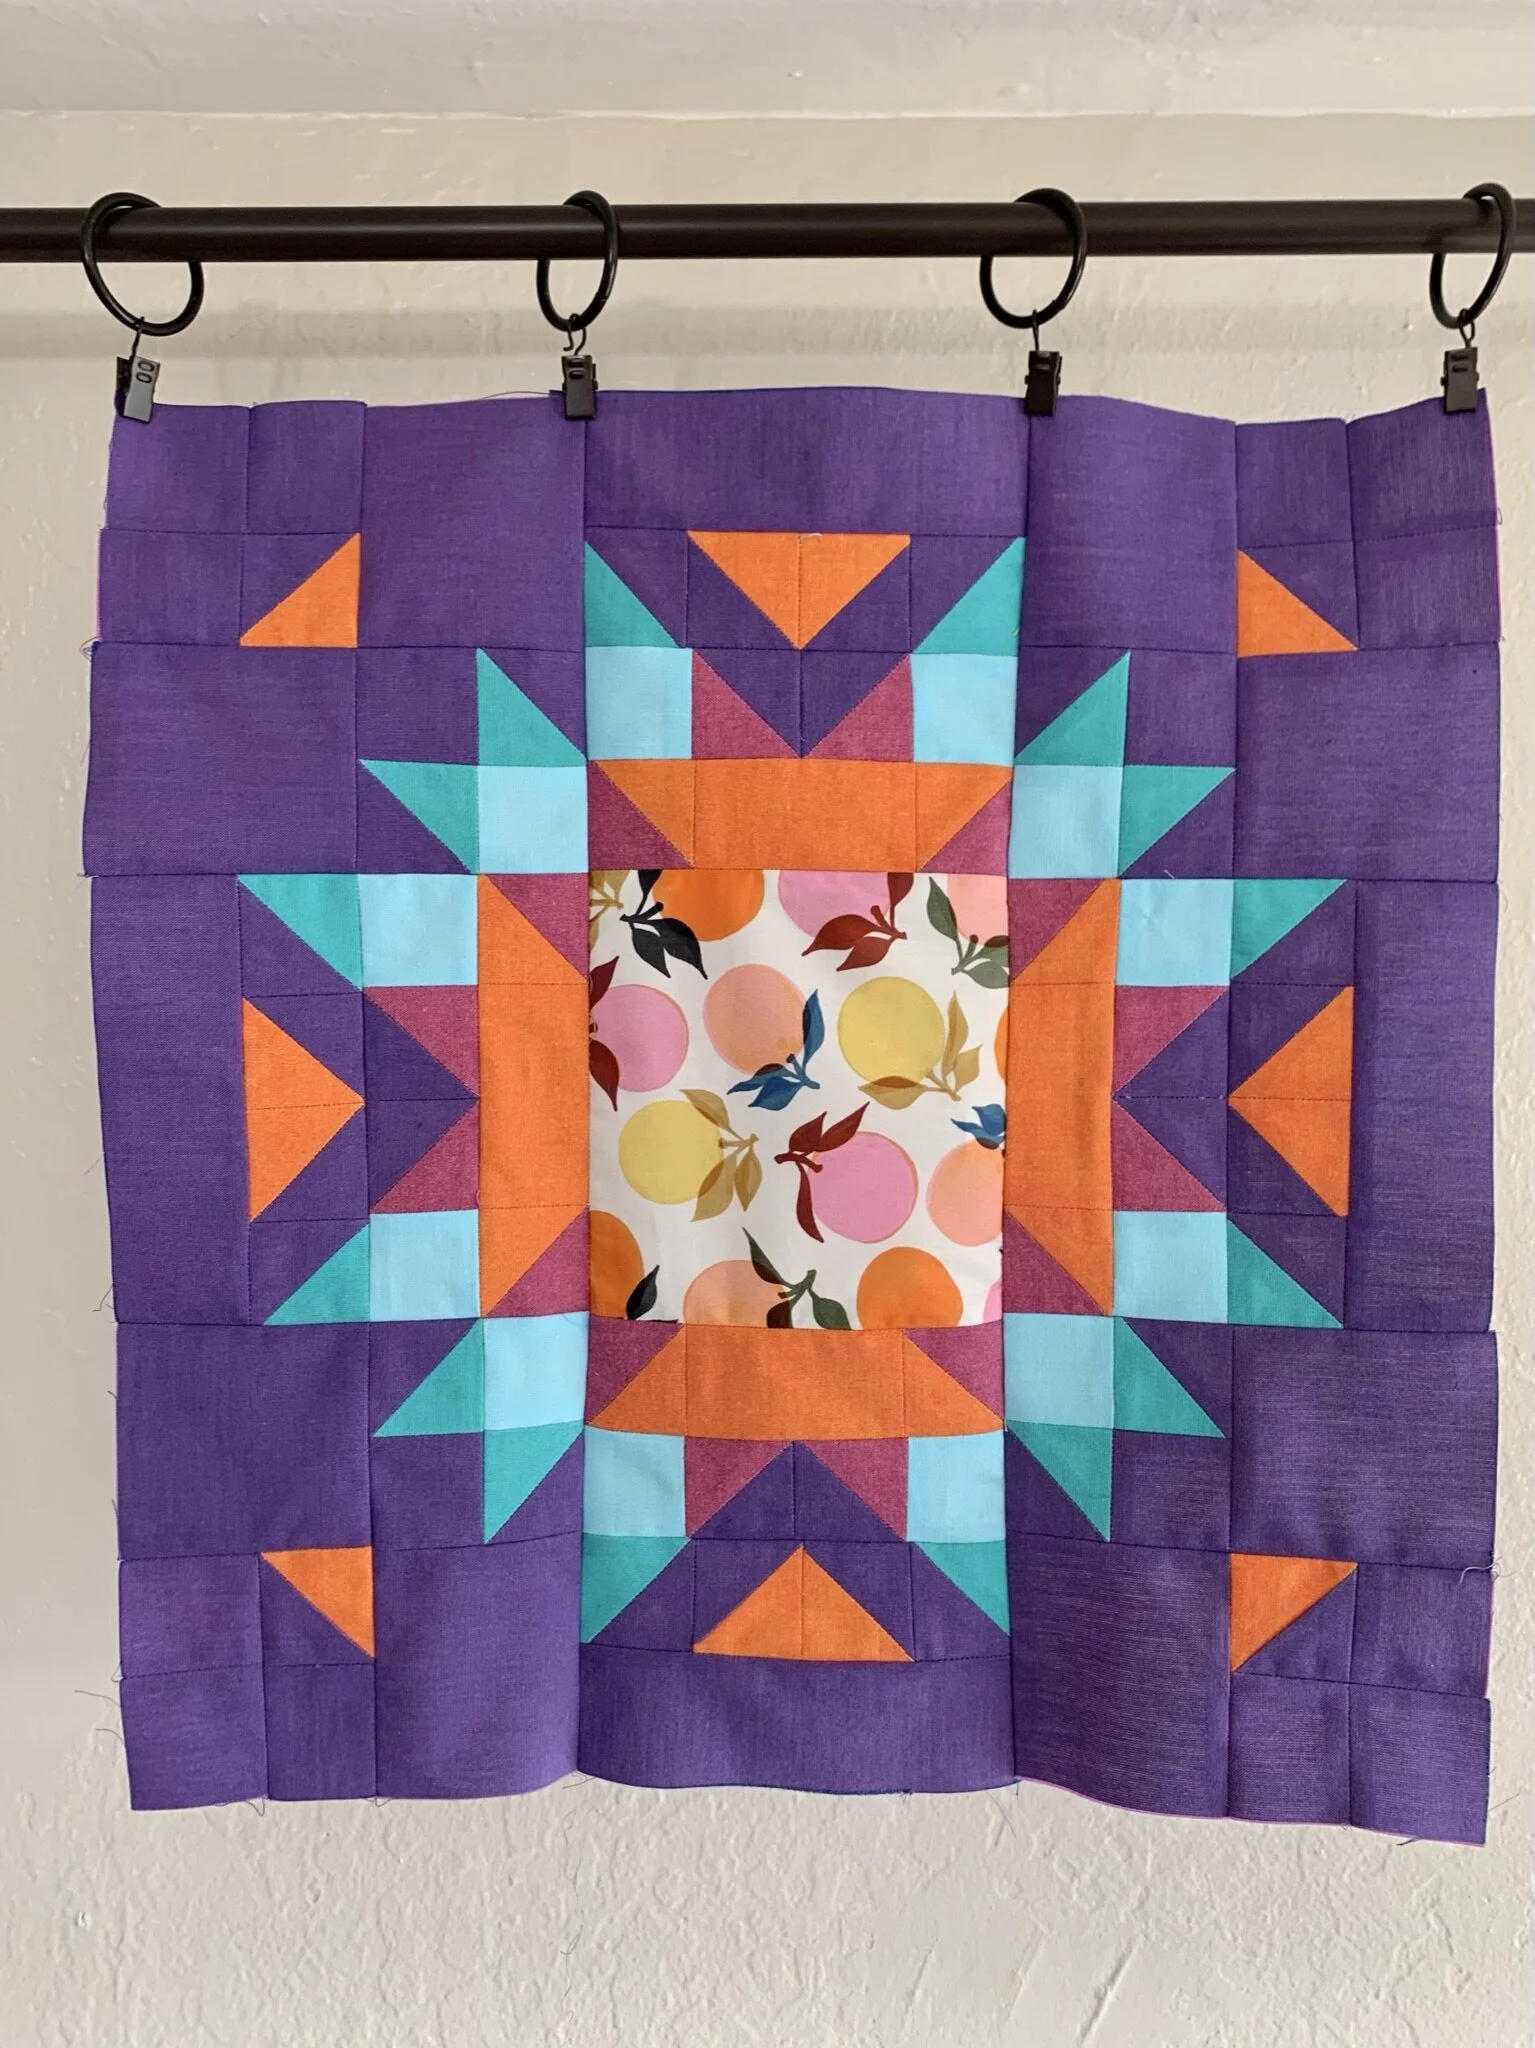
Lands End Quilt Pillow top completed. Create your top using the Lands End Quilt Pattern (linked with digital download for purchase).
Batting - 20” x 20”
Quilt Backing fabric - 20” x 20” (nothing fancy, it will not be seen upon completion)
Pillow Backing fabric -½ yard (cut into two pieces, 18” x 12” and 18” x 13”)
Safety Pins
Rotary Cutter and Cutting Mat
Scissors
Ruler
Straight Pins or Clips
Iron and Pressing Mat
Sewing Machine with Walking Foot attachment
Thread
16” x 16” pillow insert
Once you’ve gathered all of your supplies, it’s time to get started!
First things first…
Complete Quilt Top as detailed in the Lands End Quilt Pattern.
All fabric requirements and construction details are within the pattern.
Fabrics shown in the example include a panel from Ruby Star Society and solids from Windham Artisan Cotton.
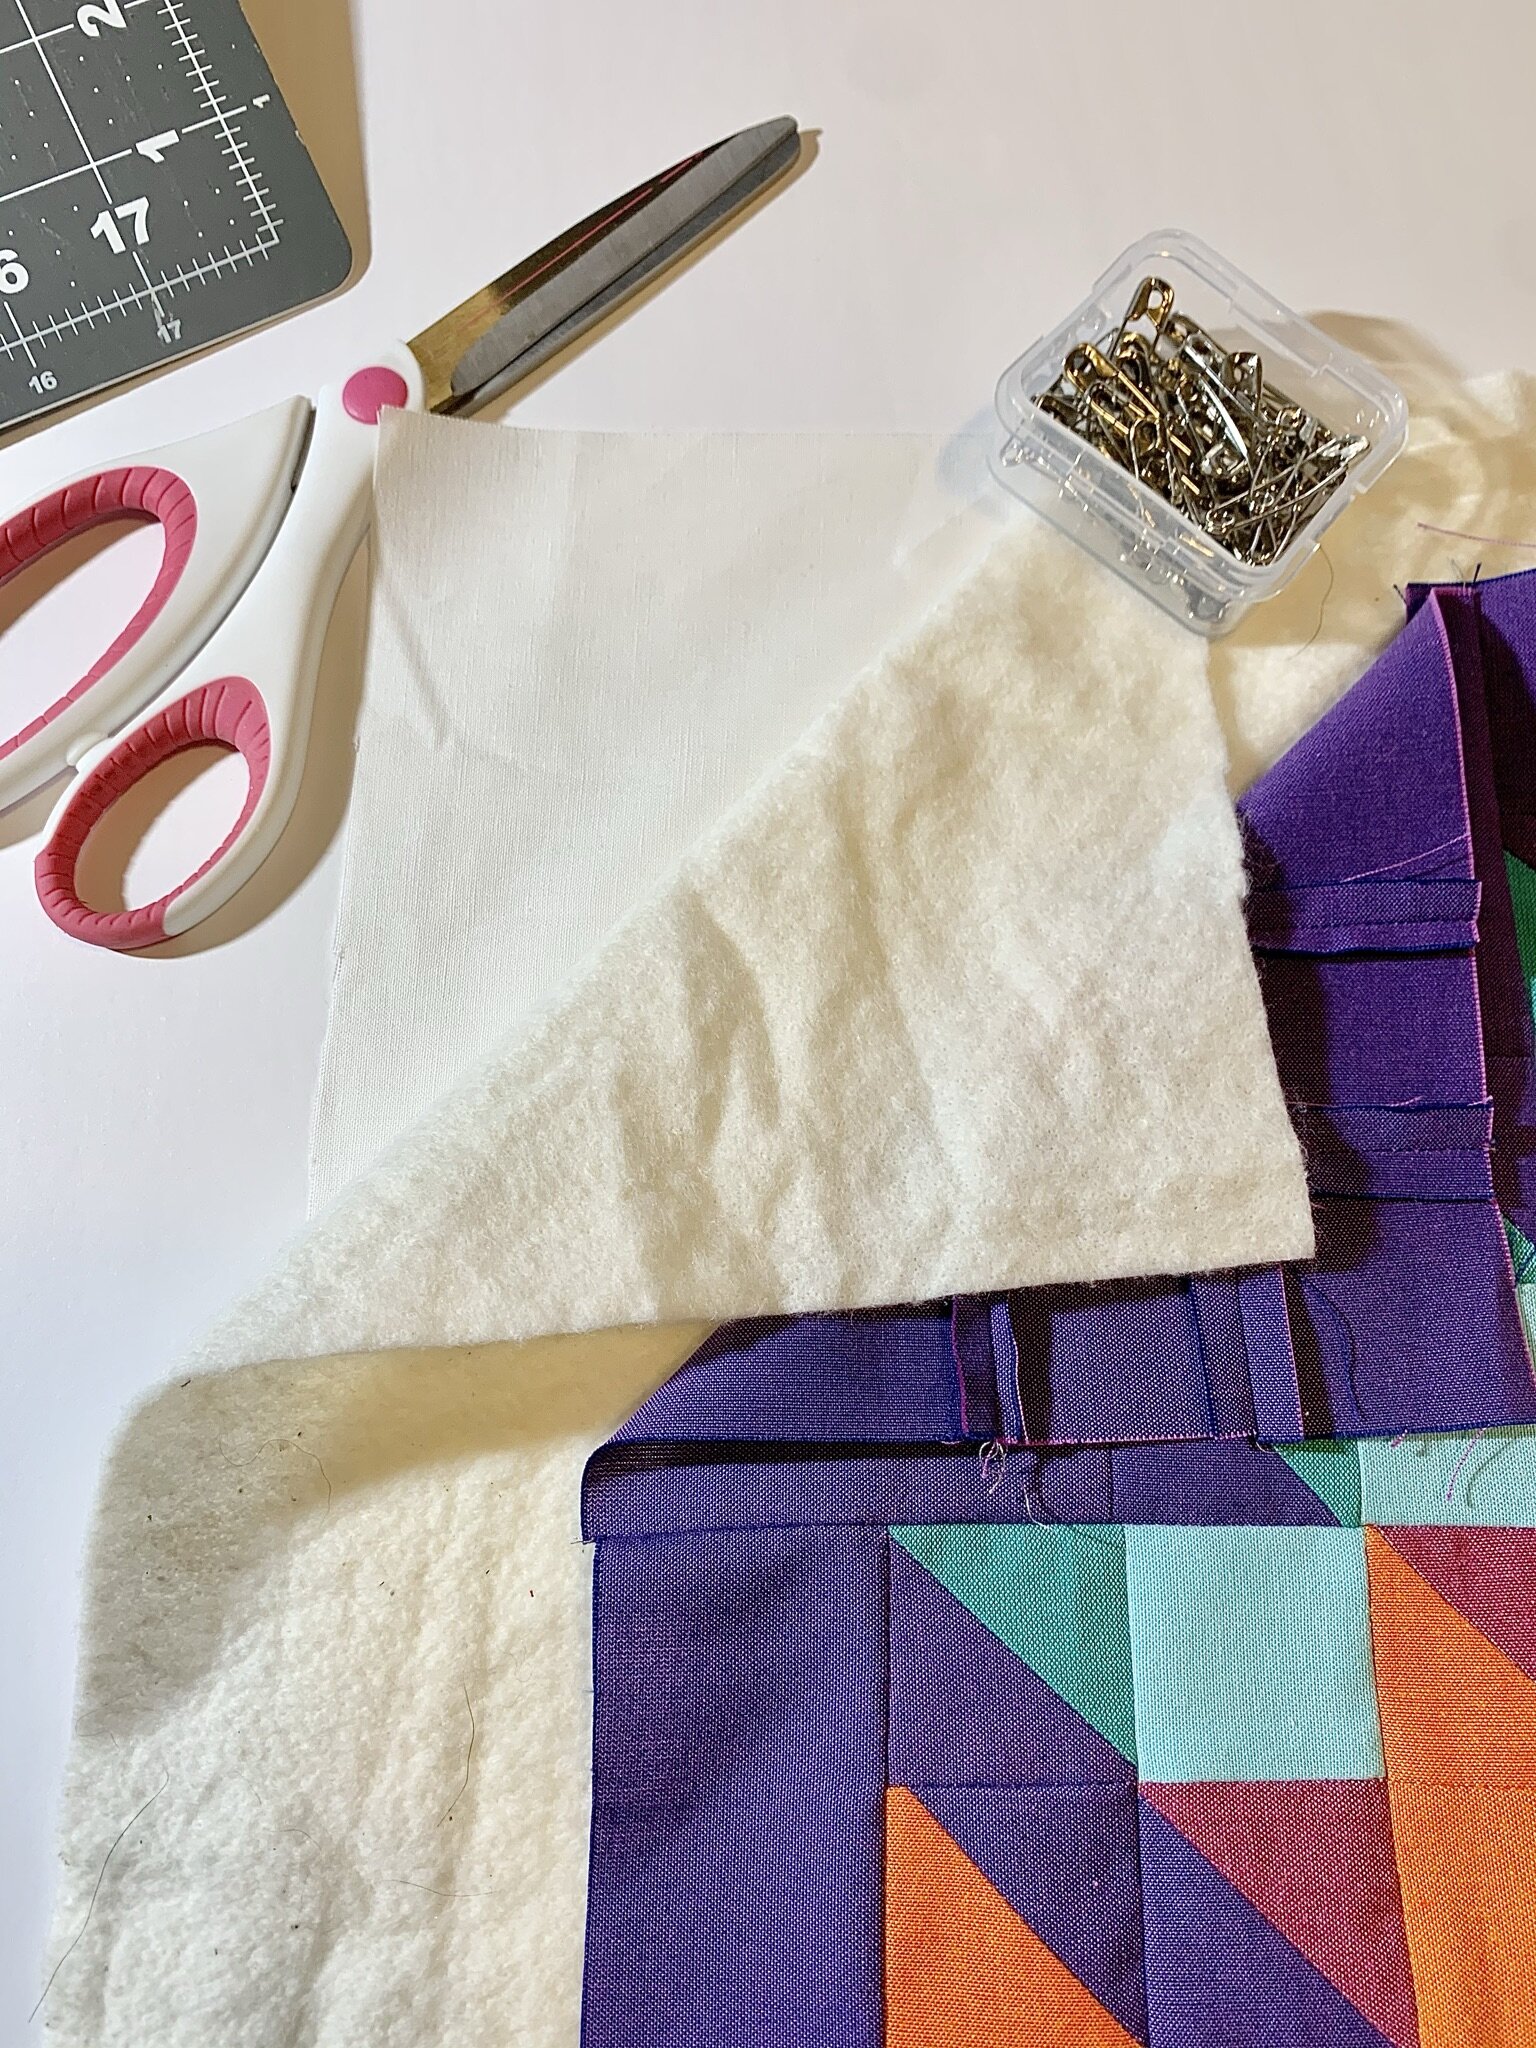
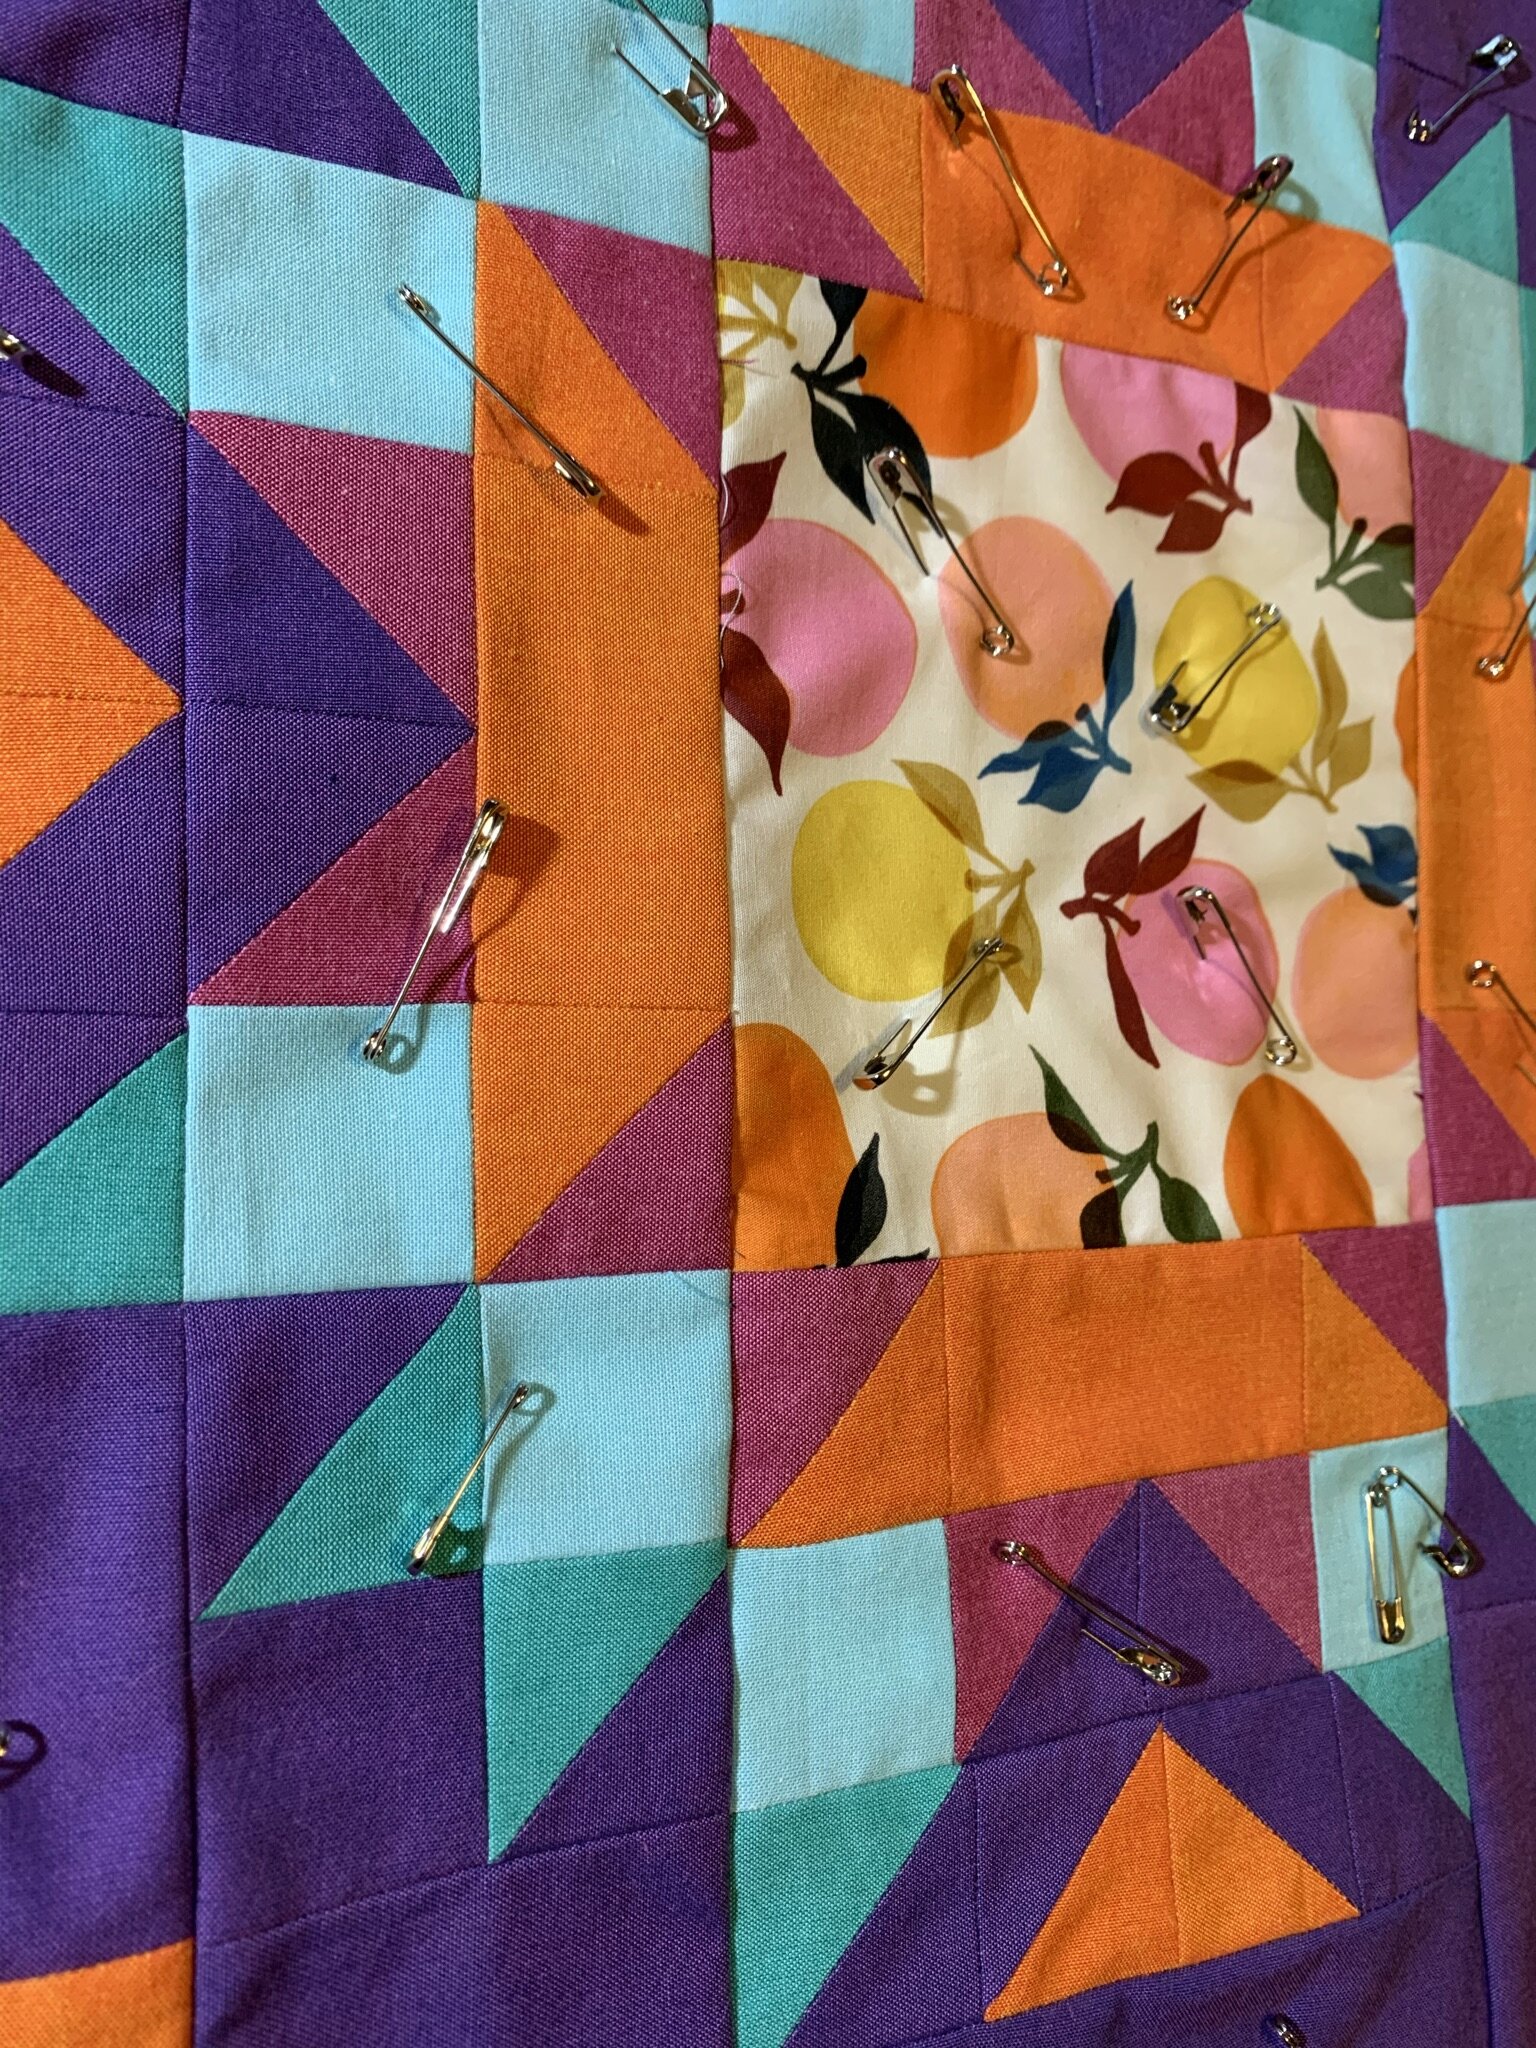
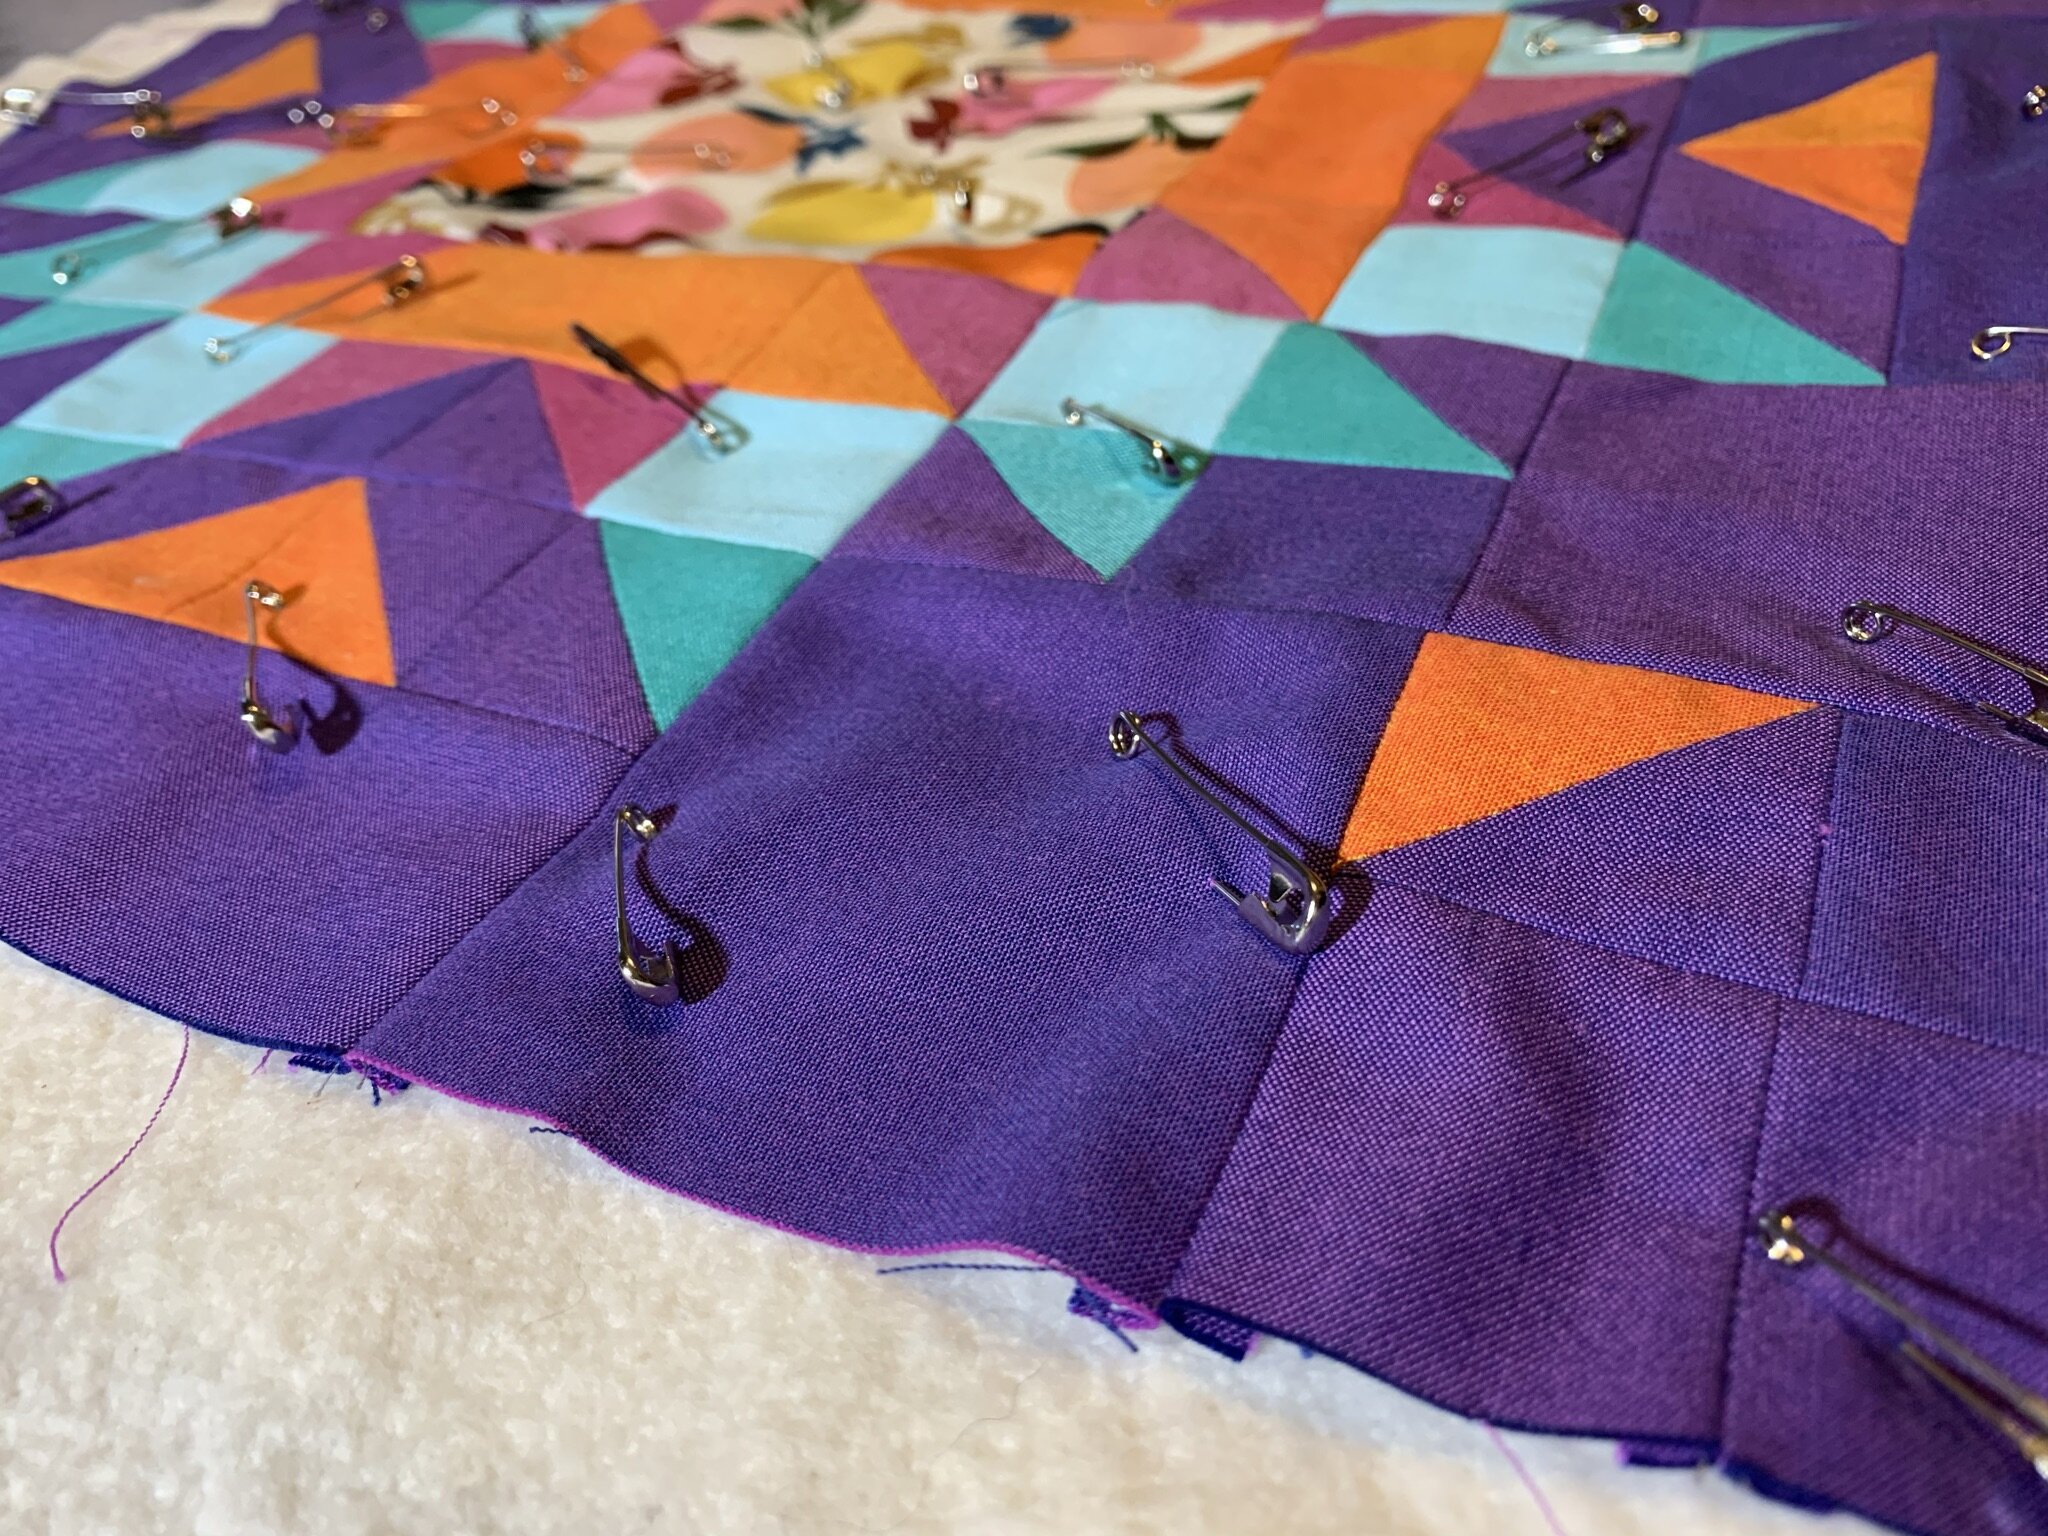
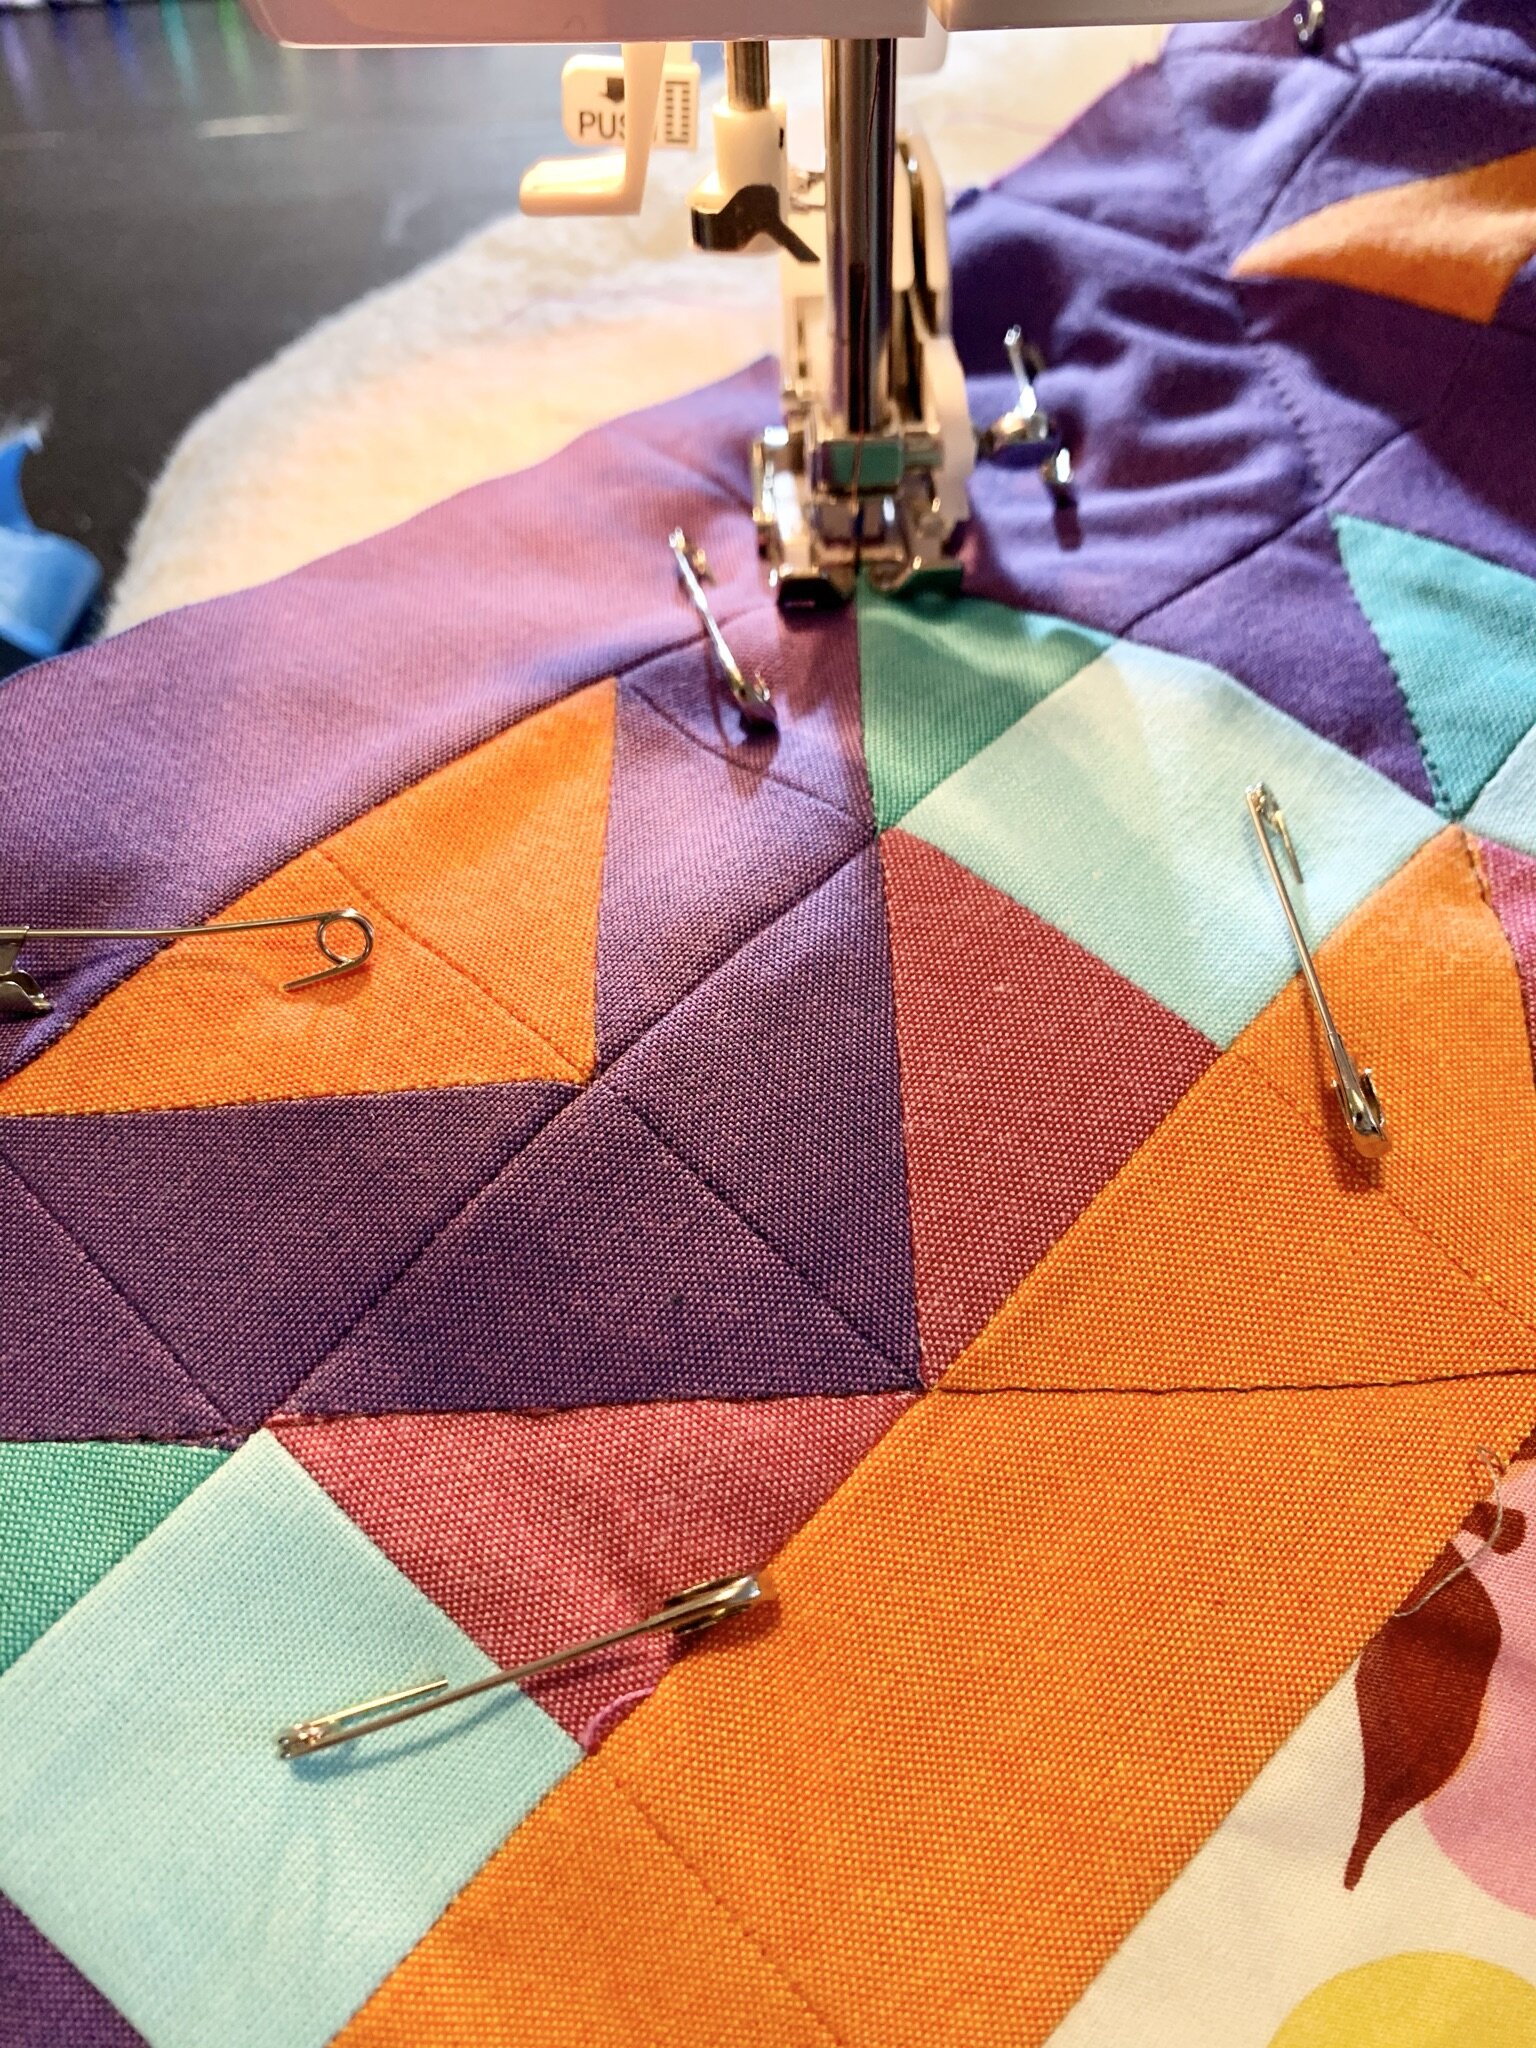
Baste by creating the “quilt sandwich.” Start by layering quilt backing fabric (shown here in white) right side down. This doesn’t have to be a fancy or decorative fabric, just something to hold it all together - it will be inside the final pillow and will not be seen. Next, layer on top your batting and then place your Lands End Quilt Top right side up. Add safety pins every few inches to secure your layers together.
Determine your preferred quilt pattern and quilt your pillow top. It helps to use a walking foot attachment for your machine so you can move through the layers with ease. You may also choose to quilt by hand. This can add a nice decorative touch to your pillow if you so desire. Either method is great!

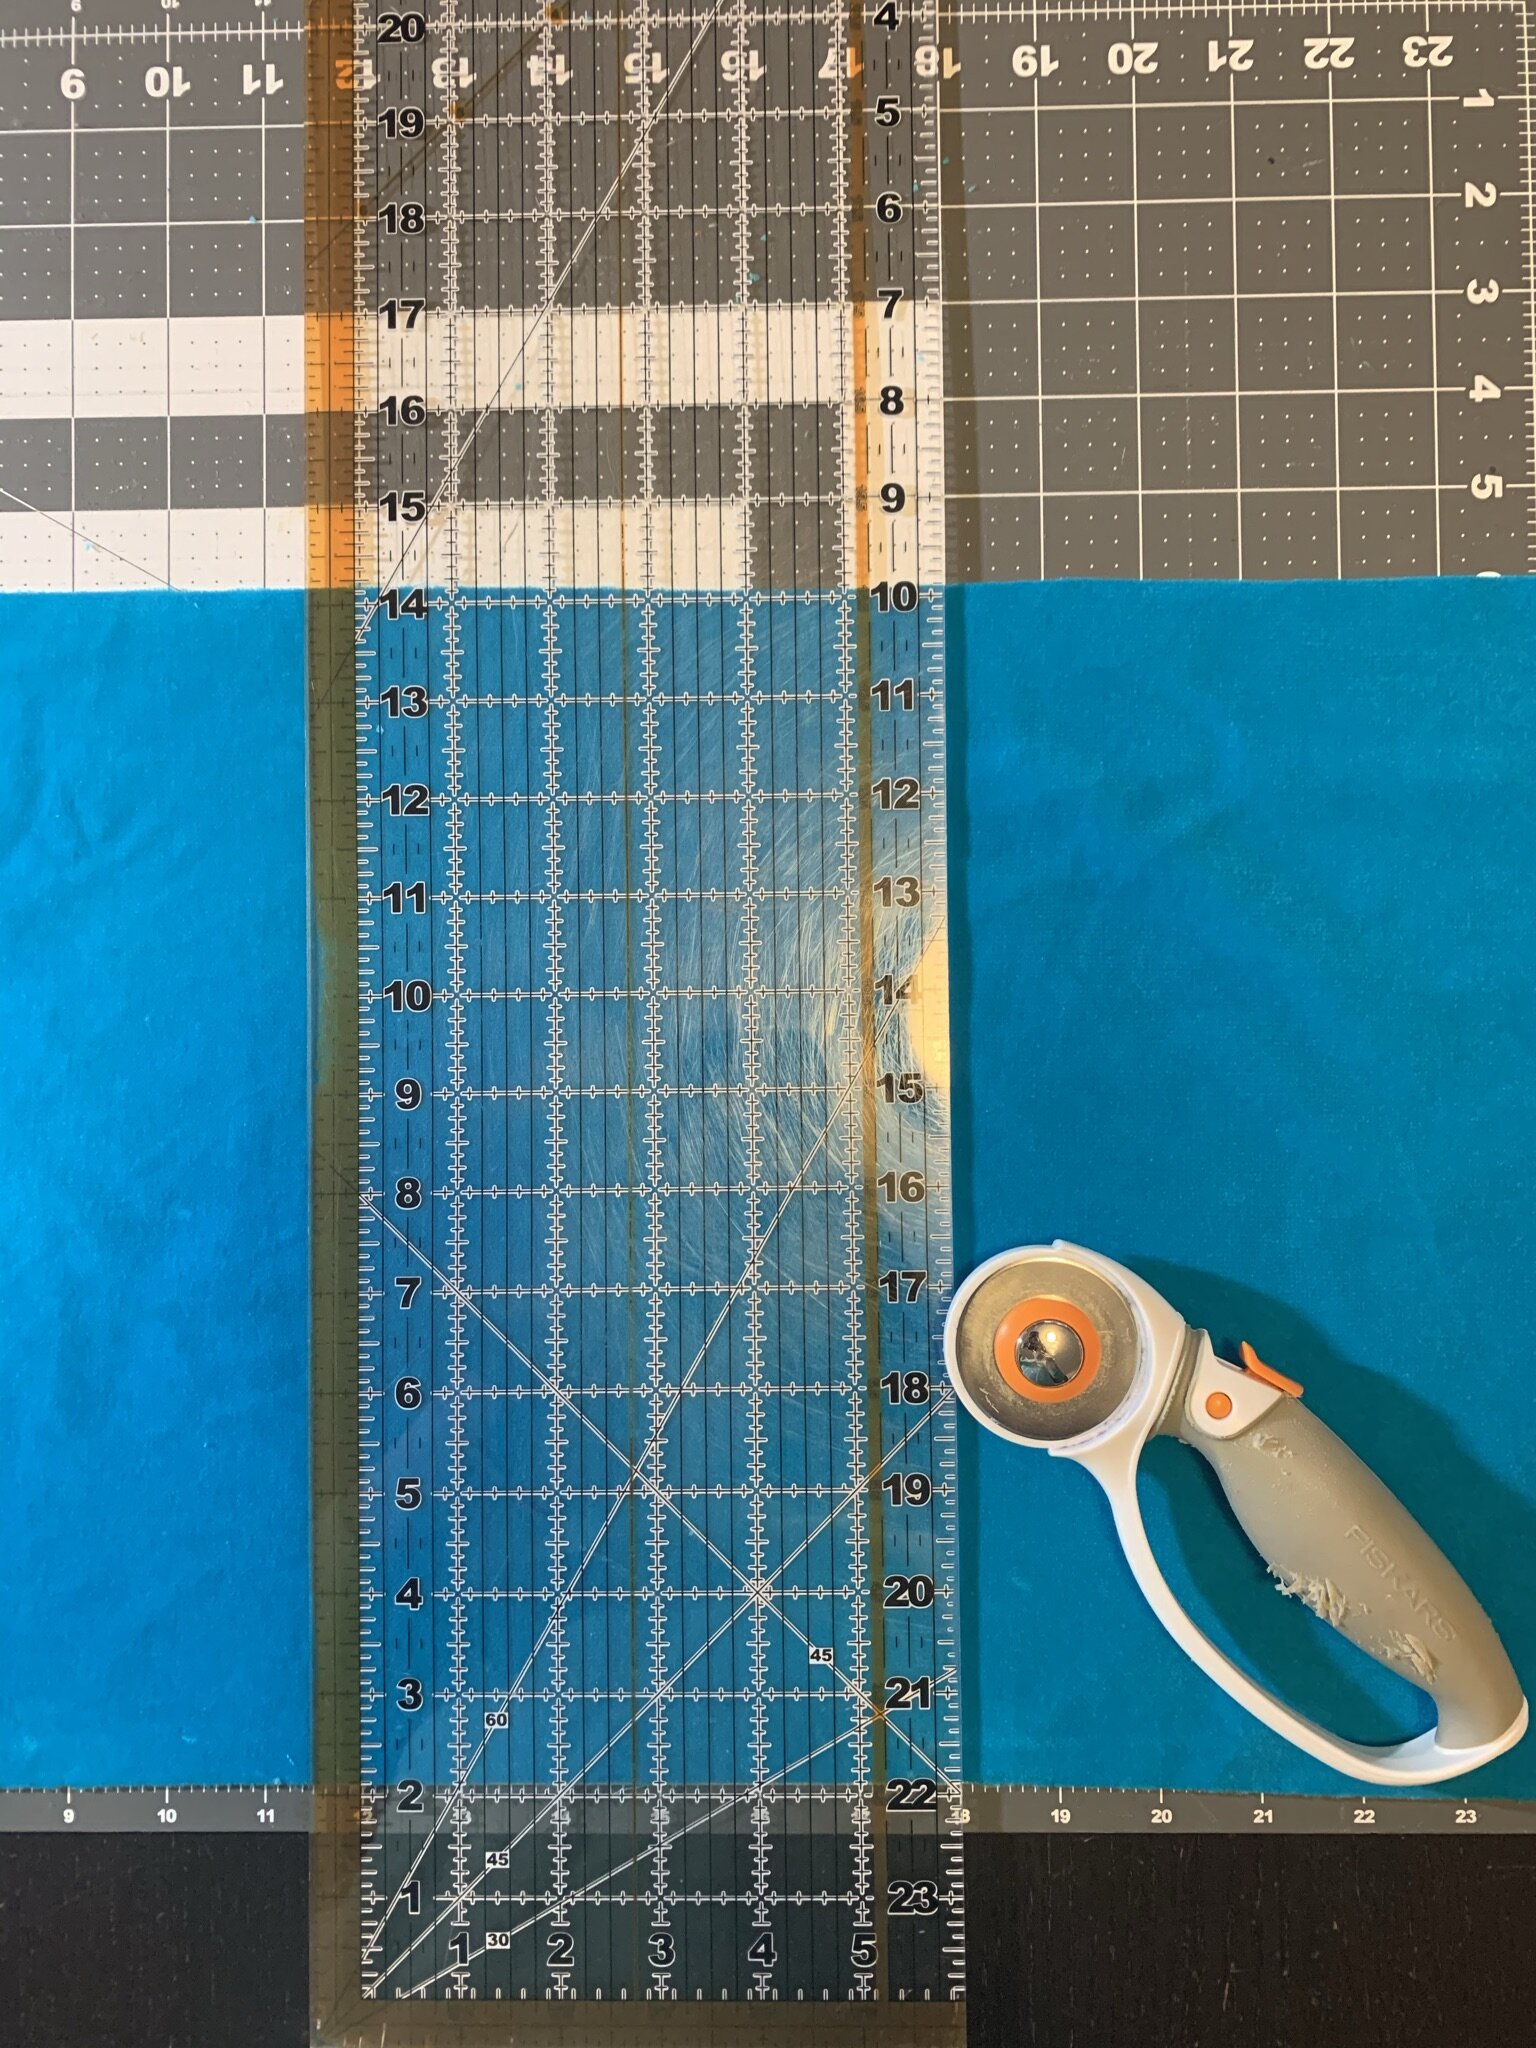
Next, you will need to cut the excess off of your quilted pillow top and square it up.
Use your cutting mat, ruler, and rotary cutter to cut the quilted pillow top into it’s final dimensions: 18” x 18”. If it is a little wonky and you have to trim smaller, that’s okay, too.
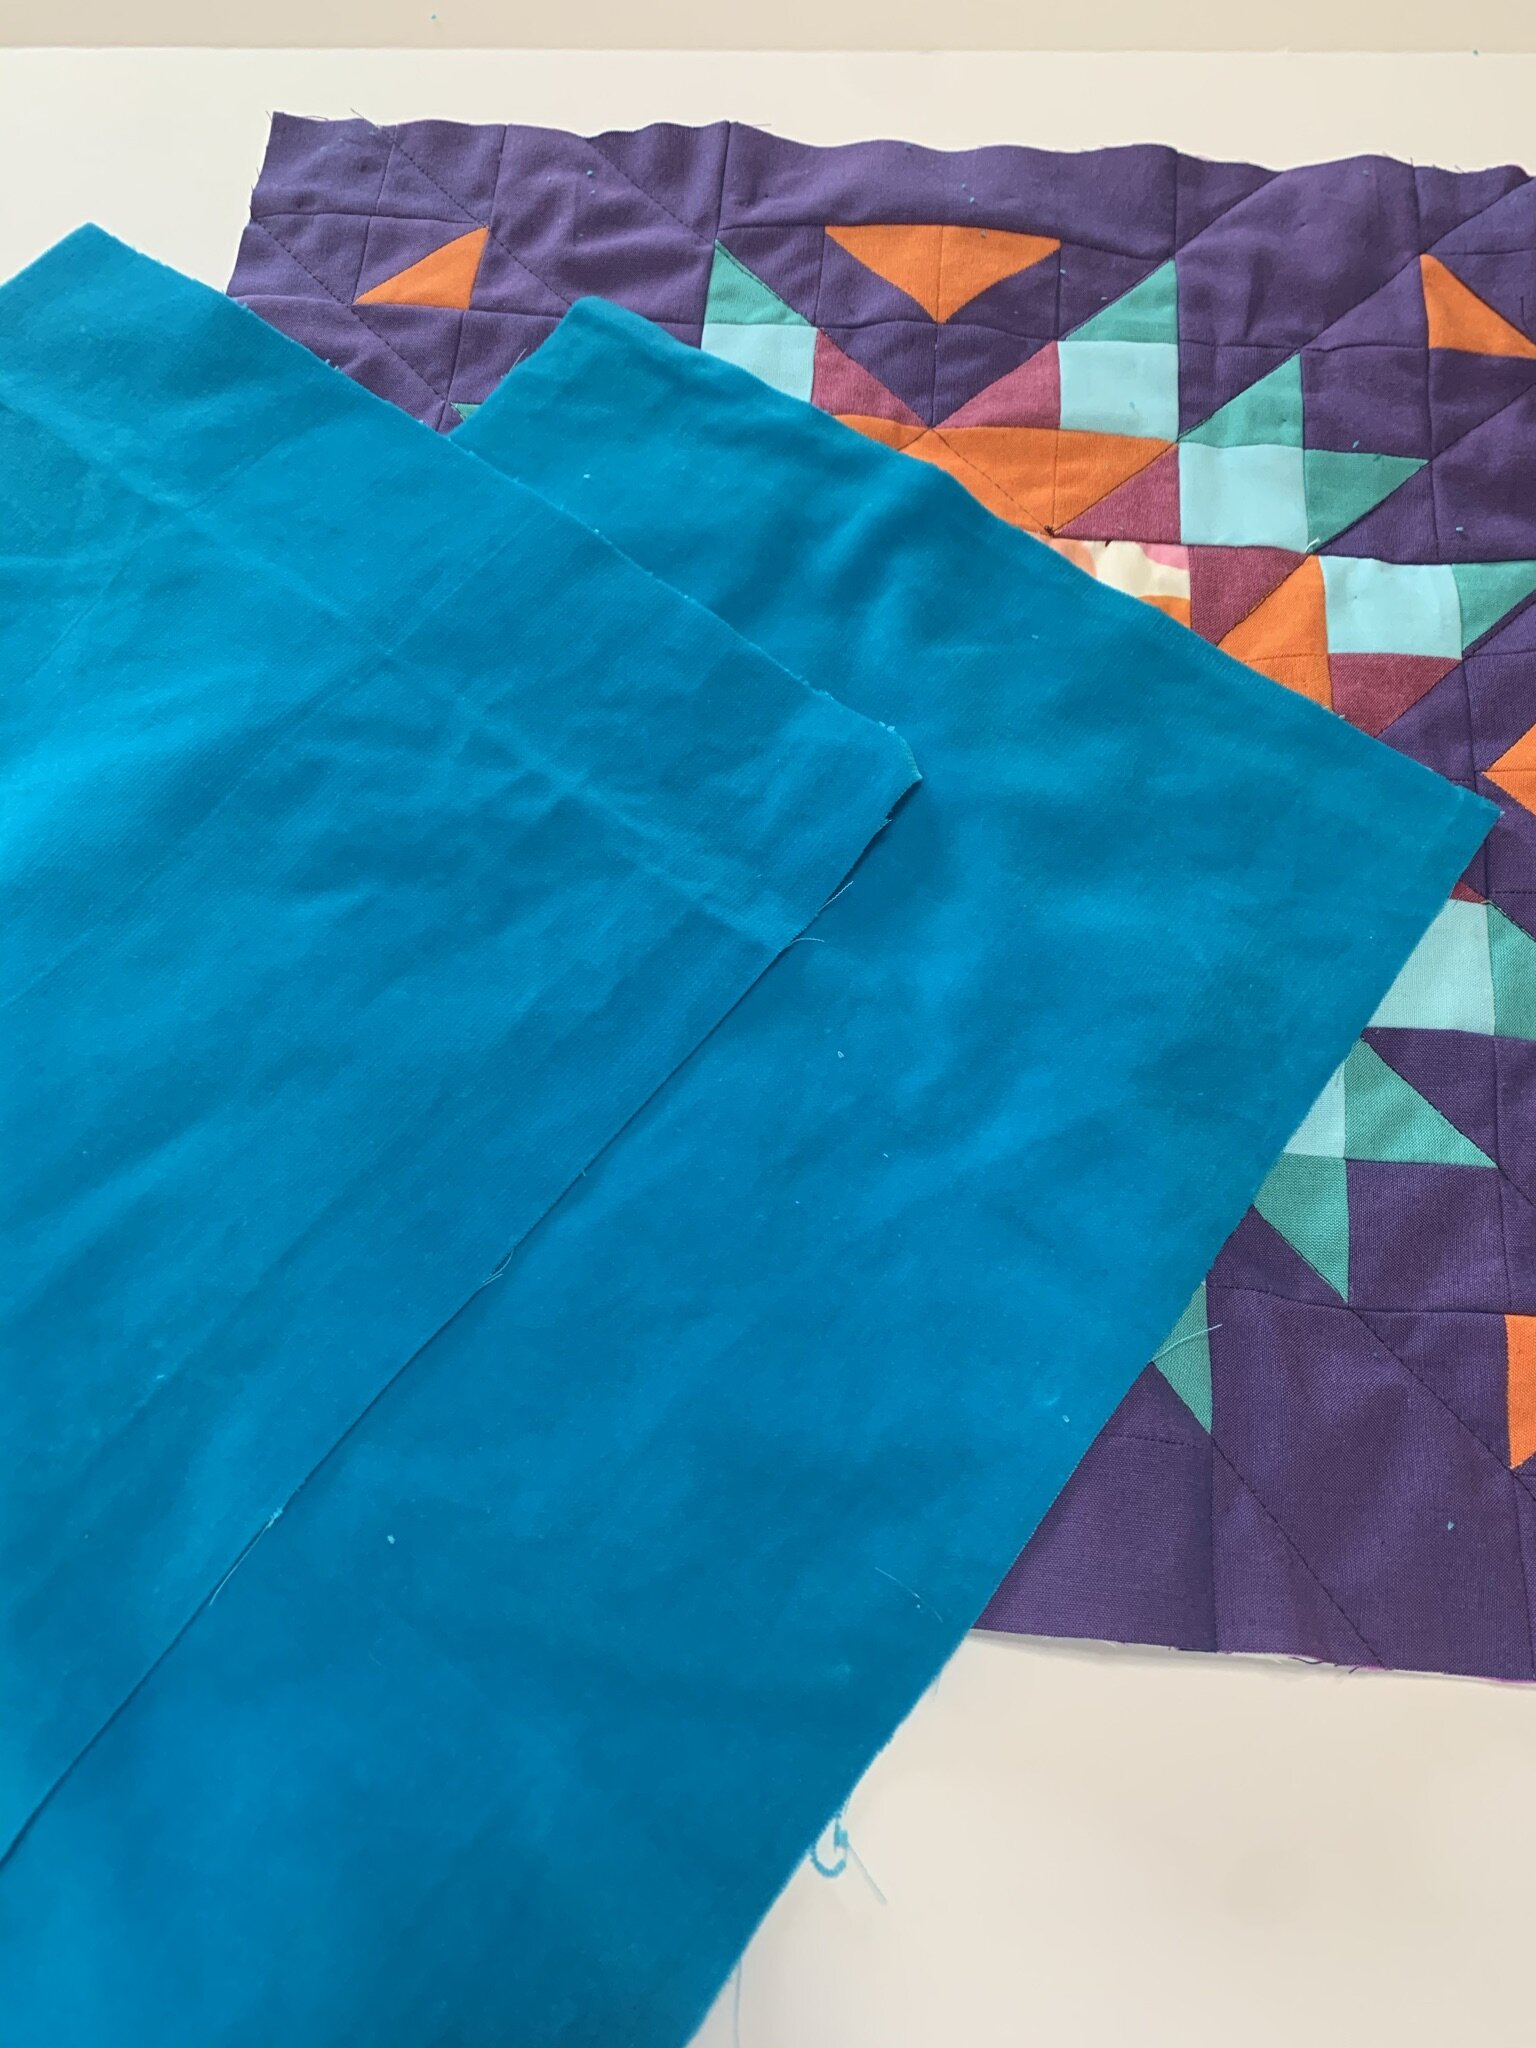
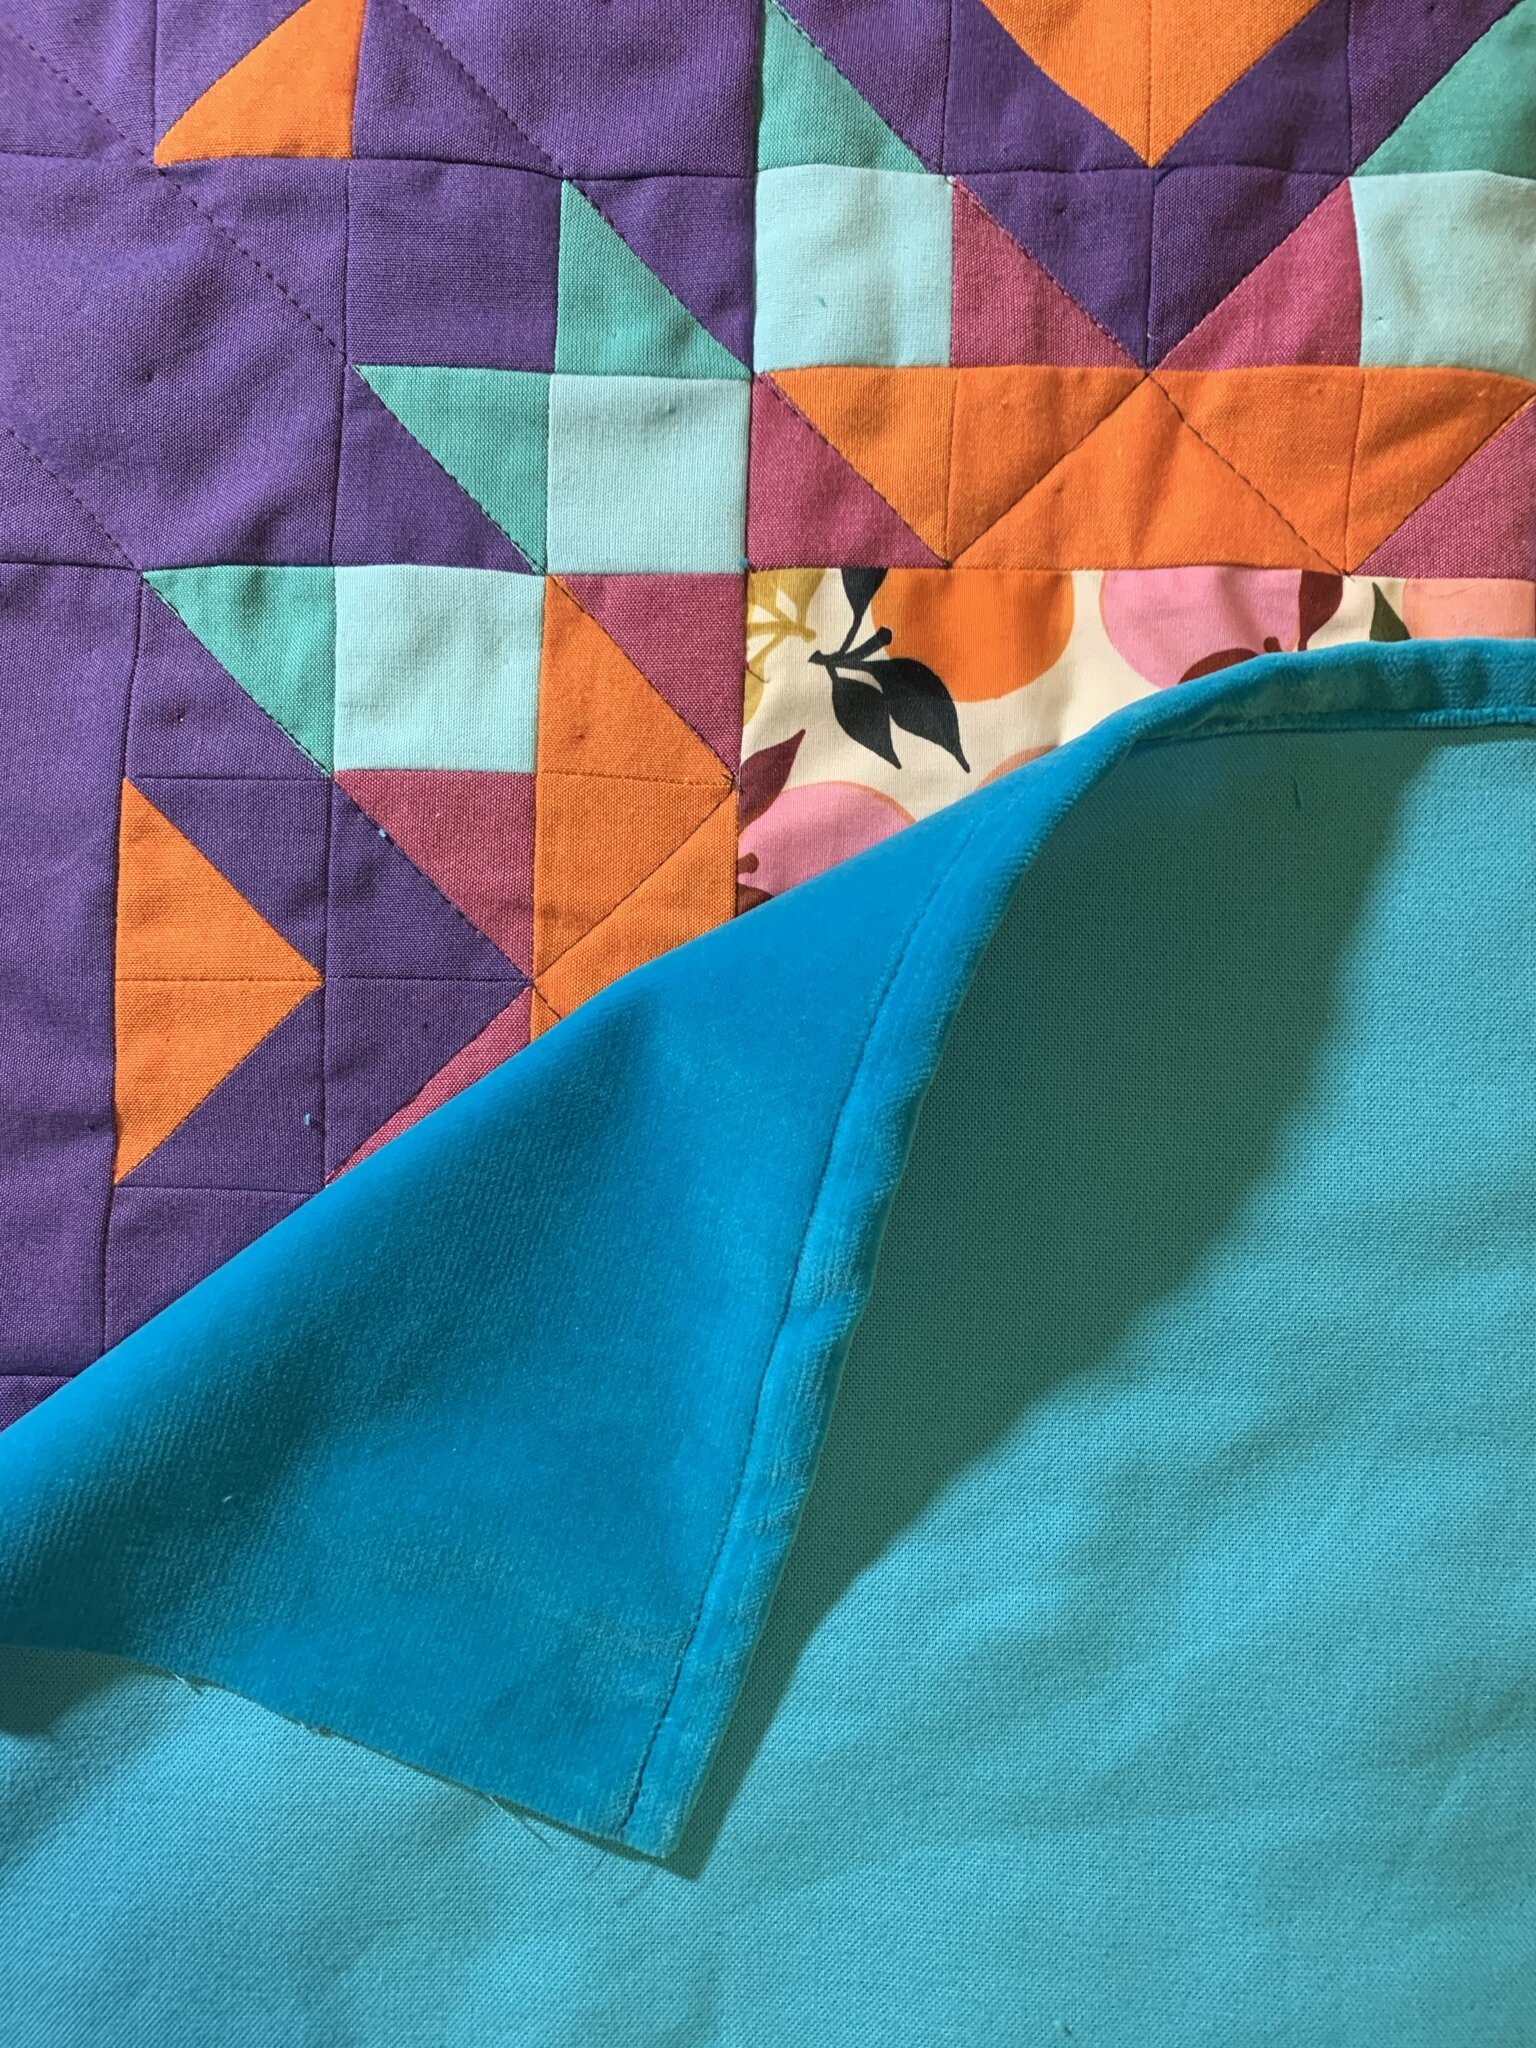
Next you will need to cut the pillow backing pieces. I used a vintage bright teal velvet for my pillow backing.
Cut your backing fabric into two pieces:
18” x 12”
18” x 13”
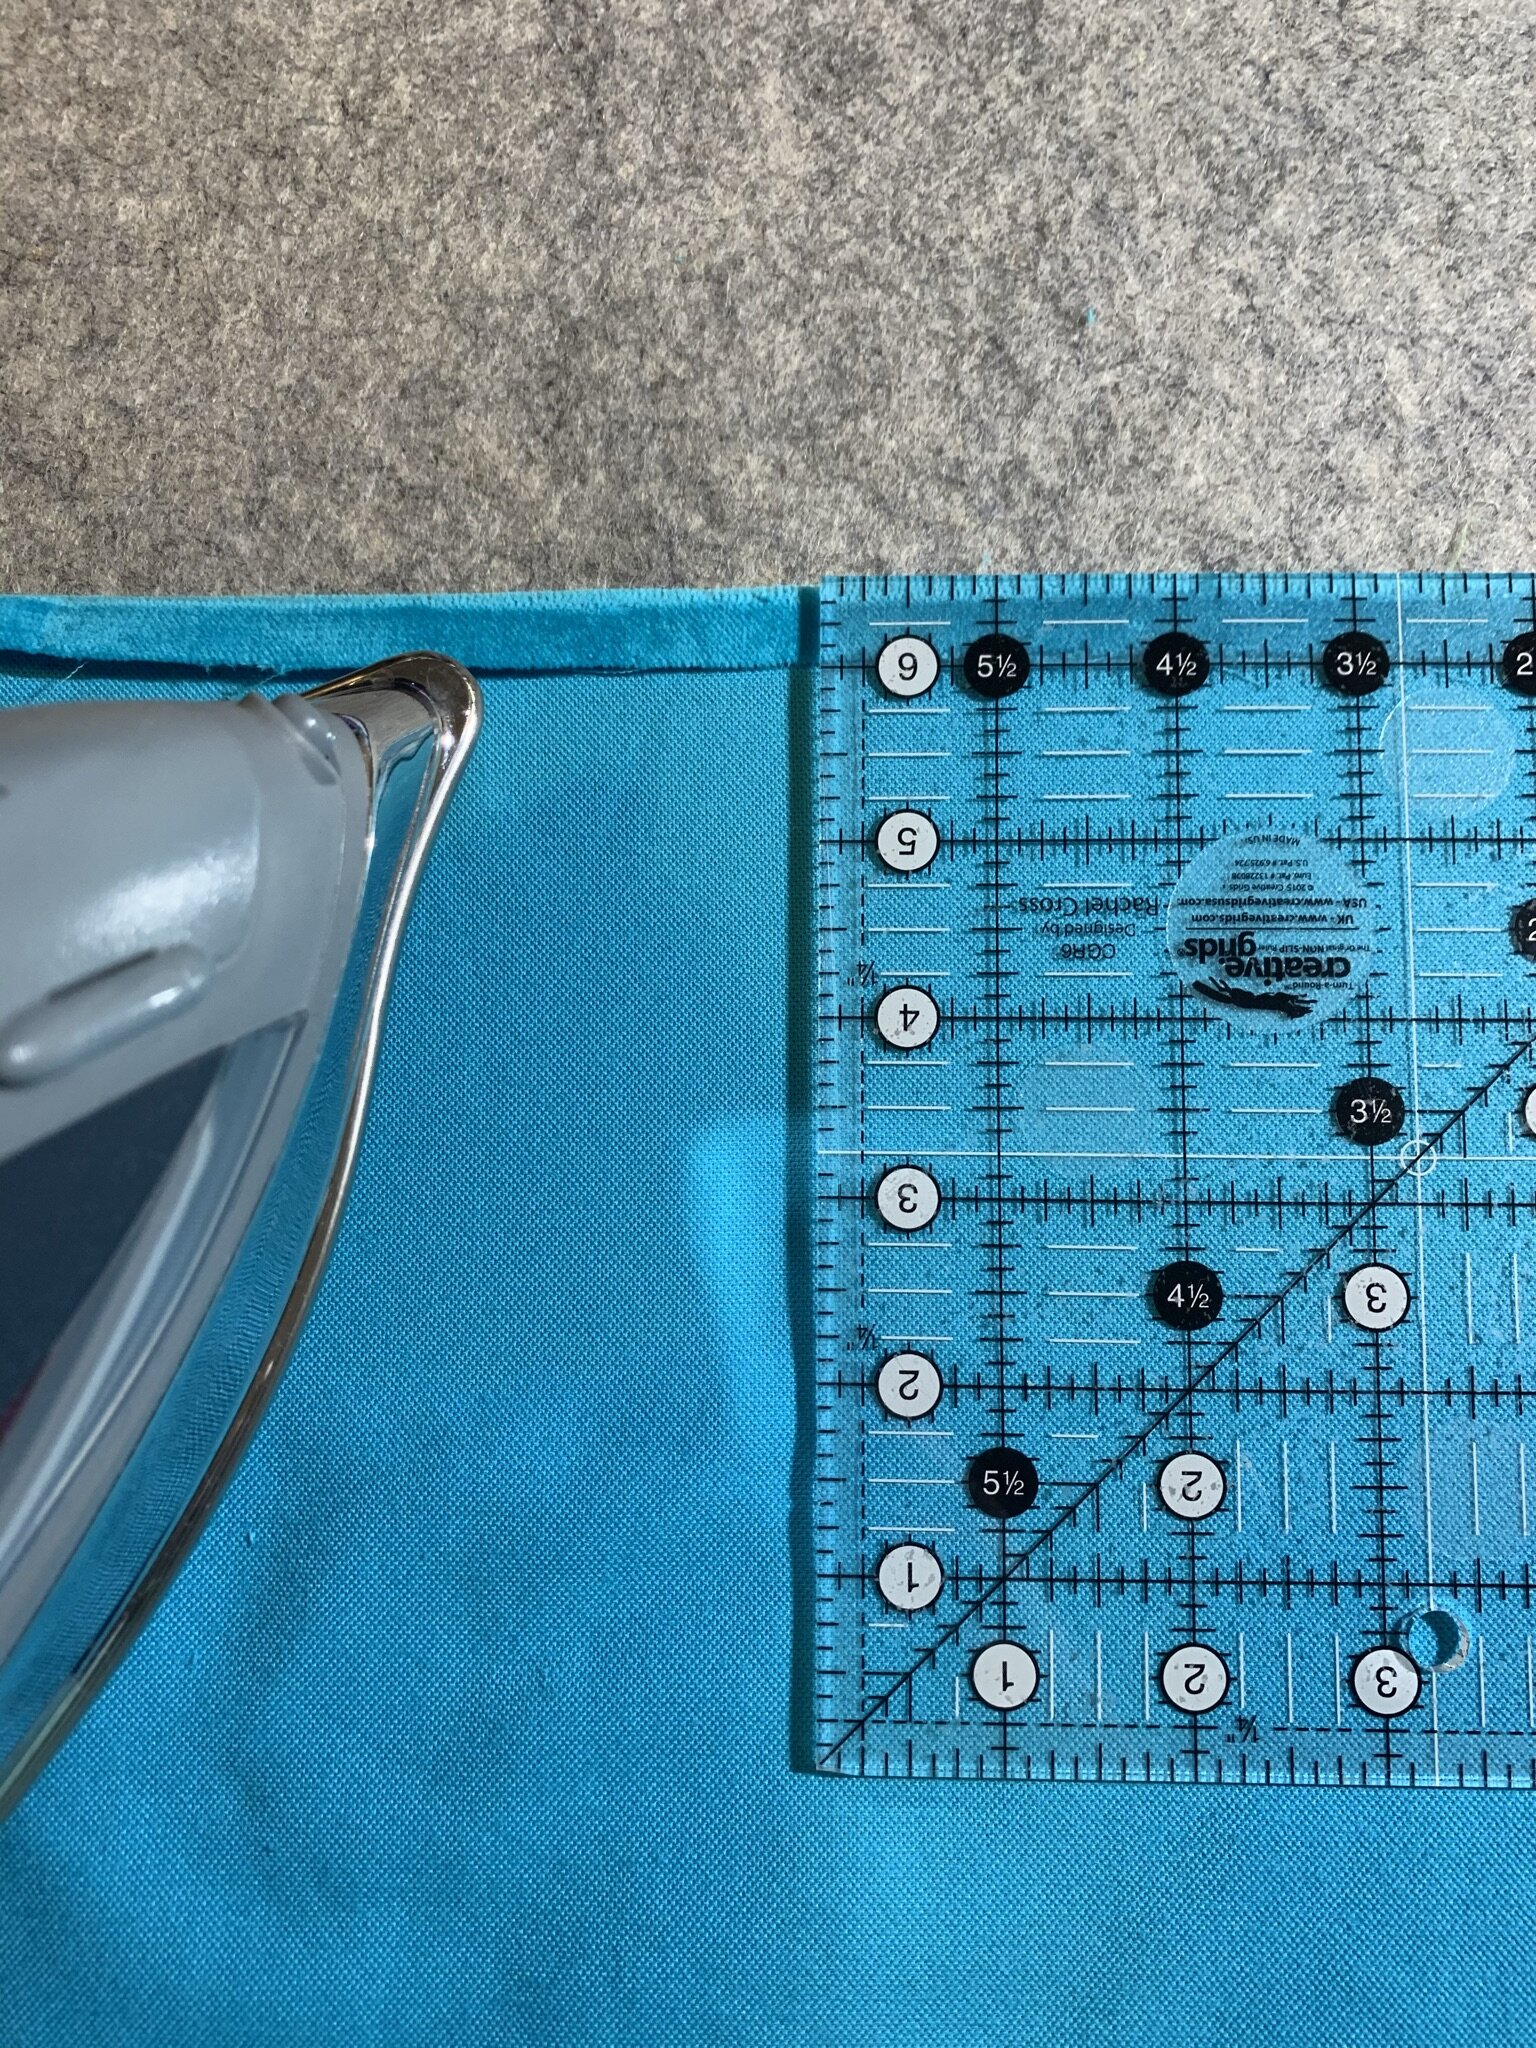


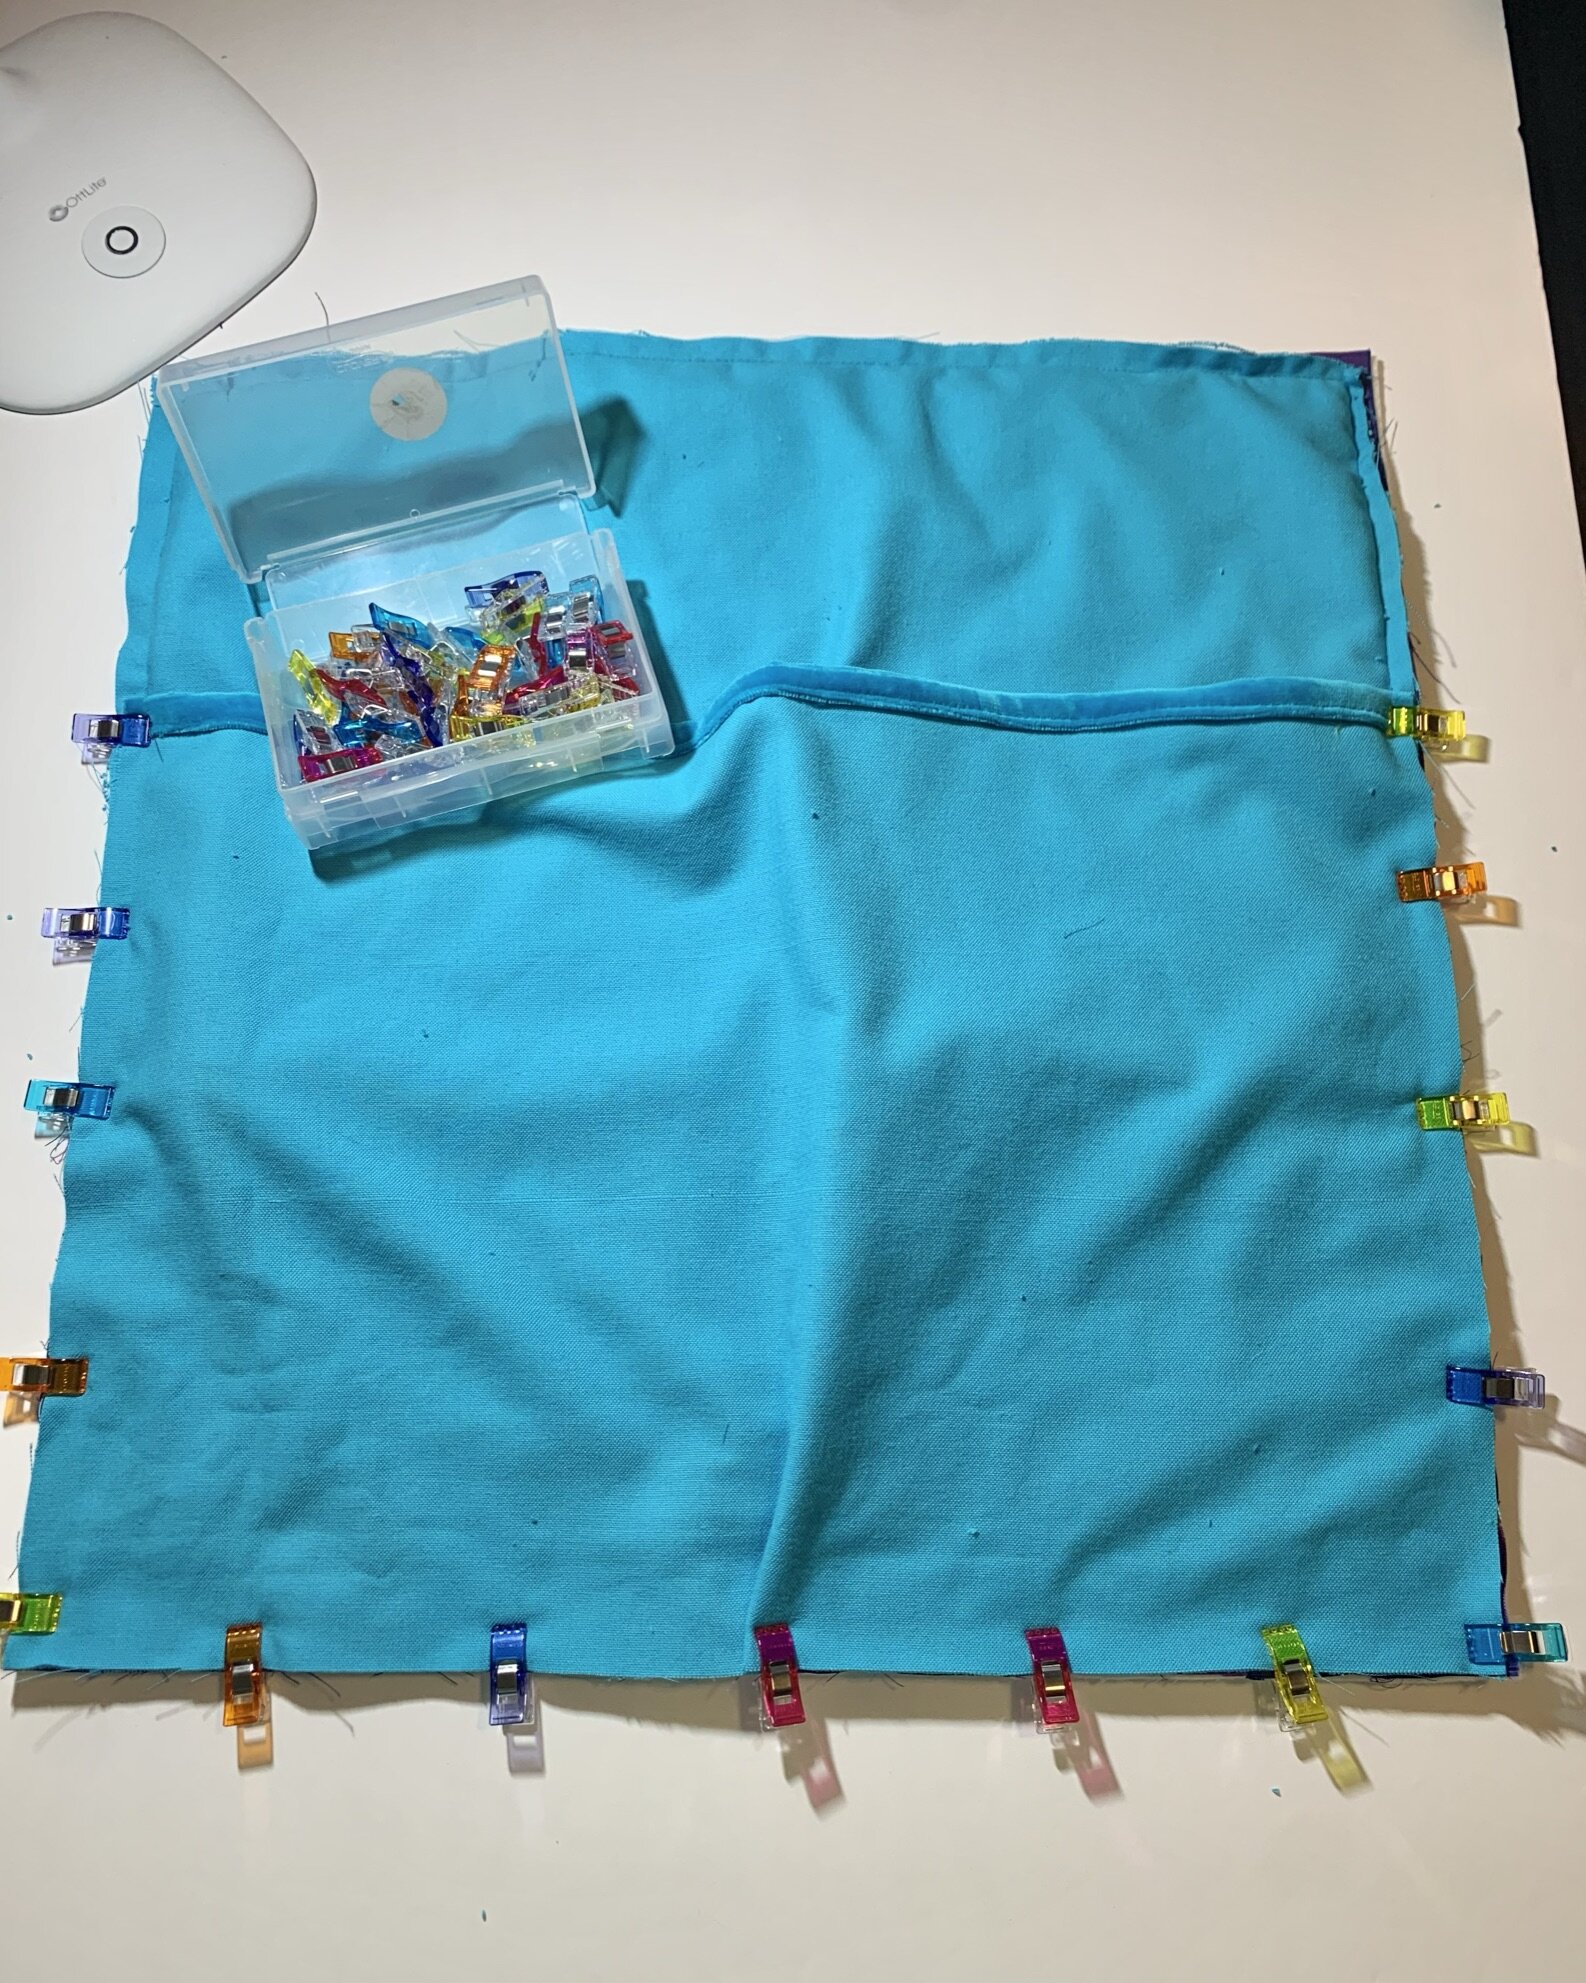
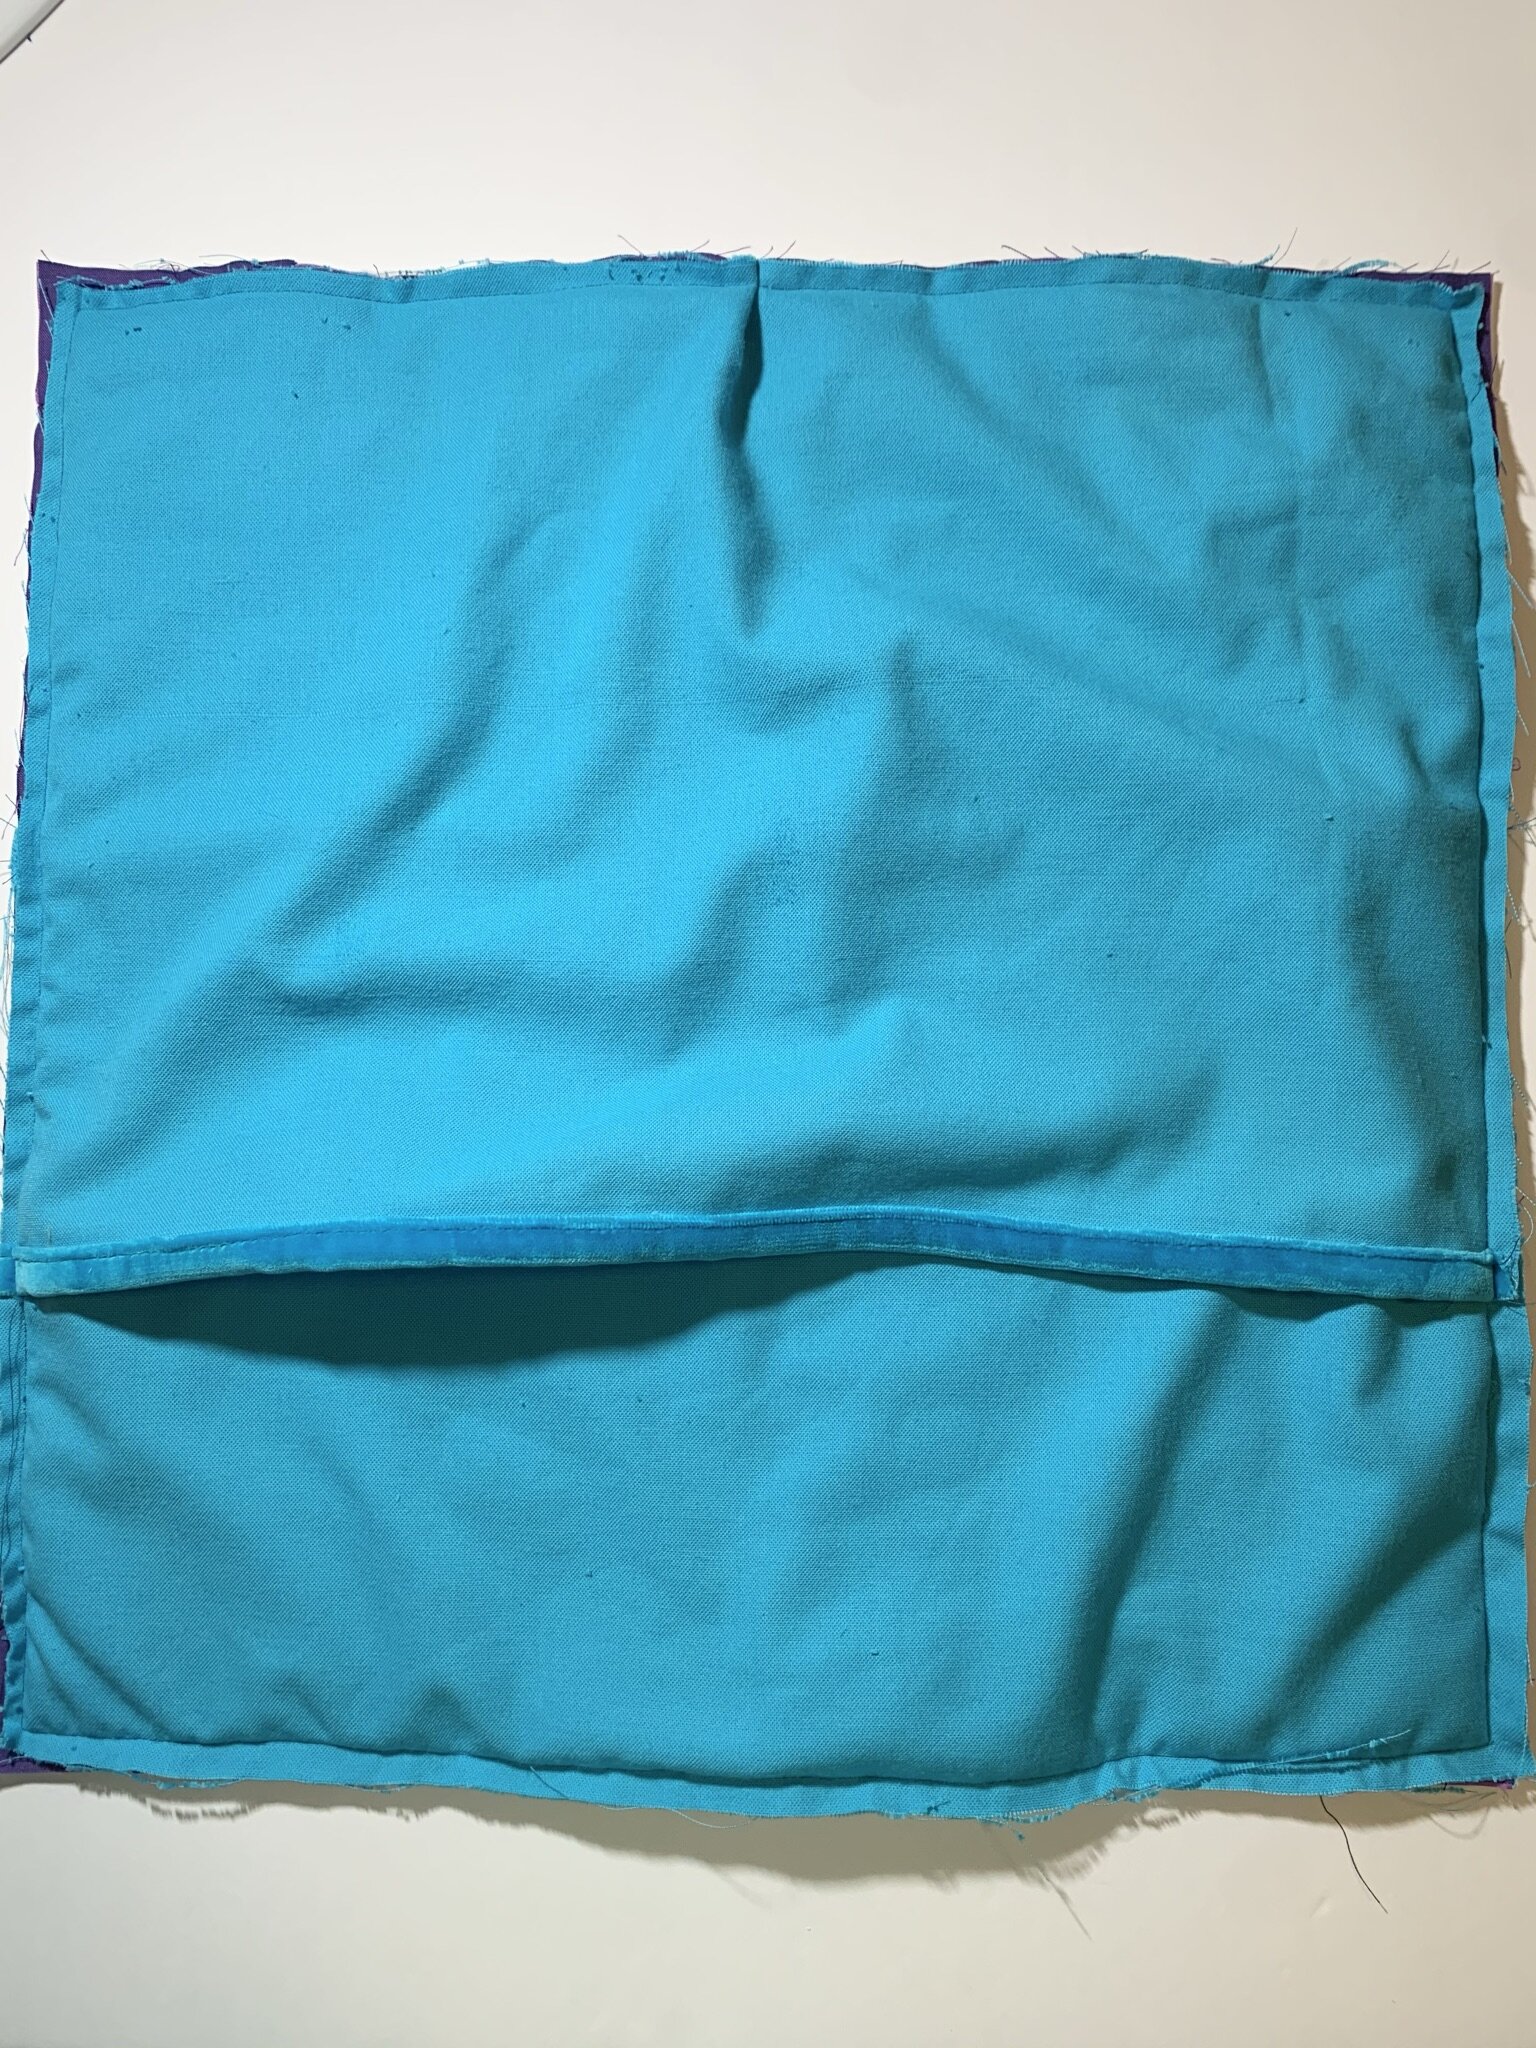
You will need to create a hem for the edge of the pillow case fabric. For both pieces of your backing fabric on the 18” side, fold over ½ inch (right side of fabric facing outward) and press flat. Fold over itself again ½ inch and press. You will now have created a double folded hem, with the right side of fabric showing.
Use your walking foot attachment and sew closed the hem across the length of fabric. Do this for both pieces of your backing fabric.
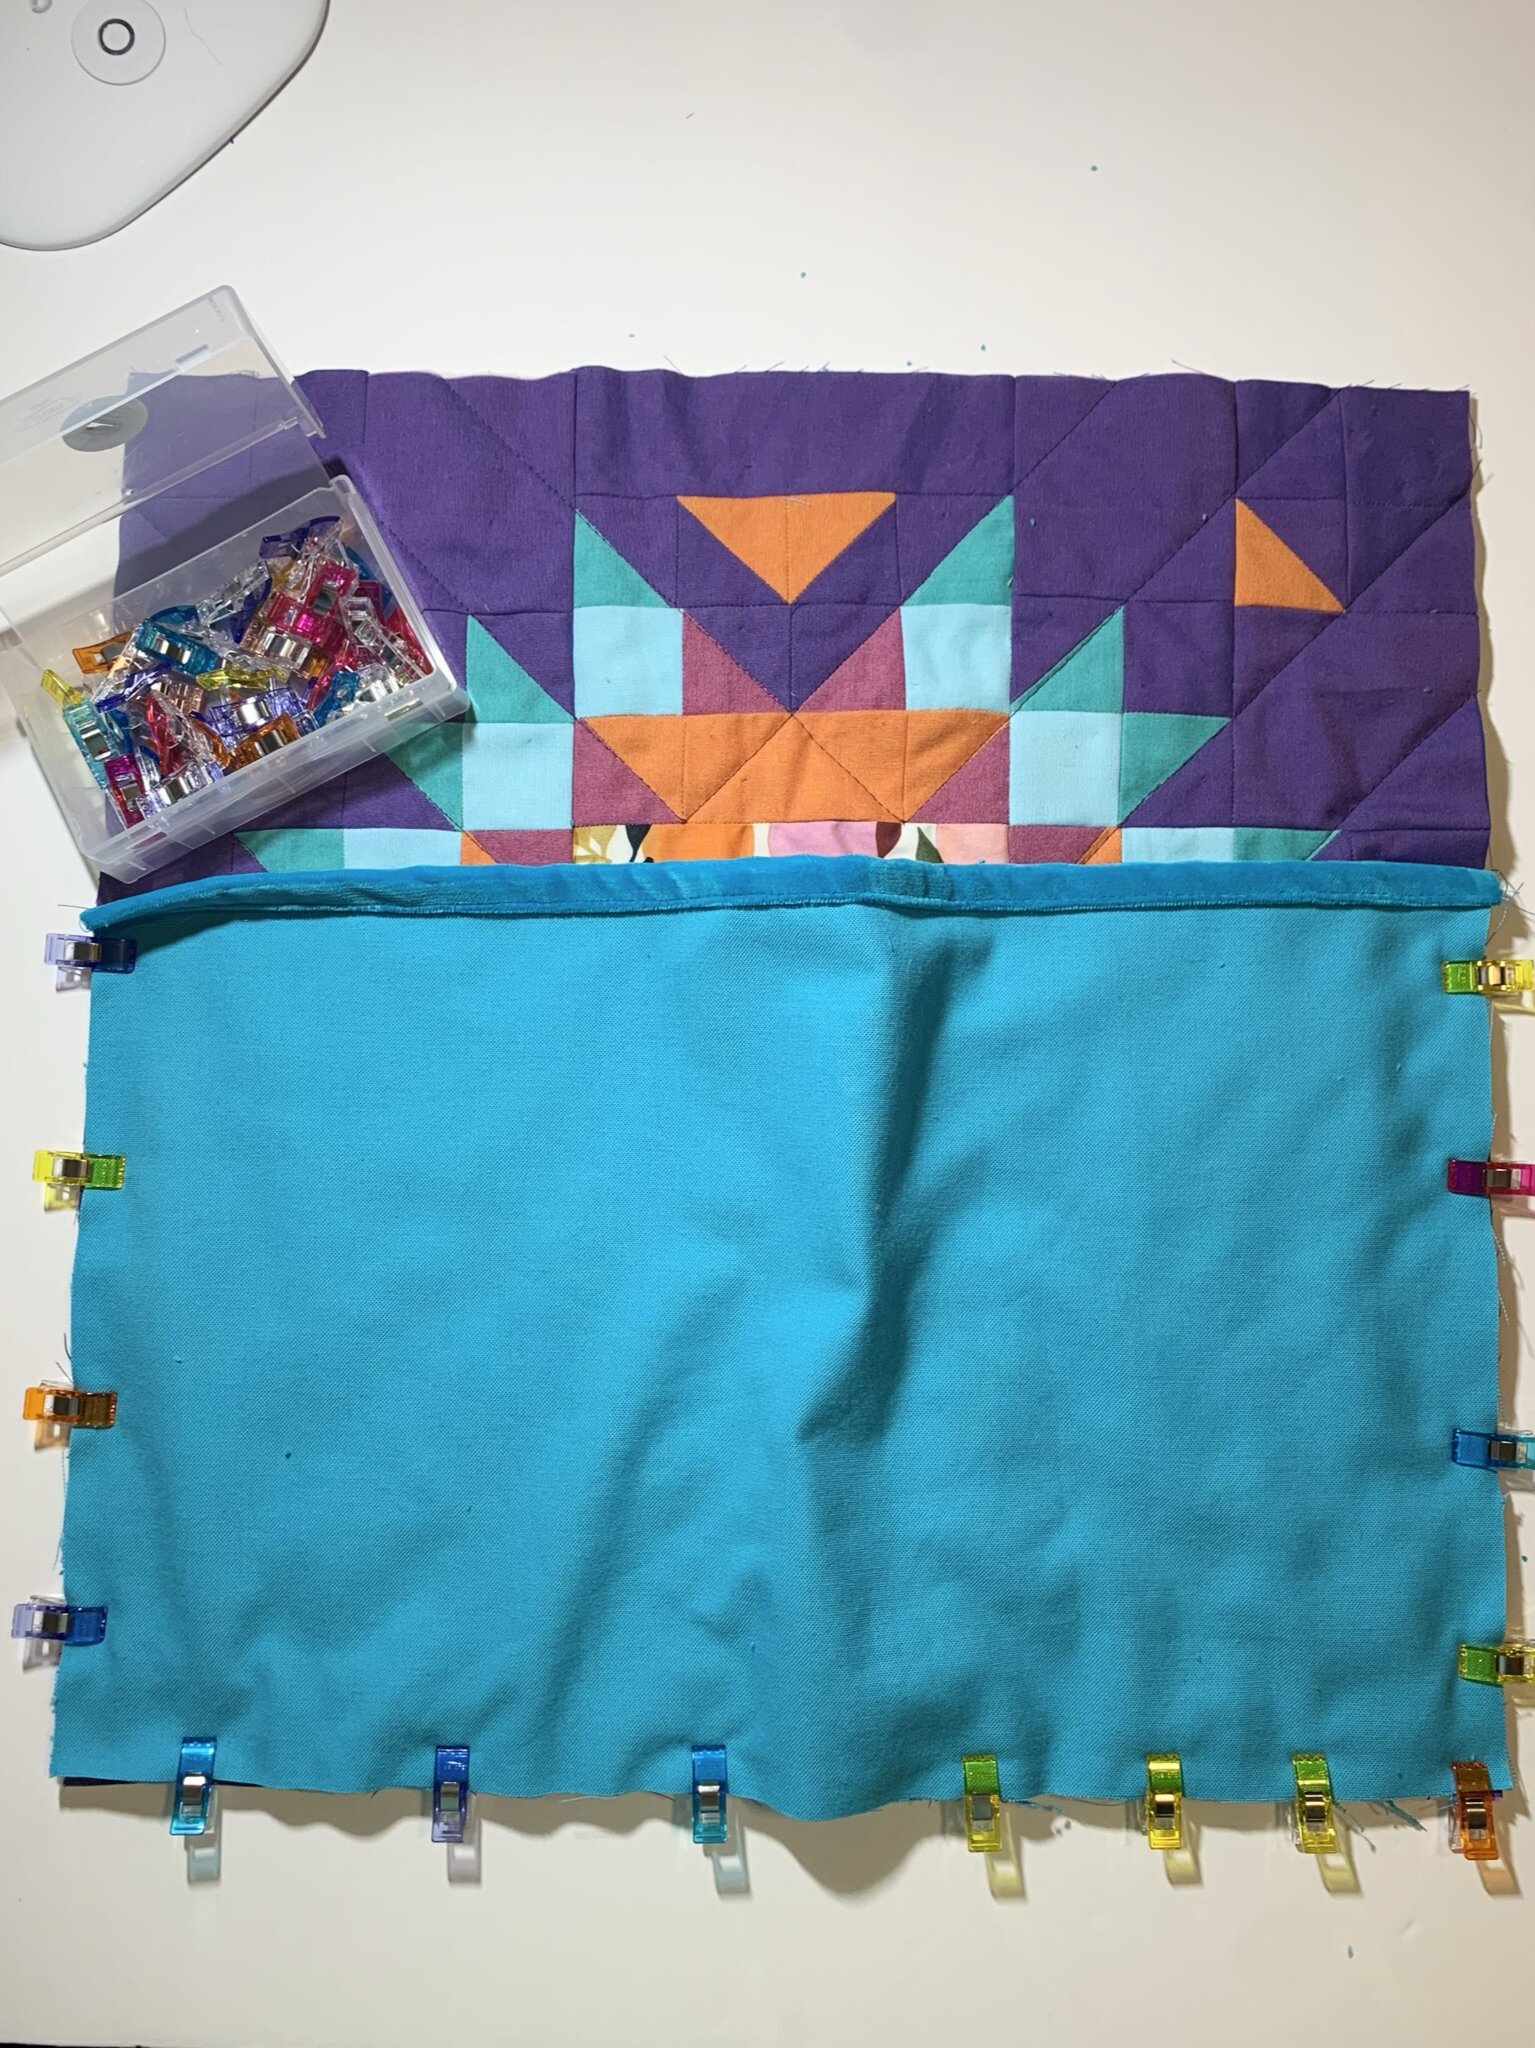
Next, place one of your backing pieces right sides together on top of your quilted pillow top, being sure that the edges are in line with each other. The hemmed edge should be in the middle of the quilt top. Pin or clip the backing and the pillow top together.
If your backing fabric is a little larger than your pillow top, that is absolutely okay! Do not trim it to size. Instead, add a small pleat at the bottom in the center. This will give some extra space for your pillow to fill.

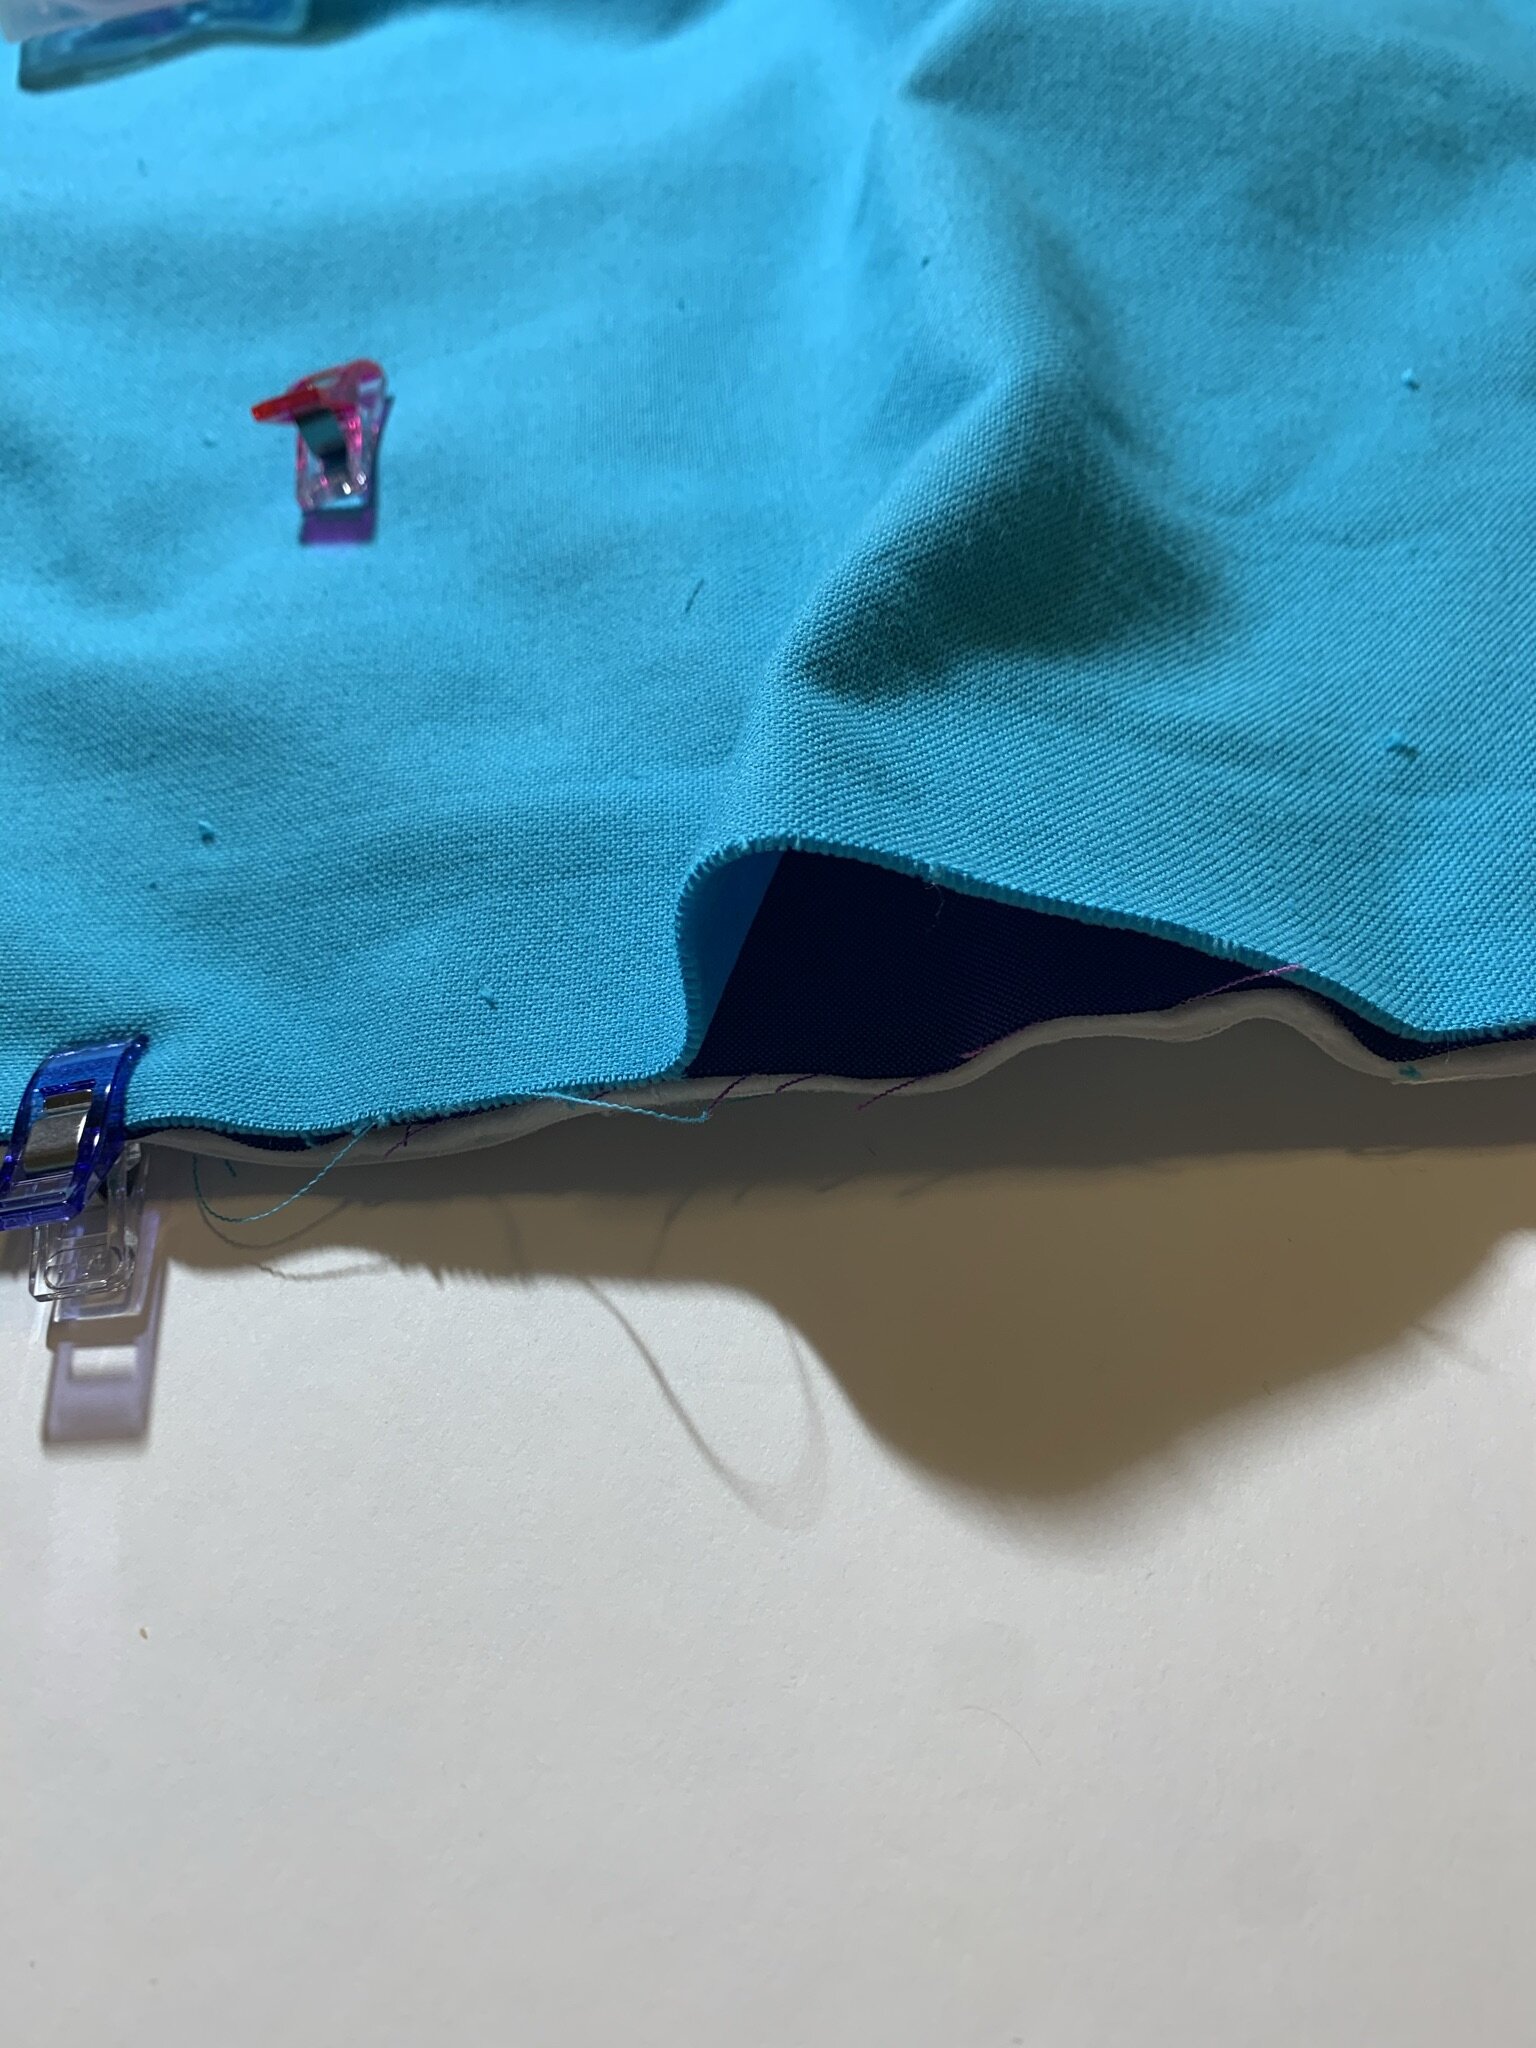
Sew one side of your backing to the quilt top using a generous ¼” seam allowance. Backstitch a few stitches at the start and at the end to ensure stitches are locked in place. Trim excess threads.
Attach the other half of the pillow backing to the quilted pillow top. Be sure that the right sides are together and the hem is at the middle. Sew around the edge of the second backing piece, being sure to backstitch a few stitches at the start and at the end to secure the threads. Use a generous ¼” seam allowance. Trim excess threads.

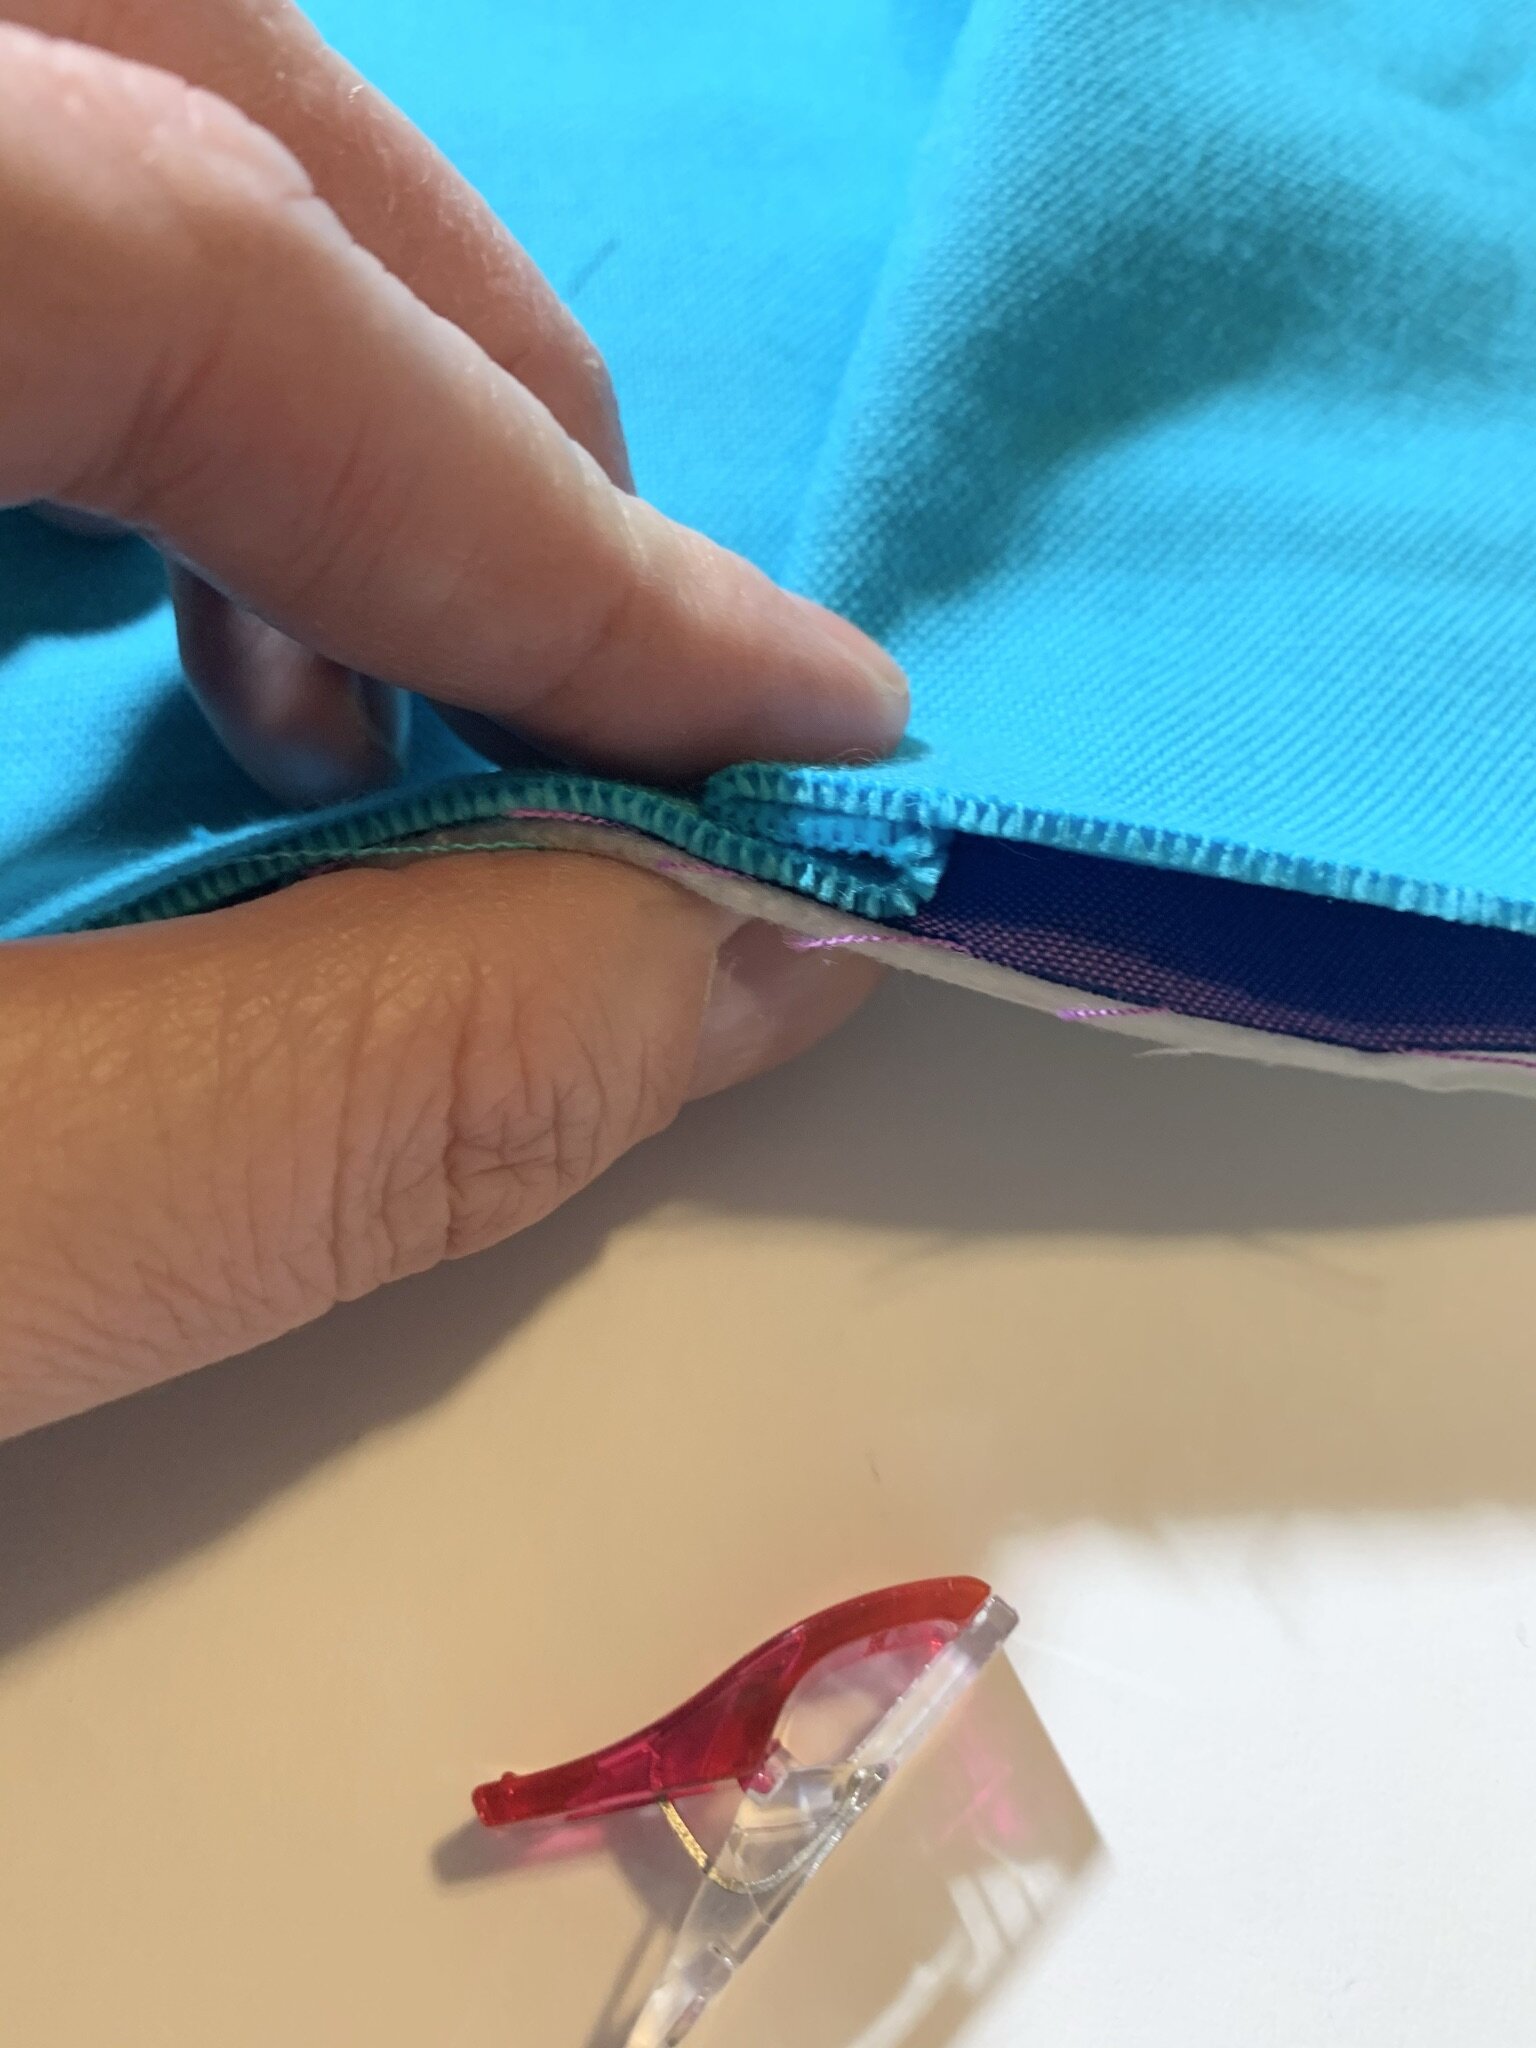
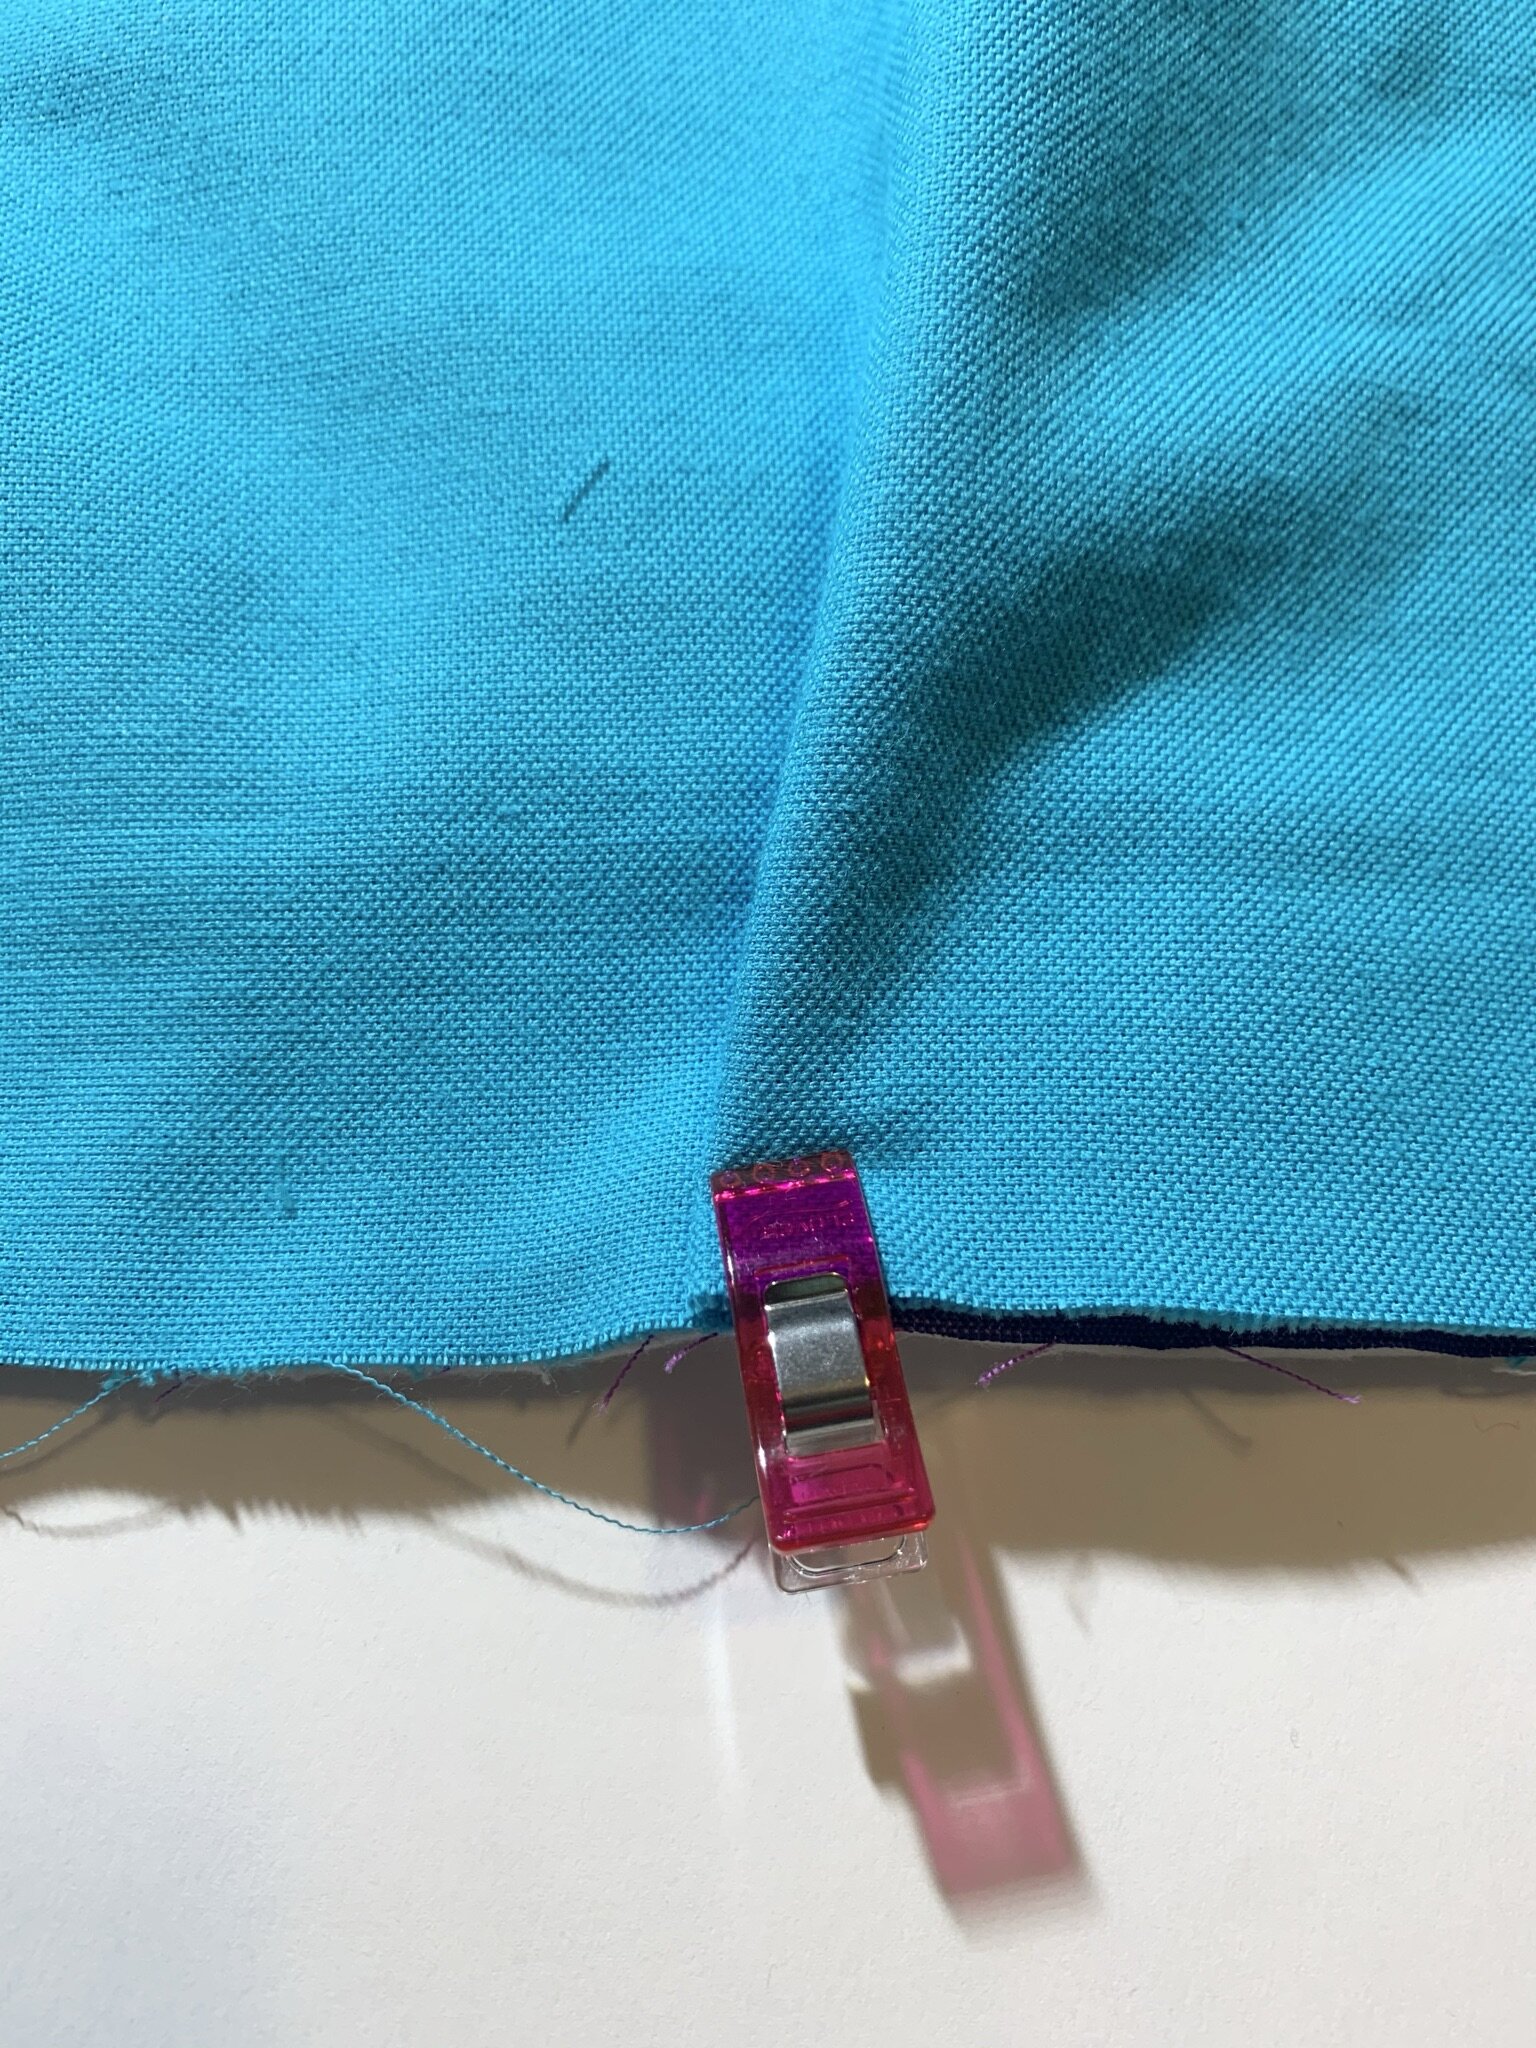
Trim the corners at a diagonal, being sure to not cut over the stitch line. This will help to reduce bulk when you invert the pillowcase.

Turn your pillowcase right side out, being sure to push carefully but completely through to each corner to give it shape.

Stuff your pillowcase with a 16” x 16” pillow insert and display in your favorite spot.